This Negative Space Art Skeleton Drawing is an Easy Middle or High School Art Project for Beginners
Teaching beginners how to draw starts with negative space art. A negative and positive space art lesson teaches them how to see differently than they always have. This lesson allows students to explore the difference between positive and negative space in art as they complete colorful drawings of a skeleton.
Learning to see both positive and negative space in art is important for getting ready to draw realistically.
Our human brains are conditioned to take in only the information we need to survive and thrive. Most people do not typically look at negative spaces. However, when learning how to draw, getting used to looking at negative space in addition to positive space can really help lay the groundwork for understanding how to scale an image and get the proper placement of all parts of the drawing.
When working with beginners, it is essential to introduce art skills slowly so that they can feel successful and focus on learning and practicing just one thing at a time. Introducing too many things at once can lead to a lot of frustration.
This negative and positive space art lesson begins with students looking at a photo reference of bones and only focusing on the negative spaces as they create drawings of a skeleton. They are instructed to draw only the shapes and space between the bones. It may be challenging at first, so it is helpful to have them do some practice sketches first, then move onto watercolor paper once they are confident.
When Students Complete their Drawings of a Skeleton, Have them Double Check their Shapes
Most students will not think to give their shapes a second look and double-check that they are accurate. This is normal. Most people new to drawing assume that their first sketch is correct and naturally rush into the details and fun stuff. Learning to go back and compare the relationships between both the positive and negative space in art projects after the drawing is down is a learned skill and a habit that will save so much time and frustration later.
Beginners may feel like they did something wrong if they find something off in their original drawing when they are asked to take a second look. I stress and repeat that they SHOULD have areas that aren’t quite right and that every artist regardless of skill, experience, or talent will not see everything perfectly the first time around. Just completing this step is a VICTORY. We talk about how this is where we celebrate the fact that we noticed something we missed at first sight.
Next, They Can Add Personality to the Negative and Positive Space in their Skeleton Drawings
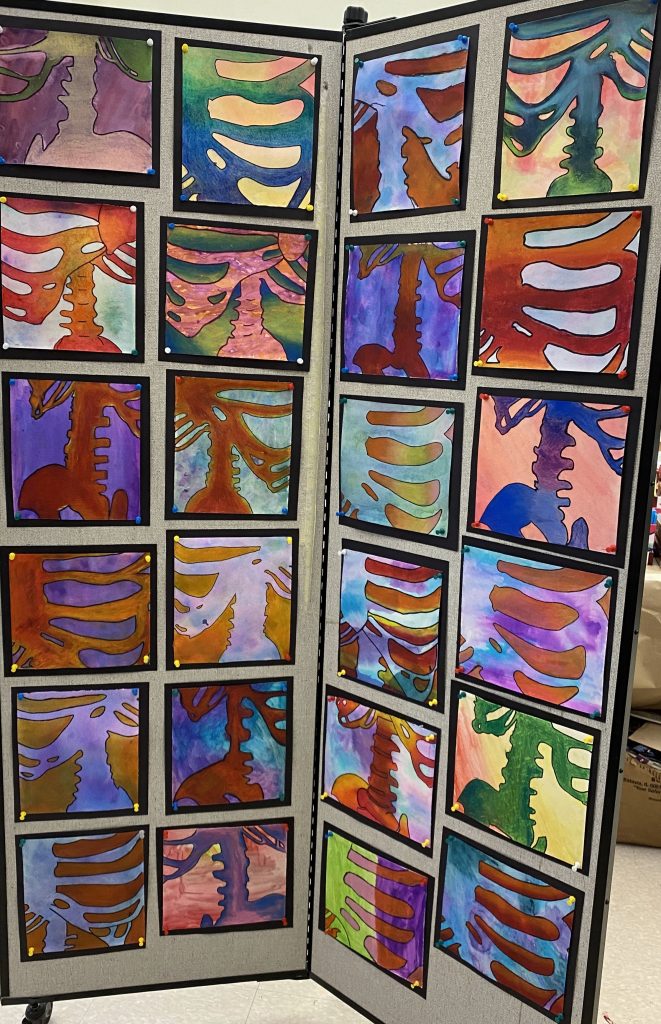
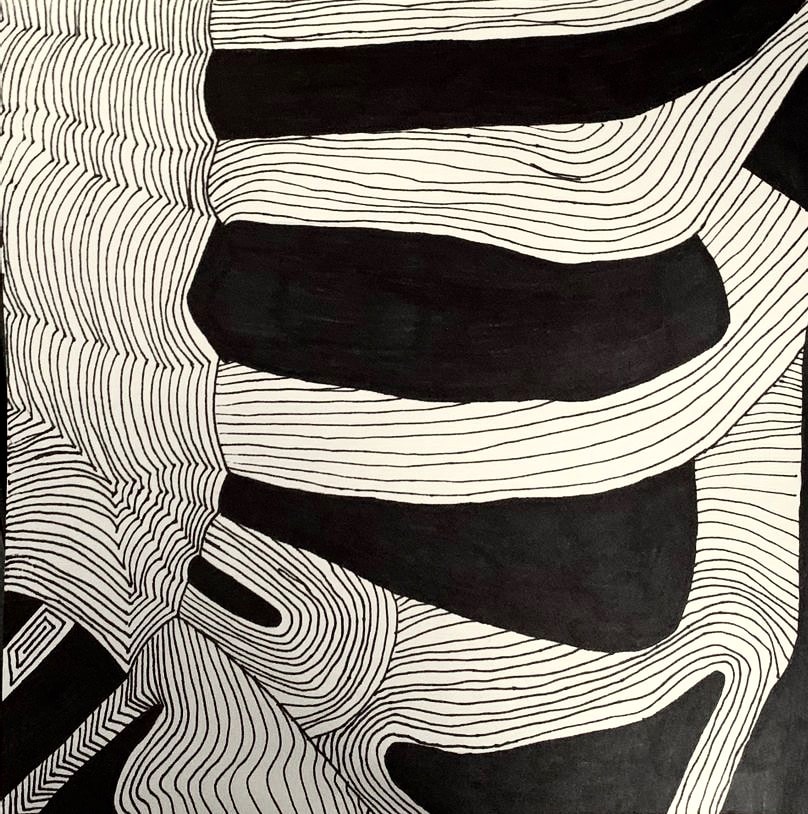
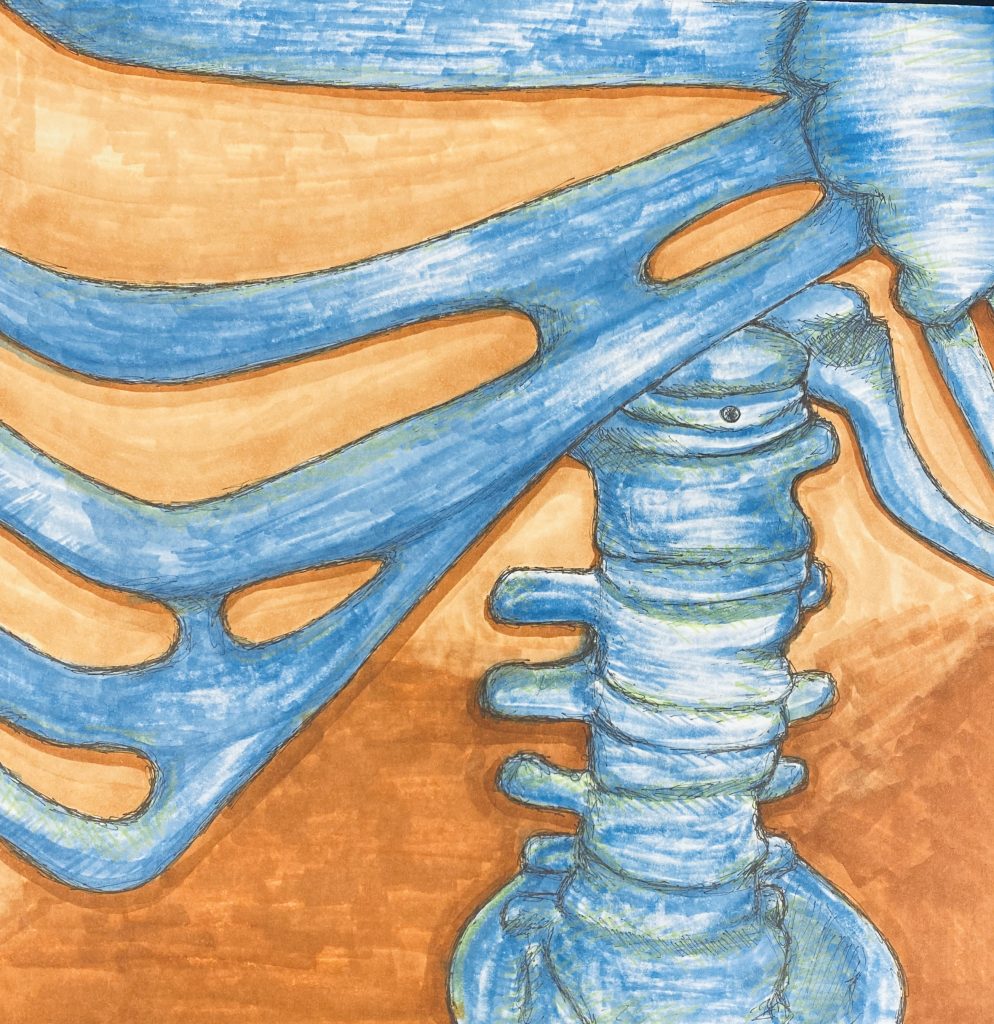
I have done this negative and positive space lesson using a variety of different mediums and they all have been tremendously successful. Depending on what materials you have available, have students fill the negative and positive space with contrasting designs or colors. Below are some examples of using watercolor and oil pastel in warm and cool color schemes. The contrasting color schemes are really fun and they make a beautiful display when the drawings of a skeleton are finished.

You can also fill the negative and positive space with collage, pattern, or use any other materials you would like. The idea is for students to have fun and experiment with different materials while developing an awareness of positive and negative space in art. Below are some drawings of a skeleton created by students who completed the project at home during distance learning. In this negative and positive space lesson, students had the freedom to fill each negative space with a different medium or technique or to keep them all the same.


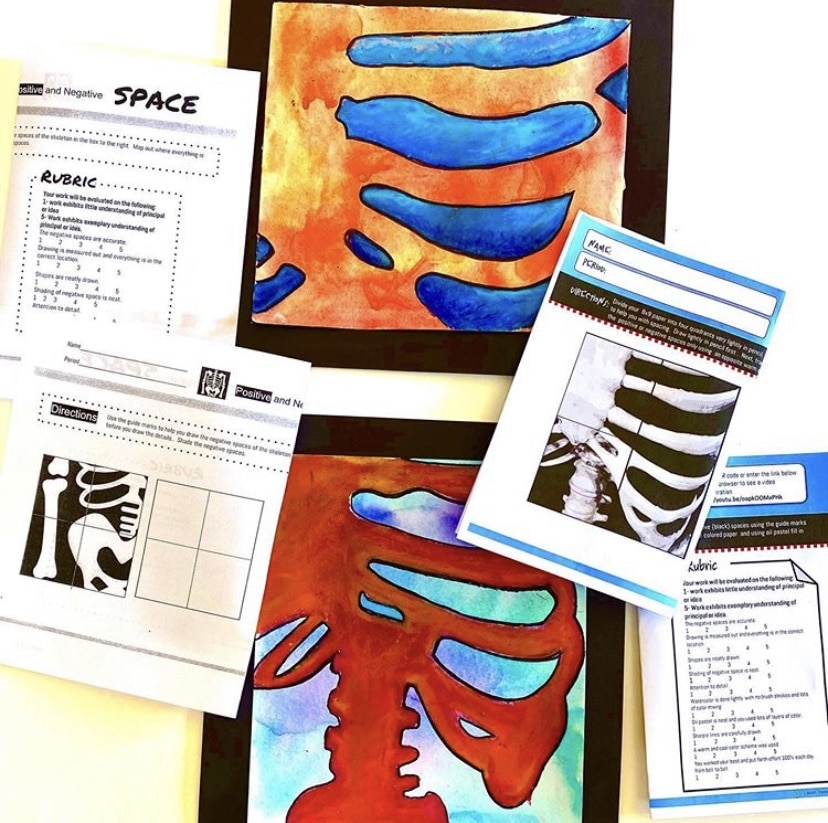
You can find more resources used for this project such as reference images with QR codes students can scan to see a video demonstrating more techniques, and practice worksheets in my Teachers Pay Teachers Shop. To see step-by-step instructions of this lesson, check out the video demonstration using watercolor and oils pastels above by Bethany Thiele and check out more great videos on her YouTube channel.


You can find this complete “Negative Space Drawing” lesson with reference images, slideshow, video demonstrations, practice worksheets, handouts, rubrics and more in my resource shop!
What’s included? In this complete negative and positive space lesson you get:
✅ 20 Worksheets and Reference Images
✅ Editable Slideshow
✅ 3 Video Demonstrations
✅ Lesson Handouts
✅ Rubrics

Ready to continue your creative adventure? 🎨
👉 PURCHASE THE LESSON NOW 👈
Investing in your artistic journey is an investment in yourself. This positive and negative space lesson is designed to empower you with knowledge, boost your confidence, and enhance your creative expression.
Don’t miss out on this incredible opportunity to refine your skills and create captivating artworks that stand out. Hop on this artistic adventure today!
Be the first to know about discounts, freebies, and new resources!
Find me on my blog – Inside Out Art Teacher, YouTube, or Instagram.


