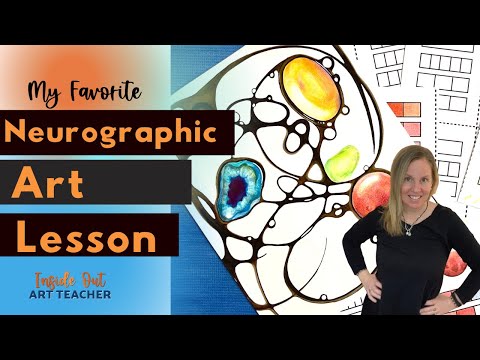
Hello, artists and art teachers! Welcome back to our creative corner. Today, I have an exciting tutorial for a middle or high school art project that will guide you through how to draw neurographic art pieces that incorporate the magic of crystals. This project combines the mesmerizing beauty of colored pencils with the captivating art form of neurographic drawing.
If you want a deeper explanation of the process and more classroom ideas, you can explore my full guide to neurographic art here → Neurographic Art Ideas for the Classroom.
This is a crystal drawing art lesson I love to do with my intermediate high school art students. Today, I will share how I introduce the lesson and the tips and tricks that worked in my classroom. I will explain what worked well and also point out things that I did at first but tweaked after learning from experience.
By following these simple steps, you and or your students can learn how to draw with neurographic art and create stunning compositions that blend marker and colored pencil techniques and neurographic art seamlessly. So, let’s dive in and unleash your artistic potential!
Step 1: How to draw neurographic art
When introducing this tutorial to your students (or to yourself!), begin first by creating your neurographic drawing as opposed to the crystals drawing first. If you are unfamiliar with how to draw neurographic art, you can find a complete tutorial in this post.
When I first tried this lesson in my classroom, I had the students do the crystals drawing first and then add the neurographic art. I found they were too scared to do the neurographic drawing for fear of messing up their crystals drawing. They were far more timid than when we first did the neurographic line work.
It is a lot easier to work the colored pencil crystals drawing into the composition rather than add the freeform lines after the crystals were already placed.
Step 2: Create the neurographic art drawing on a small size paper before placing crystals
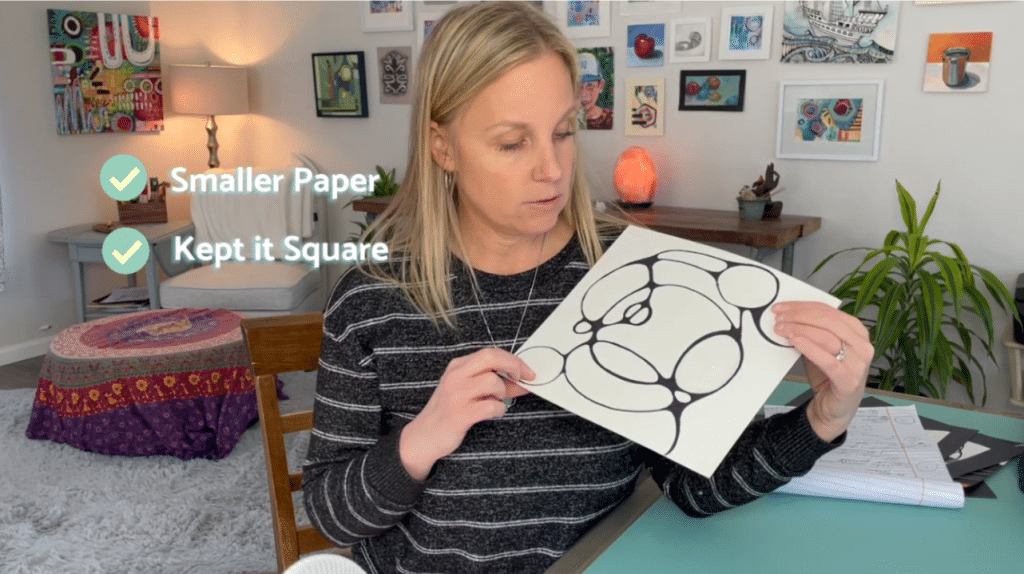
Using a smaller square paper for this exercise provides a more manageable space to experiment with neurographic drawing. It helps maintain focus and reduces any overwhelming feelings that may hinder creativity.
I thought 9 x 9 was the perfect size.
Sketching the neurographic lines

Begin by lightly sketching the neurographic lines in pencil. These lines will serve as the backbone of your design and provide a framework for the crystals to be added later. Be playful and explore different shapes and patterns that resonate with your artistic vision.
When adding crystals, consider a balanced composition
Once you have your neurographic drawing in place, carefully plan where your crystals will be positioned. Aim for a balanced distribution throughout the design, placing them directly on top of the neurographic lines. Erase any intersecting lines within the crystals’ boundaries to maintain clarity.
I had students add a minimum of 3 crystals. You want to use crystal-clear reference images to draw from. You can find your own colorful images, work from real-life crystals, or check out the images pictured below, which are included in my Colored Pencil Crystal Drawing Art Lesson.
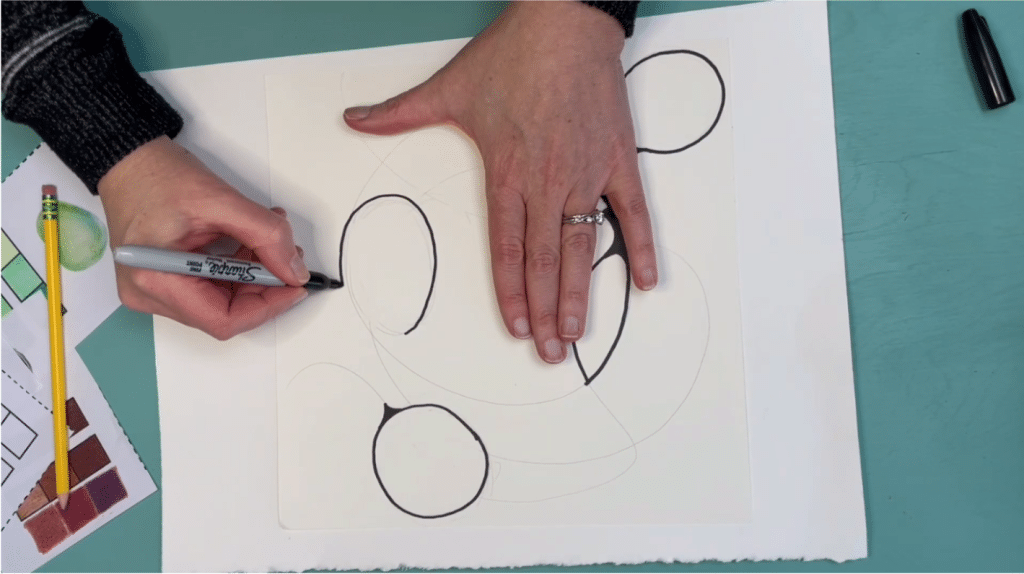
With the crystal drawing mapped out, it’s time to refine your lines in the neurographic drawing. Go over them with a marker, starting with thick lines and gradually transitioning to thin lines. Round out any sharp corners to create a more organic and flowing composition. Remember, this is your chance to infuse your unique style into the artwork.
Step 3: Layering marker and colored pencil to create realistic crystal drawings
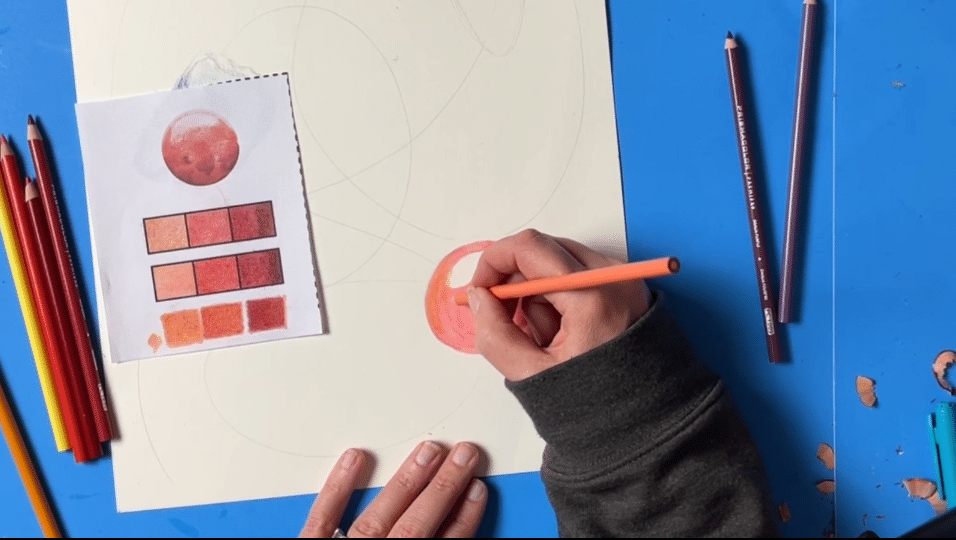
You will want to practice creating the tints and tones on a scrap piece of paper first.
You can find all the intricate details of this process in the linked blog post titled Step-by-step Guide to Drawing Crystal using Colored Pencil
Using reference images, guide your colored pencil crystal drawings. Observe the intricate details, hues, and shading. This step will enable you to add depth and realism to your crystals, enhancing their overall allure.
Using the mapped-out crystal positions from the neurographic design, draw your crystals with colored pencils. Gradually build up layers, blending colors and capturing the reflective properties of the crystals. Feel free to experiment with different color combinations to achieve the desired effect.
Add final touches and creative details to the colored pencil crystal drawings.


Need more? No worries, I’ve got your back!
My Layering Marker and Colored Pencil lesson is complete with:
✅ An editable student slideshow with step-by-step guidance
✅ A teacher slideshow with step-by-step guidance
✅ 2 video demonstrations showing each step of the art lesson
✅ 14 colorful crystal reference images to draw from
✅ 5 Instructional Handouts (PDF) with Links to Slideshow
✅ Blank practice value scale sheets
✅ Teachers instructions
✅ A rubric for easy grading

More Neurographic & Art Project Inspiration
- Neurographic Art Abstract Design Technique – A step-by-step look at building dynamic abstract compositions using neurographic lines.
- Composition Techniques for Neurographic Art – Tips for teaching composition fundamentals with neurographic work that really pops.
- Neurodoodle Typography Summer Art Project – Put words and neurographic doodles together for a playful typography twist.
- Neurographic Art Easy Doodle Drawing Project – A laid-back neurographic project skill-builder students enjoy again and again.
- Easy Summer Line Drawing in 5 Steps – A simple line drawing warm-up that helps students loosen up before neurographic art.
Be the first to know about discounts, freebies, and new resources!
Find me on my blog – Inside Out Art Teacher, YouTube, or Instagram.