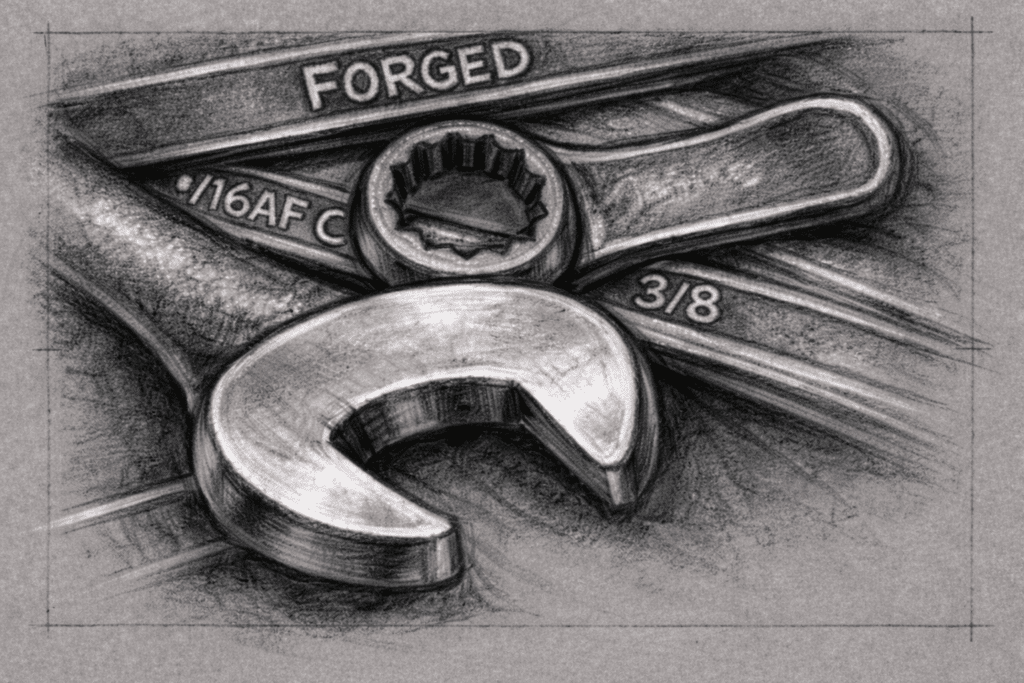
Creating a High Contrast Tool Drawing in 3 Easy Steps
3 Easy Steps in Creating High Contrast Tool Drawing
Hello, artists and art teachers! Welcome back to our creative corner. Today, I’m excited to share a captivating drawing lesson that utilizes colored pencils on toned paper. This high contrast tool drawing project works especially well in high school art classes, helping students develop value control, contrast awareness, and confident shading skills. …
This lesson, a personal favorite among my intermediate-level high school art students, blends the rich beauty of colored pencil techniques with the unique challenge of high-contrast tool drawing on toned paper. Join me as I walk you through the intricacies of this project, sharing not only how to introduce the lesson but also the tips and tricks that have proven effective in my own classroom. I’ll highlight what worked seamlessly and offer insights gained through experience.
Following these straightforward steps, you and your students can craft stunning compositions that seamlessly marry colored pencil techniques on gray paper.
If you’re looking for more skill-building drawing lessons like this one, you can explore this full collection of high school art projects and drawing lessons designed for grades 9–12.
Understanding the Foundation: Art Concepts and Techniques
Before we delve into the intricacies of the high contrast tool drawing, let’s lay down a solid foundation of key art concepts and techniques that you’ll need to make your artistic journey a success.
1. Value: The concept of value in art refers to the range of lightness and darkness within an artwork. Think of it as a grayscale spectrum, where white is the lightest value and black is the darkest. In our drawing, understanding value is crucial for creating the illusion of three-dimensional forms.
2. Form:Form is all about creating a sense of volume and depth in your artwork. In the context of high contrast tool drawing, understanding how light falls on objects and creates highlights and shadows is essential for achieving a realistic and impactful outcome.
3. Negative Space: Negative space refers to the area around and between the subject matter in your artwork. Paying attention to negative space helps you accurately depict shapes and relationships, ensuring that your drawing is well-proportioned.
4. Contrast: Contrast involves the arrangement of different elements in an artwork to create visual interest. High contrast, as the name suggests, involves extreme differences between light and dark areas. It can make your subject pop off the page and add drama to your piece.
5. Blending and Gradation: Blending involves smoothly transitioning from one value to another, creating a seamless gradation. Mastering this technique is crucial for achieving realistic shading and depth in your high-contrast tool drawing.
6. Composition: Composition is the arrangement of visual elements within your artwork. For our project, consider how you position your subject in relation to the background, creating a balanced and harmonious composition.
Step 1: Find the Bigger Shapes and use the X-Grid to Map Out your Drawing
In the beginning of our high contrast tool drawing project, the important first step is to plan out our artwork carefully. This means thinking about where each part should go and how big it should be before we start adding all the tiny details.
Beginners often face a common challenge – they tend to focus too much on the small details too soon, forgetting about the basic structure of the drawing. This can lead to problems with the drawing’s overall appearance, making it less accurate and affecting the final visual impression. Another thing to watch out for is not paying enough attention to the whole picture, which can result in a drawing that looks a bit scattered and lacks a smooth, flowing look.
To help address these challenges, art teachers play a key role in demonstrating the importance of careful planning. I recommend starting drawings with simple shapes like circles and rectangles, creating a strong and organized foundation. Encourage students to notice and prioritize the larger shapes in their initial sketches. Using an x-grid, becomes a useful tool to help align and organize elements accurately. This careful focus on the larger shapes and the smart use of the x-grid not only make the drawing more accurate but also contribute significantly to its overall look.
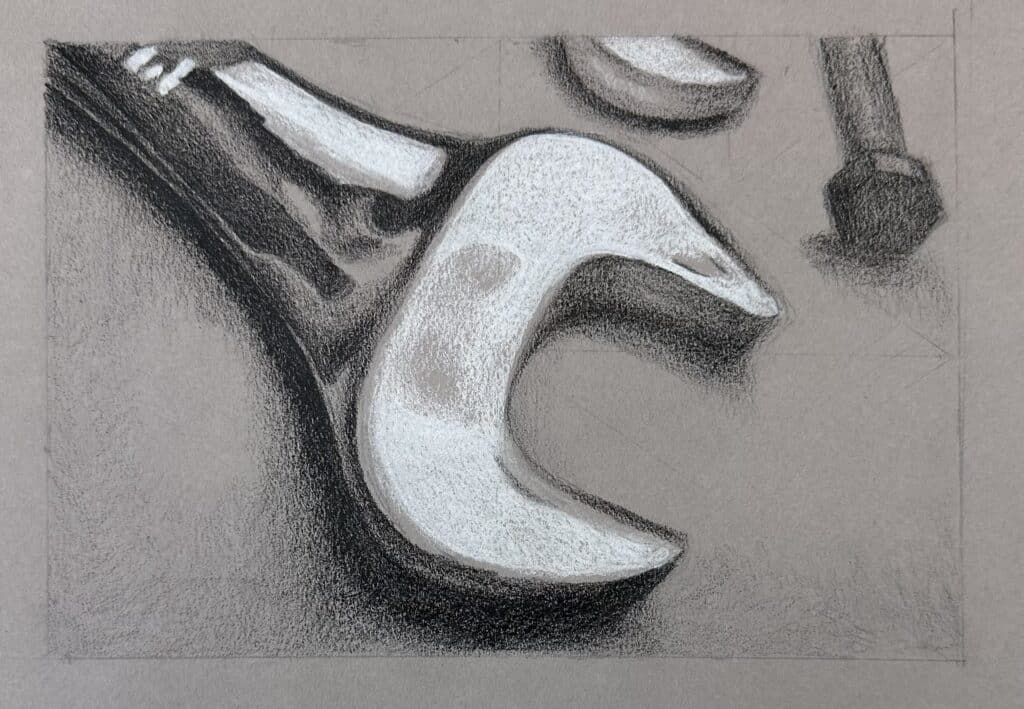
Step 2: Begin Shading and Add Shadows and Highlights to your Drawing to Make It Look Three-dimensional
In the next phase of our high contrast tool drawing, we focus on adding shadows and highlights to give our artwork a three-dimensional appearance. This step involves strategic shading, using variations in light and dark tones to create depth and realism. Two common challenges for beginners are a tendency to create sharp lines instead of smooth blending and overlooking the importance of incorporating middle tones to enhance the drawing’s overall depth.
Art teachers play a crucial role in guiding students through this phase, emphasizing the importance of understanding values – the interplay between light and dark – rather than relying solely on distinct lines. Students are encouraged to master the art of smooth shading transitions, ensuring a realistic and nuanced representation of light and shadow. Practical tips include keeping a sharp pencil for precise shading, starting with gentle, light strokes, and cross-referencing values against a reference image to ensure accuracy and consistency.
Step 3: Draw the Background to Make the Main Subject Standout
In this step, we focus on the background to ensure it complements and highlights the main subject. It’s about finding the right balance to make your drawing stand out effectively.
Guide students to see the background as a supportive element, enhancing the subject without overshadowing it. Encourage subtle blending between the background and the subject to achieve visual harmony.
Create a background that complements your subject, serving as a frame to make it shine. Take breaks to view your drawing from a distance, ensuring a harmonious interplay between the background and the main subject.
Completed drawing tools in charcoal still-life projects
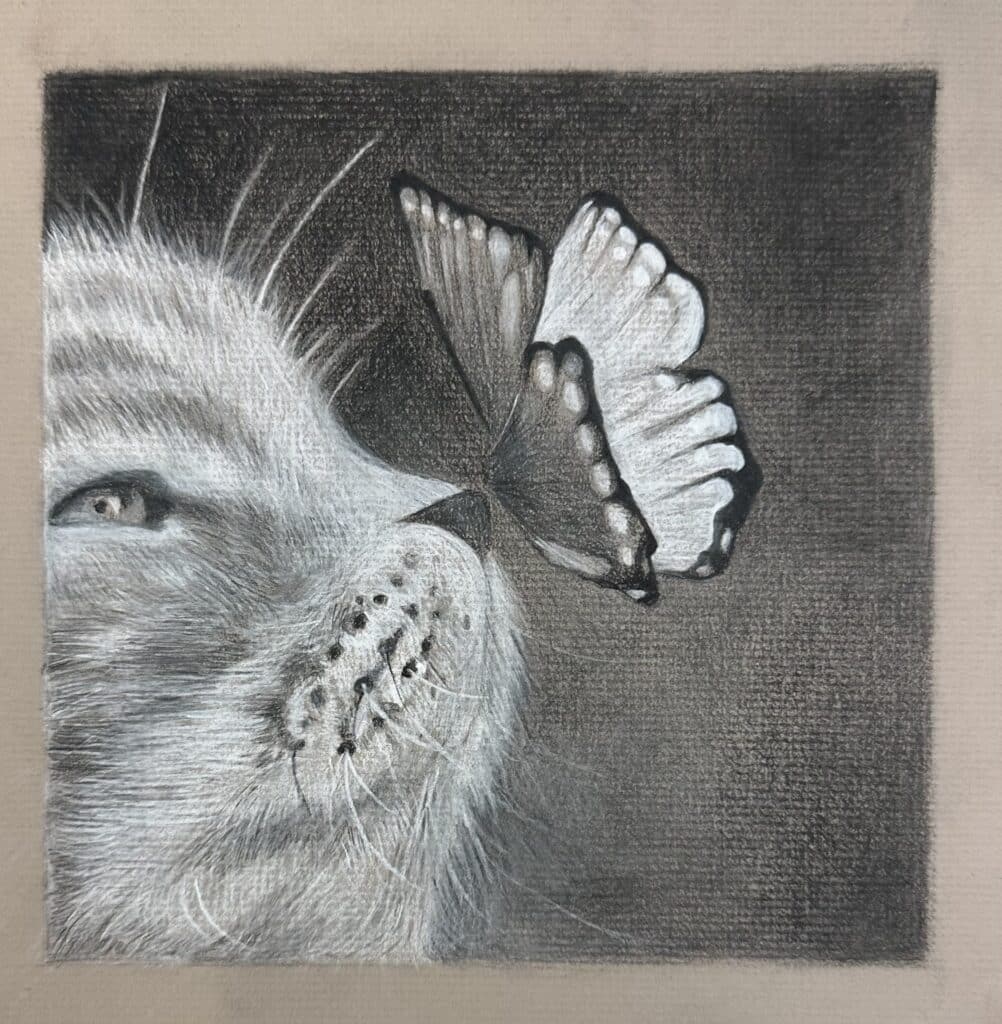
More charcoal or colored pencil drawing ideas
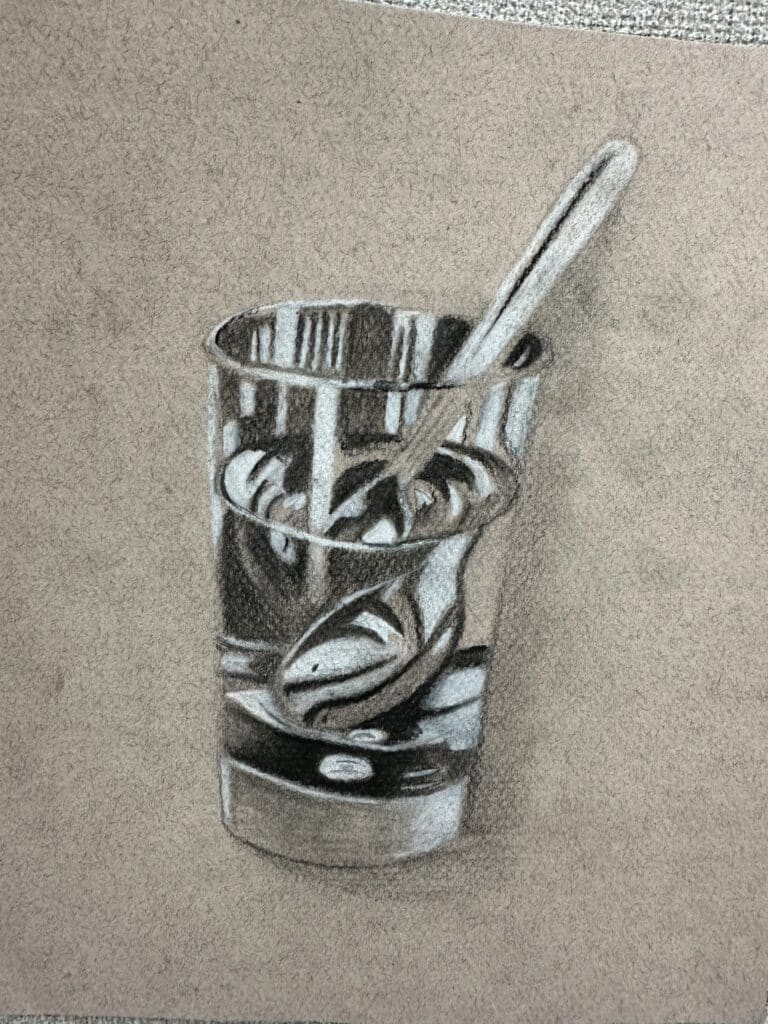
For more high-contrast art project ideas for high school, check out some of these other lessons below. Just click the image to learn more.
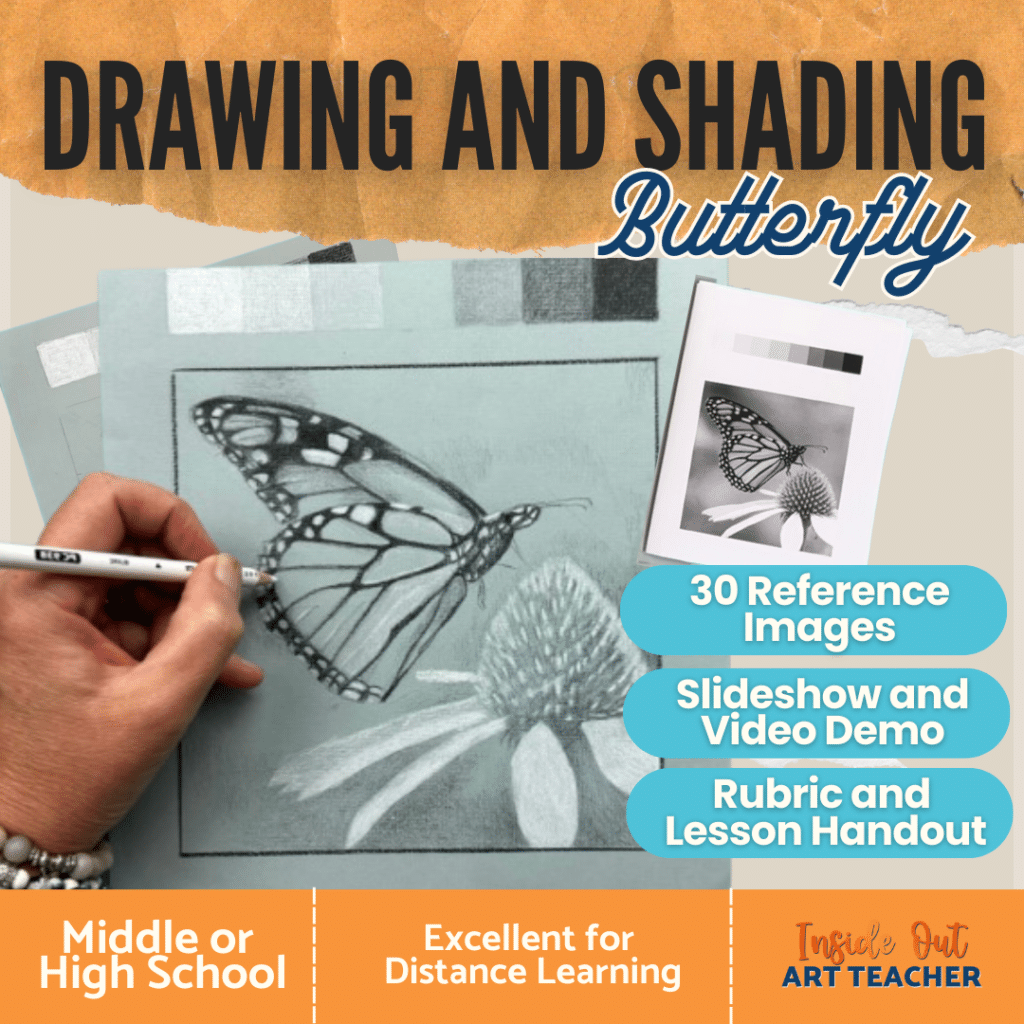
This charcoal drawing lesson is great for intermediate to advanced high school art students .Drawing butterflies charcoal art lesson is great for springtime.Students love drawing reflections in glasses
Get all the reference images and lesson resources here
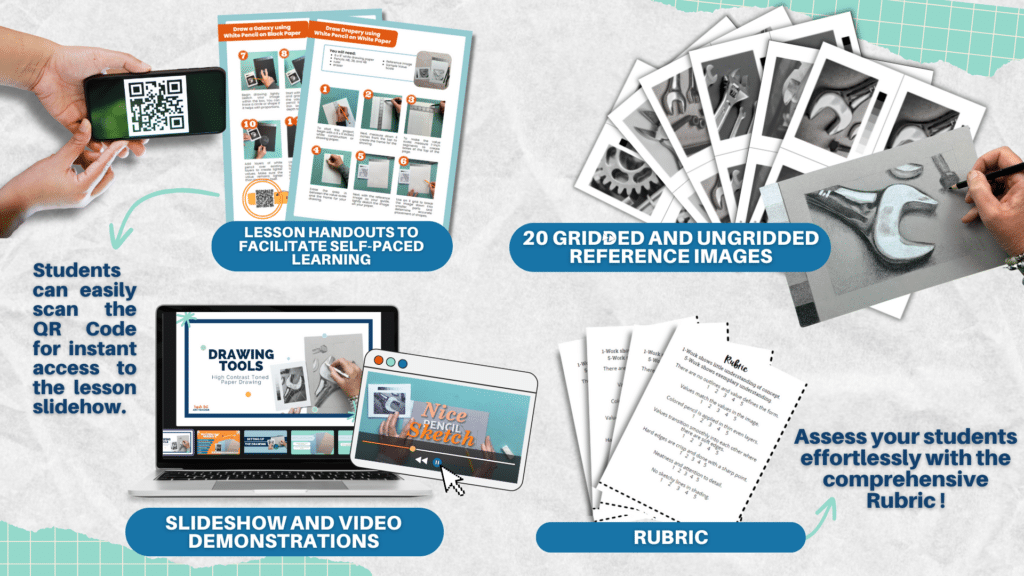
You can find this complete “Drawing and Shading: Tools” lesson with reference images, slideshow, video demonstrations, practice worksheets, handouts, rubrics and more in my resource shop!
What’s included in this lesson? In this complete resource you get:
✅An editable 29 slide Canva slideshow with step-by-step guidance
✅2 video demonstrations showing each step of the art lesson
✅20 gridded and ungridded reference images to draw from.
✅An instructional handout with QR code students can scan to see videos and slideshow
Investing in your artistic journey is an investment in yourself. This lesson is designed to empower you with knowledge, boost your confidence, and enhance your creative expression.
Don’t miss out on this incredible opportunity to refine your skills and create captivating artworks that stand out. Hop on this artistic adventure today!
Be the first to know about discounts, freebies, and new resources!