

Step 1: Prepare the Materials for a More Advanced Shading Project
Materials (student list):
-
Drawing paper (tooth recommended)
-
Pencils: HB/#2 + 2B/4B (or your preferred range)
-
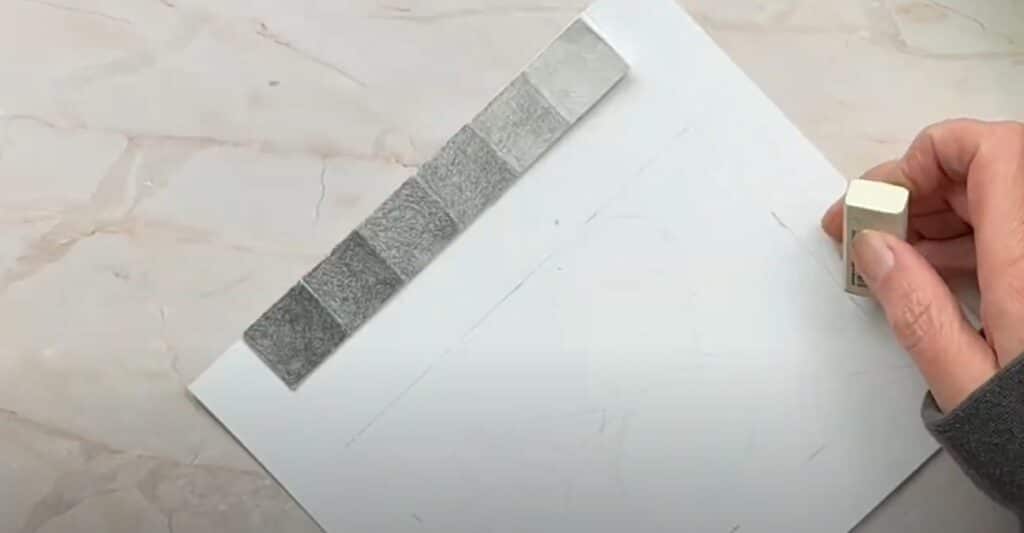
Eraser (kneaded if available)
-
Ruler (optional if framing)
Toothed drawing paper is ideal for this project because it holds multiple layers of graphite and enhances surface texture. Students will need a range of pencils, from lighter grades (HB or #2) to darker B pencils, along with erasers for refining values.
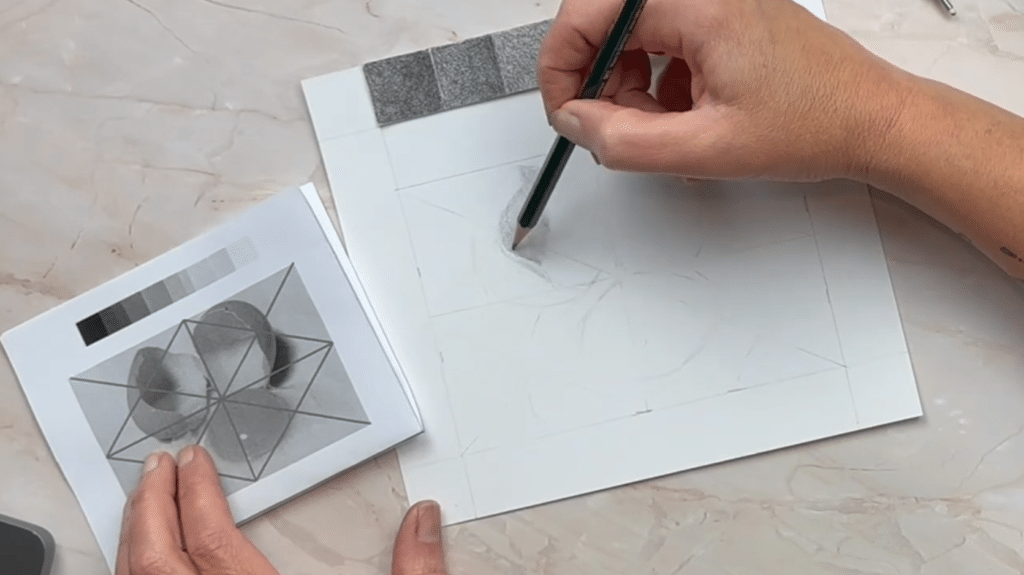
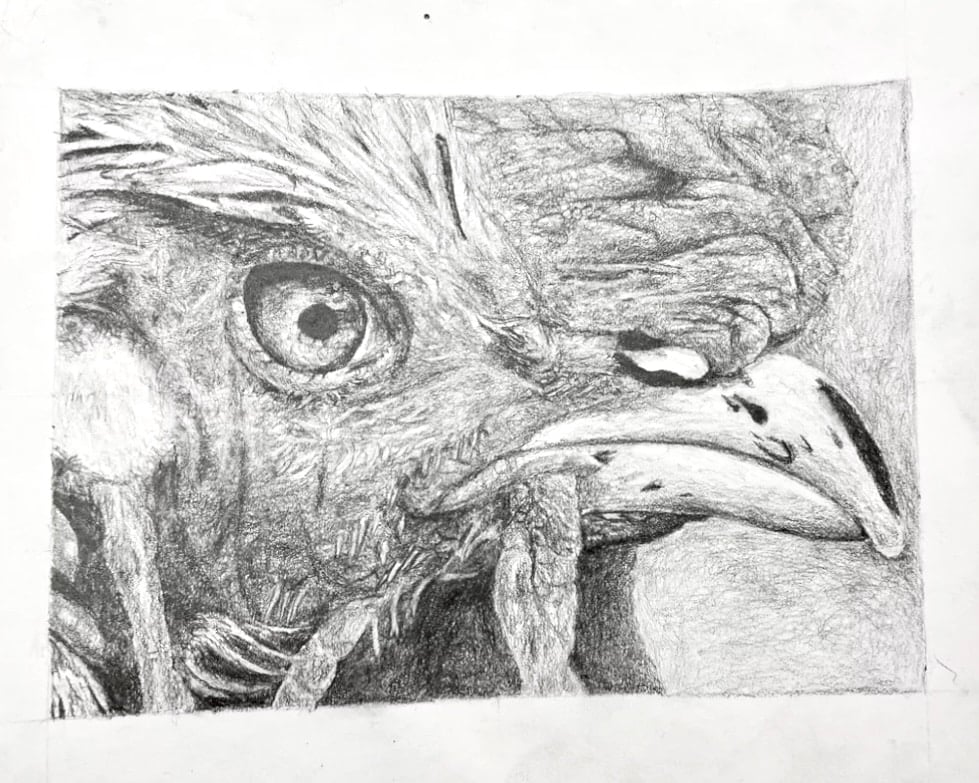
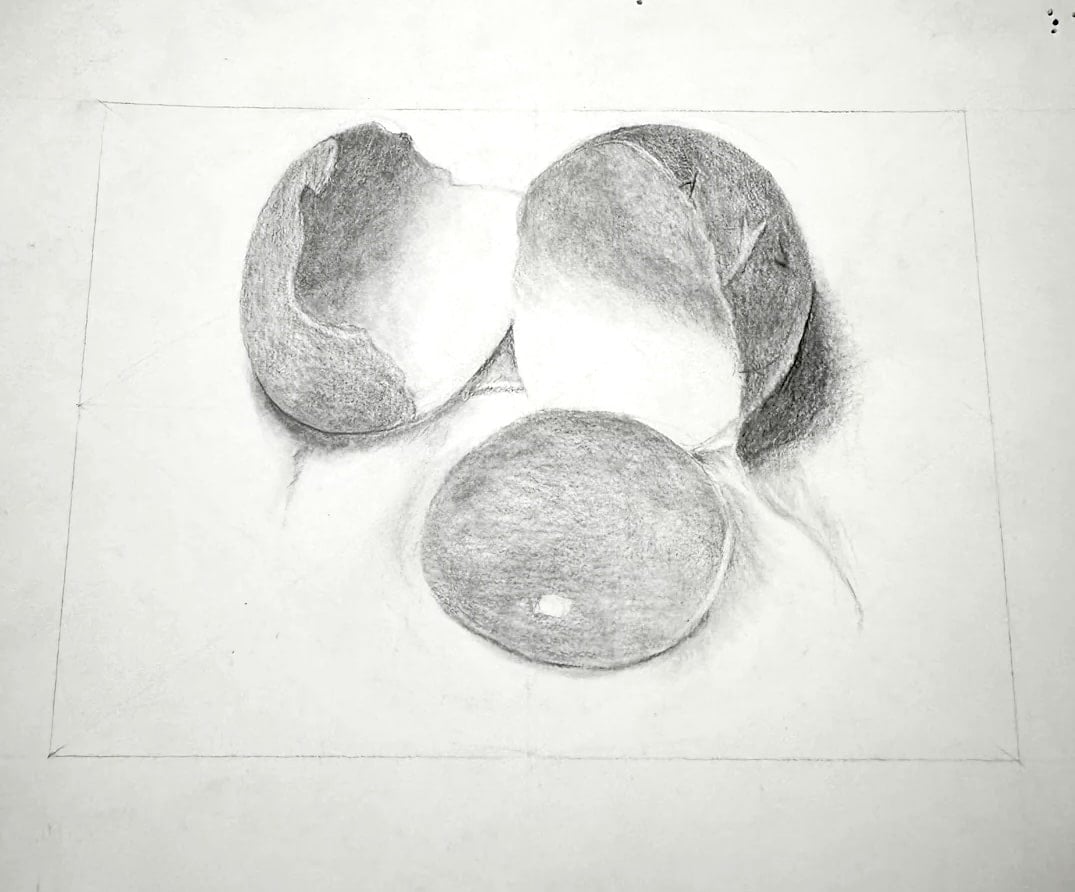
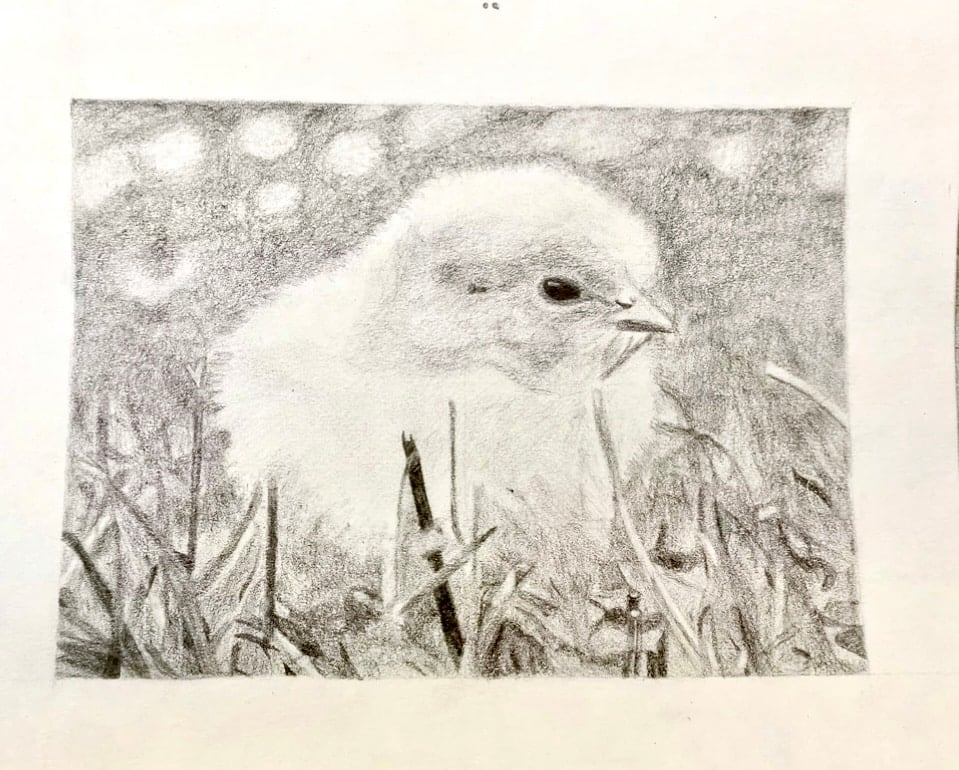
Reference images are essential for this lesson. Chickens and eggs provide strong highlights, soft shadows, and surface variation, making them excellent subjects for teaching value and texture. While students can find reference images online, this process can be time-consuming and inconsistent.
To save time and ensure strong results, I use pre-cropped, black-and-white reference images in both gridded and non-gridded formats, which allow you to differentiate for skill level and keep students focused on drawing rather than image prep.
Students begin with a basic #2 pencil and shade very lightly at first. Darker pencils are not introduced until students have successfully mapped out the drawing and established lighter values. This reinforces the habit of building value gradually, which is critical as drawings become more complex.
Differentiation Tip
-
Use gridded images for students who need support with proportion.
-
Use non-gridded images for advanced students or assessment.
-
Let students “level up” from grid → no grid on the next project.
Step 2: Lightly Sketch the Subject with Accuracy in Mind

Students begin by sketching the outline of their subject using extremely light pressure. This is especially important in a project with more intricate forms and textures.
At this stage, students may use either:
-
Contour line drawing to define the outer edges of the subject, or
-
The X-grid method to help transfer proportions accurately from the reference image.
The grid method works particularly well for this lesson because of the overlapping forms and irregular shapes found in feathers and eggs. Once the basic shapes are in place, students gently erase the sketch lines, leaving only a faint guide. This is where they truly appreciate the reminder to press lightly.
Once students understand how to map proportions and relationships using this method, they’re ready to apply those skills in other projects. You can find more ideas in this collection of high school art projects for drawing, painting, and mixed media.
Bonus Tip: Protecting the Paper Surface
If available, kneaded erasers work especially well for this lesson. They lift graphite without damaging the paper’s tooth, which is important when students are layering values and adding texture later. Remind students to dab gently rather than rub to avoid flattening the surface.
Step 3: Build value slowly with light pressure
This is where the lesson begins to diverge from simpler shading projects.
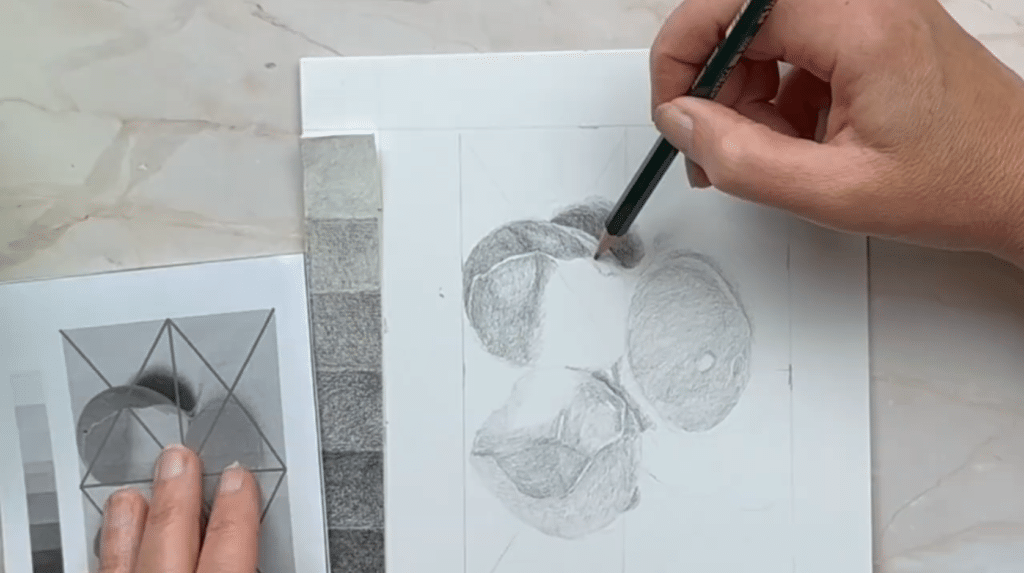
Students start by lightly shading shadow areas using an HB or #2 pencil. These early layers should stay lighter than the final intended value. I often remind students to think of this stage as mapping value, not finishing it.
As students progress, they gradually build darker areas using short, controlled strokes, layering graphite instead of pressing harder. This step requires close monitoring, as students are often tempted to rush the dark values to see quicker results.
Frequent reminders to compare the drawing to the reference image help prevent students from going too dark too soon — a common issue as drawings become more detailed.
Teacher Script (what to repeat all period):
-
“Map value first—don’t finish value yet.”
-
“Your darks should be earned with layers.”
-
“Compare to the reference every 2 minutes.”
Step 4: Introduce Texture and Detail

Once the basic forms and values are established, students begin adding texture and finer details.
This step is especially important in the Chicken or the Egg lesson, as textures such as feathers, cracked shells, and subtle surface changes require careful observation. Students often want to jump to details early, but waiting until the forms are solid leads to stronger results.
Encourage students to focus on:
-
where one value meets another
-
how edges soften or sharpen
-
how light interacts with textured surfaces
If students struggle to see errors, flipping the drawing upside down or rotating the paper can help them notice proportion and value issues more clearly.
Step 5: Refine the Drawing Through Additional Layers
In the final stage, students continue layering graphite to deepen contrast and improve realism.
This step reinforces patience and comparison. Students should regularly step back from their work, compare it to the reference image, and make small adjustments rather than large changes. Taking short breaks helps prevent eye fatigue and improves accuracy.
This stage often separates a “good” drawing from a strong one and helps students understand how layering value creates depth, especially in more complex images.
Common Problems (and Fast Fixes)
-
Too dark too soon: have students lighten pressure + rebuild with 2–3 light layers.
-
Outlines showing: erase back to faint guides; edges should be defined by value shifts.
-
Texture everywhere: remind them texture follows form—save heavy texture for focal areas.
-
Flat eggs: increase contrast in cast shadows and add softer halftones.
Why This Lesson Works as a Follow-Up or Art 2 Project
The Chicken or the Egg drawing lesson works best when students already understand basic shading concepts. It builds on simpler projects — such as a candle drawing — by introducing:
-
more complex forms
-
overlapping shapes
-
surface texture
-
higher expectations for value control
This makes it ideal as:
-
a spring-themed Art 2 drawing project
-
a second or third lesson in a shading unit
-
a follow-up after a candle or still-life drawing
Students are challenged, but not overwhelmed, and the playful spring theme keeps engagement high.
Student Examples of this Easy Spring Art Project


