This positive and negative space art lesson helps students understand how shapes, space, and contrast work together in a strong composition. Designed for beginners, this project builds confidence while reinforcing foundational drawing skills through simple, high-contrast imagery.
It’s a great option for the beginning of the year, mixed-level classes, or anytime you want an engaging project that doesn’t require advanced drawing skills.
What Is Positive and Negative Space in Art?
Positive and negative space in art describes how shapes interact with the space around them to create balance and clarity in a composition. This positive and negative space art lesson teaches students to slow down, observe shapes carefully, and use contrast intentionally. It’s an effective way to introduce composition while keeping the project accessible and engaging for beginners.
Looking for more ideas? Start here: Art Projects for Middle School and Art Projects for High School Students.
This mixed-media negative space watercolor and marker lesson is a quick art project for high school or junior high. Learning to see and be aware of negative space is a fundamental skill that takes practice. This mixed-media art project for high school offers a fun and expressive way to get used to looking at both the positive and negative space when drawing and painting.
This project has been a hit with my middle school and high school students, and I can’t wait to chat with you about how I kick off this lesson. I’ll share with you about what clicked and, of course, disclose the tweaks I’ve made along the way, all rooted in real classroom experiences.
By diving into these easy steps, you and your students are in for a creative ride, mixing marker and watercolor tricks into a masterpiece. So, let’s jump in and let those artistic vibes flow in our Mixed Media Watercolor and Marker Art Project!
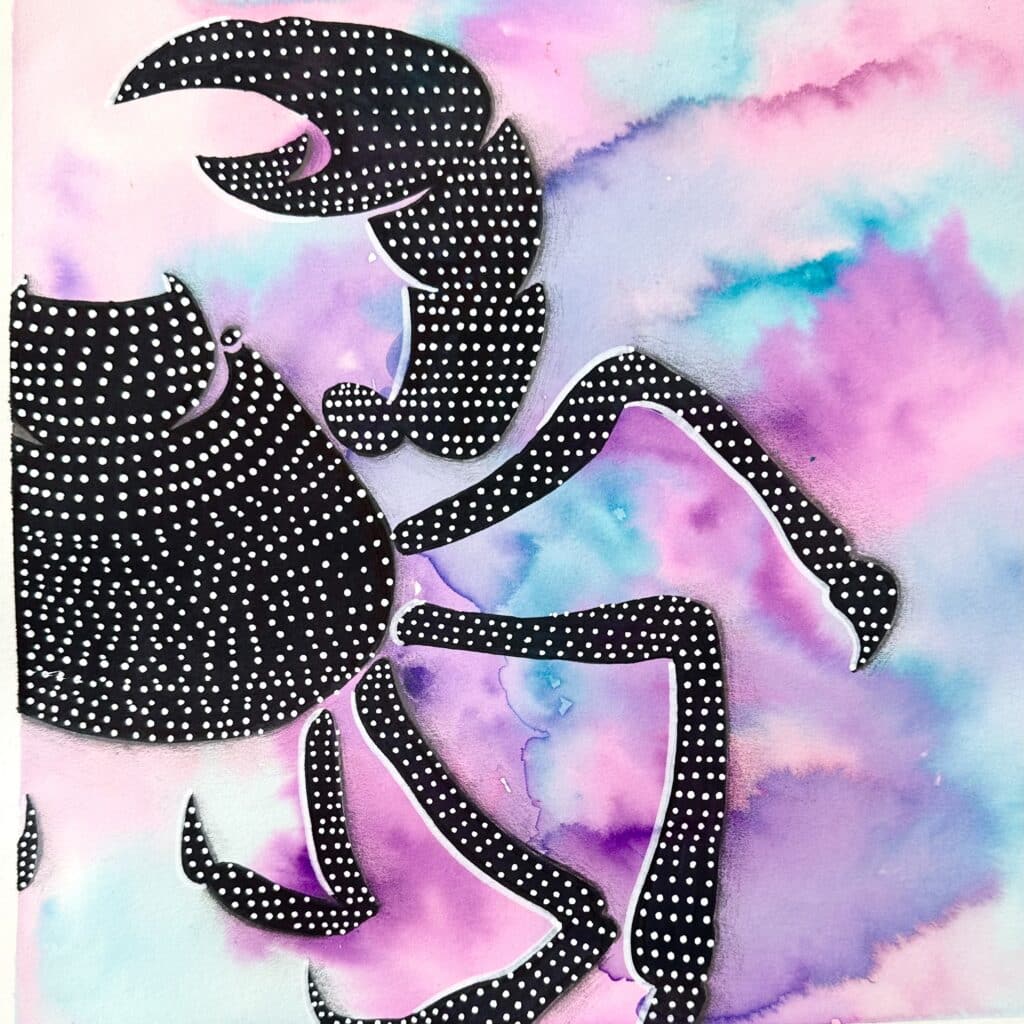
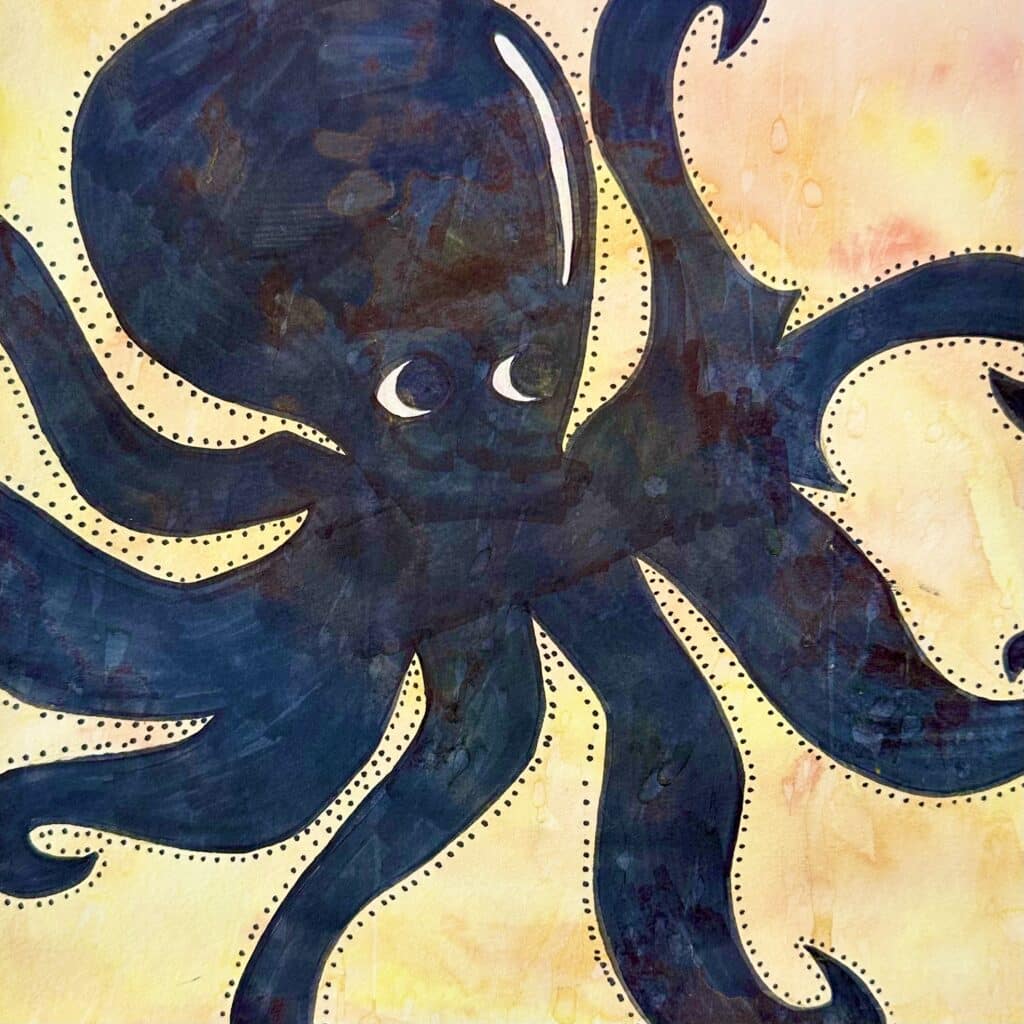
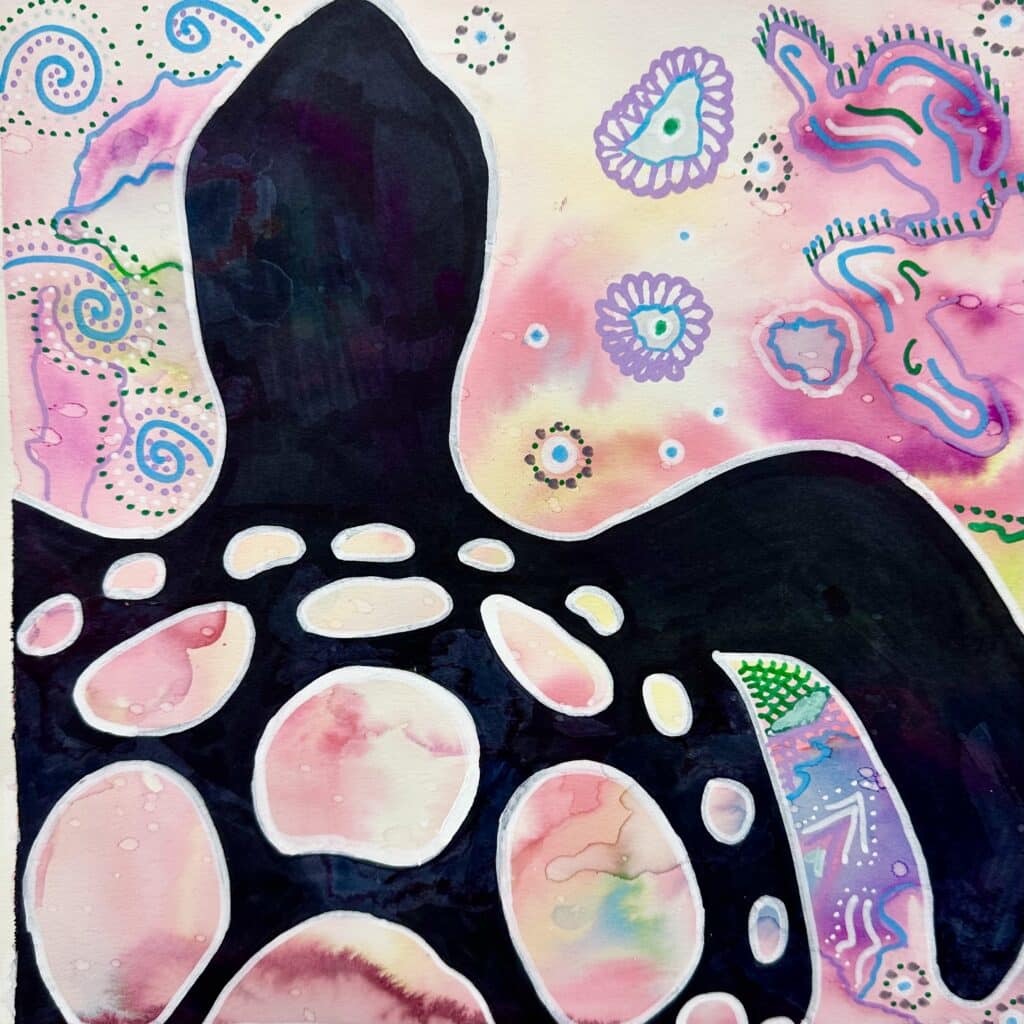
Below are some student examples from my classes. You can modify this lesson to fit your classroom situation by changing the medium or adding more creative details. These examples include paint marker patterns in addition to the marker and watercolor.
Lesson at a Glance (Teacher Quick View)
- Grades: 6–12 (middle school + high school)
- Time: 1–2 class periods (extendable)
- Media: watercolor + marker (or collage alternative)
- Focus skills: positive/negative space, composition, color harmony
- Best for: beginners, mixed levels, early-year routines, sub-friendly days
Step 1: Tape the Border of the Watercolor Paper

Begin by creating a crisp canvas border. To achieve this, start by applying masking tape to the edges. This not only ensures a clean border but also sets the stage for a professional-looking final piece. To simplify tape removal, employ the “lint trick” – sticking the tape to clothes to collect lint. This little hack makes peeling off the tape a breeze without leaving any unwanted residue behind.
Step 2: Watercolor Background (Easy Blending with Analogous Colors)

Now, onto painting the background with watercolor! We’re talking large brushes and analogous colors – those buddies close to each other on the color wheel. Encourage them to mix similar colors delicately, introducing lots of water into the equation to craft the perfect background for their art project. This is the time to stress the importance of not over-controlling the paint. Let the colors take the lead, allowing them to blend naturally and create those mesmerizing transitions.
Sure, you might notice some students hesitating, cautiously testing the waters. But a quick pep talk and a gentle reminder to let the colors bleed and blend usually work like magic.
Step 3: Sketch the Reference Image
Teacher tip: Choose simple silhouettes with bold shapes (animals, plants, hands, sports gear, profiles). If students struggle to pick an image, offer 6–10 pre-selected options at different difficulty levels.

Choosing the right images for this negative space drawing is key. Keep it simple; avoid overly detailed visuals, especially when starting. Silhouettes work great! Don’t stress about finding the perfect images – I’ve got you covered in the complete Negative Space Middle School Art Lesson.
Guide your students in the art of drawing using an X-grid, emphasizing the importance of capturing both positive and negative spaces accurately. For a deeper dive into this easy grid drawing technique, refer to this video or explore further details in this comprehensive Easy Beginner High School Art Lesson blog post.
Now, transfer this silhouette sketch onto good paper using graphite for precision and clarity. (You can read more on that in my Easy Negative Space Drawing blog post!)


Step 4: Marker Silhouette (Positive/Negative Space Design)

Bring your sketch to life using markers (Sharpie, Crayola or your preferred choice of maker) or optionally, oil pastels. Allow students the freedom to decide whether to emphasize the background or the image itself, fostering individual creativity.
Step 5: Finishing Touches for your Mixed Media Art Project!

For the grand finale, peel off the tape to unveil your masterpiece. Embrace the stunning results, imperfections and all. If desired, add a border for a personal touch and a polished finish.

Try a Different Spin on this Positive & Negative Space Mixed Media Art Lesson
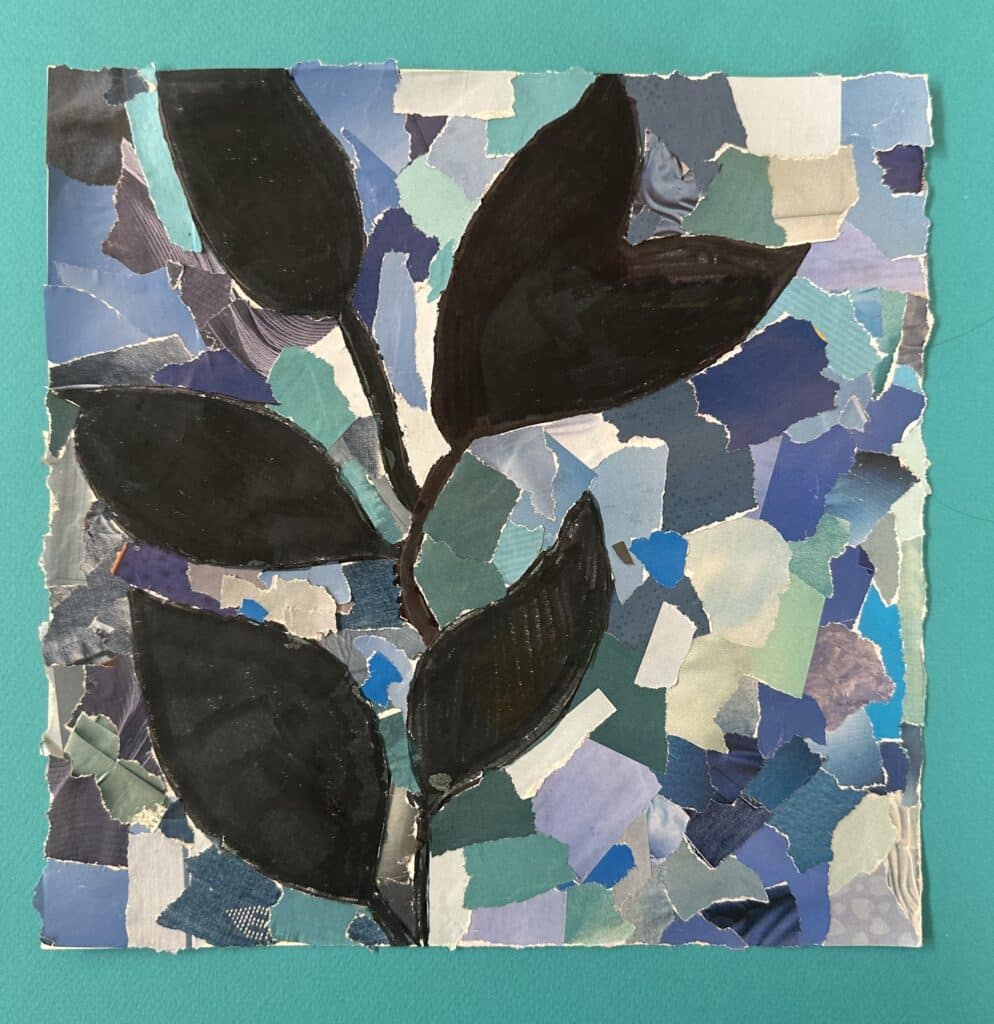
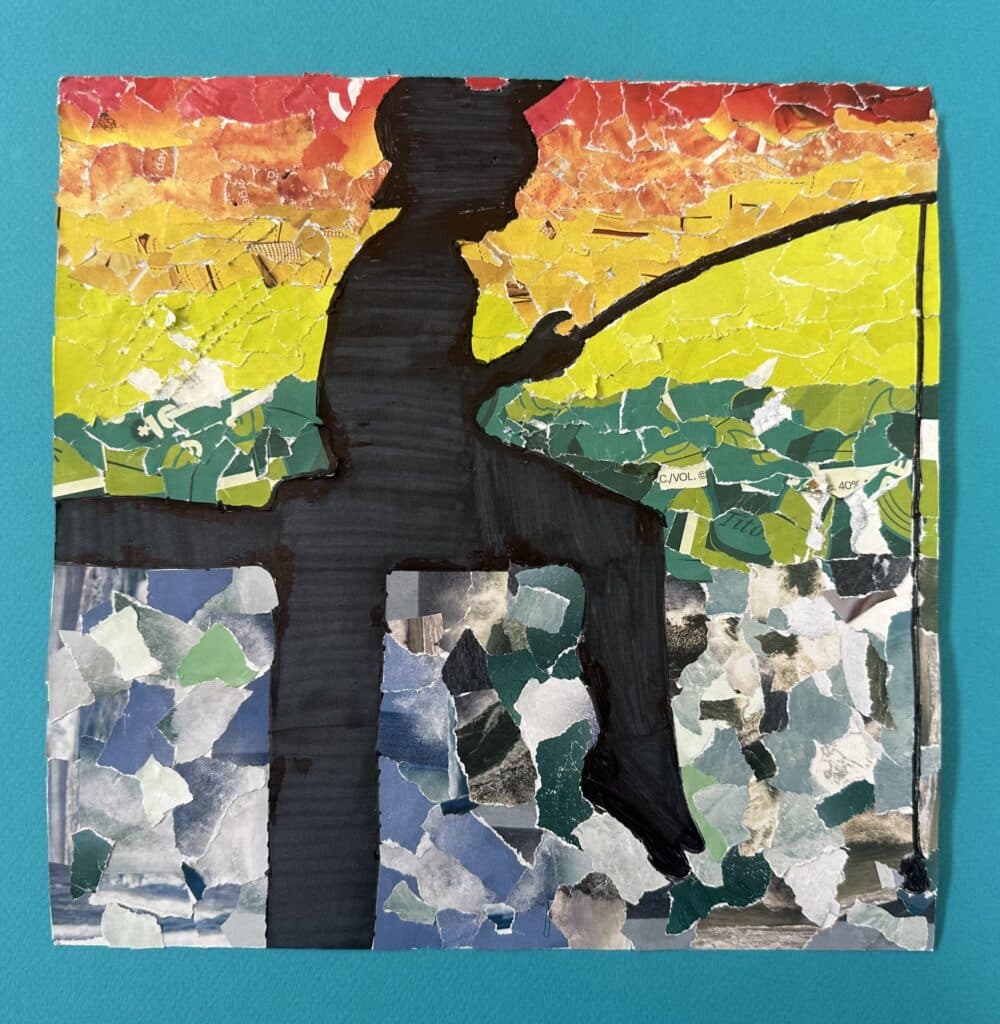
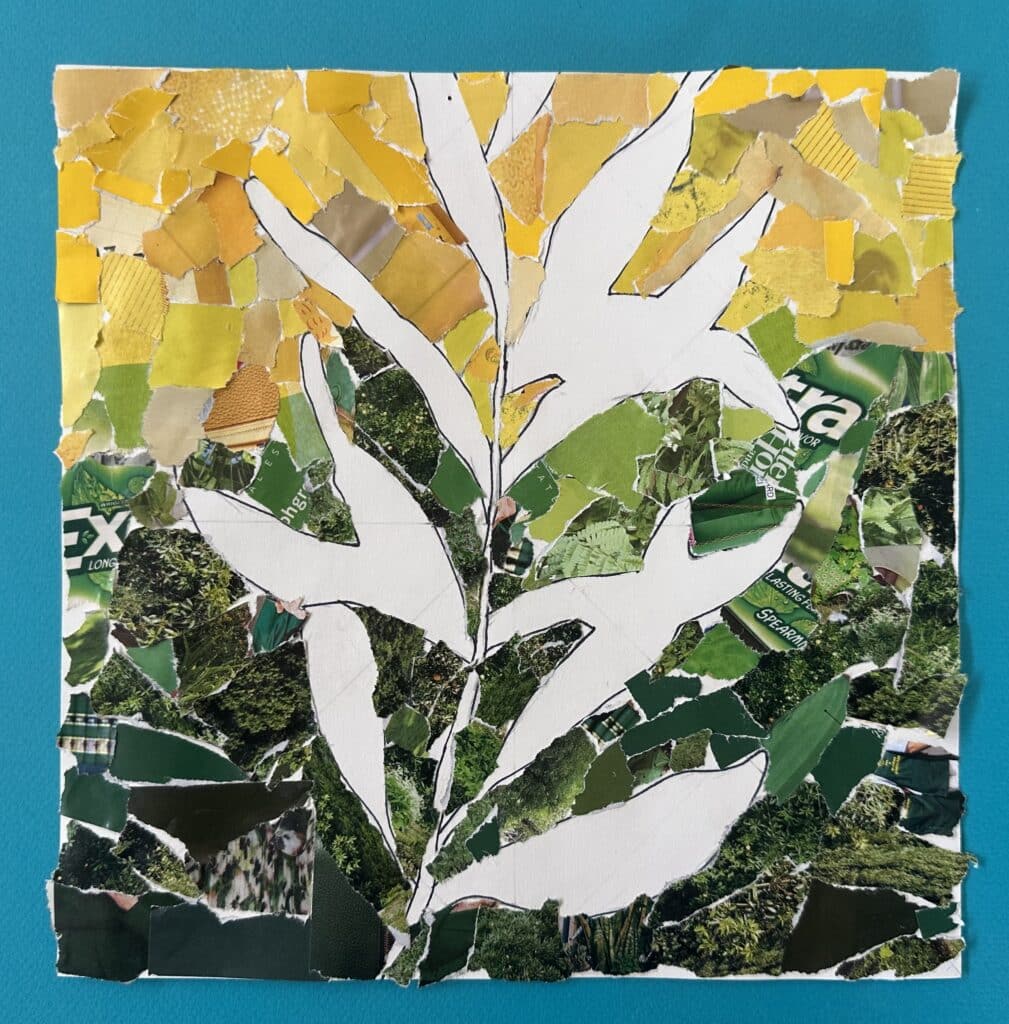
This collage option is perfect if you don’t have watercolor supplies, need a lower-mess version, or want an easy mixed media project that works for substitute teacher days. If you don’t have watercolor or want to mix it up, you can also have your students fill in the positive or negative space of their drawings with torn paper collage. Here are just a few amazing examples of this technique from my own students.
You can find this complete “Negative Space Drawing” lesson with reference images, slideshow, video demonstrations, practice worksheets, handouts, rubrics and more in my resource shop!
What’s included? In this complete mixed media art project for high school resource you get:
✅An editable 54 slide Canva slideshow with step-by-step guidance
✅5 video demonstrations showing each step of the art lesson
✅20 reference images to draw from.
✅An instructional handout with QR code students can scan to see videos and slideshow
✅A practice worksheet
✅Teachers insrtuctions
✅A rubric for easy grading

Ready to continue your creative mixed media art adventure? 🎨
👉 PURCHASE THE LESSON NOW 👈
Investing in your artistic journey is an investment in yourself. This mixed media art project for high school is designed to empower you with knowledge, boost your confidence, and enhance your creative expression.
Don’t miss out on this incredible opportunity to refine your skills and create captivating artworks that stand out. Hop on this artistic adventure today!
Be the first to know about discounts, freebies, and new resources!
Find me on my blog – Inside Out Art Teacher, YouTube, or Instagram.