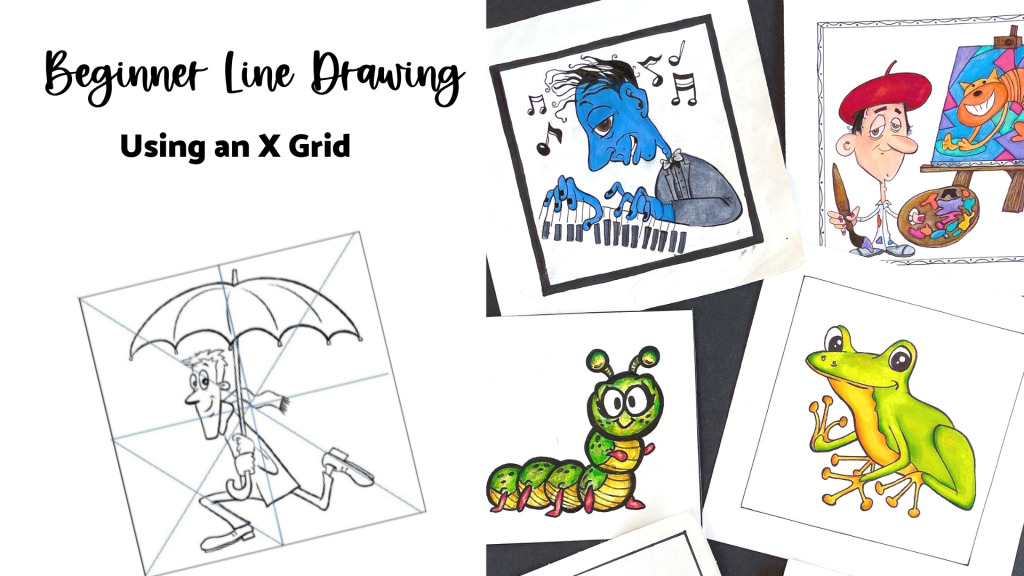
This is my absolute favorite lesson plans for drawing is this beginner high school art lesson. Middle and high school art students can be their own worst critics. If I had a dollar for every student that came to me saying they “just can’t draw” before we even attempted our first project, I would be rich.
One of my favorite parts of teaching art to teenagers is showing them that they are actually AMAZING and capable of things they themselves have already deemed impossible.
I LIVE for that moment they look at their work and you can see the pride in their eyes when something clicks and they realize they themselves just did something they didn’t think was possible.
Building trust is a slow process and although most students want to learn and trust me as their teacher right from the start, it usually is not until they see and experience success in art for themselves that they really start to believe they can learn to draw.
This is why I always start the year with lessons plans for drawing that are simple projects that develop good drawing habits and build the foundation for more complex drawings later.
Teaching students to embrace the ugly stages of a drawing is a huge challenge, but so worth it.
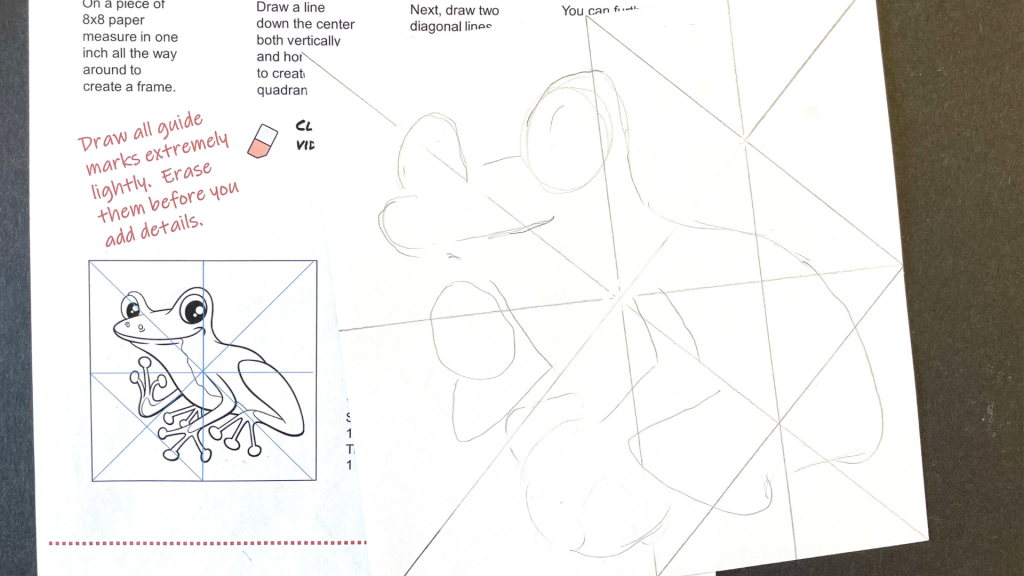
Learning how to map out the proportions of a drawing and not dive into the details from the start is SO HARD for most people learning how to draw. Heck, it is even hard for experienced artists to resist the urge to draw the good stuff first.
I have to show my students OVER and OVER that the beginning stages of a drawing DO NOT always look good. They are so afraid of the ugly stage because they haven’t yet proven to themselves that spending time really examining proportions and relationships (without details) is worth their time from the start.
All artists know there is nothing worse than when you put their heart and soul into one area of a drawing only to realize it is in the wrong spot and you now have to go back and rework something or completely redo it. It is even worse for teachers having to point that out to students. It can totally CRUSH their confidence and reinforce their belief that they can’t learn to draw.
I constantly show and remind my students that even my drawings don’t look great in the early stages. I have to repeat myself over and over and sometimes I feel like a broken record, but if there is one thing that I think is most valuable for them to learn in the beginning it is to develop the HABIT of over analyzing the proportions and the relationships of their shapes BEFORE they even look at the details.
In this beginner high school art lesson, students start with an X and only break the image down as needed.
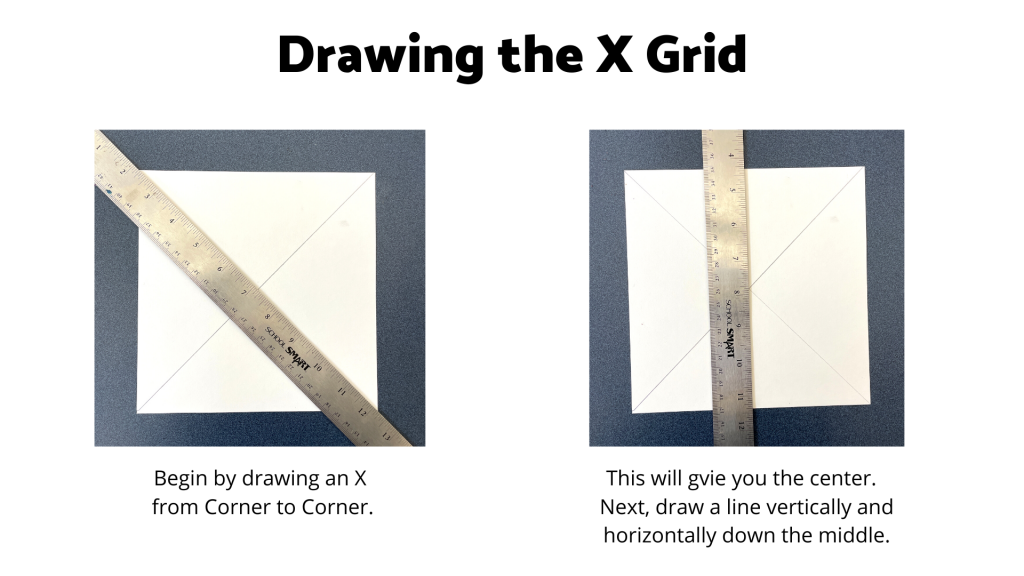
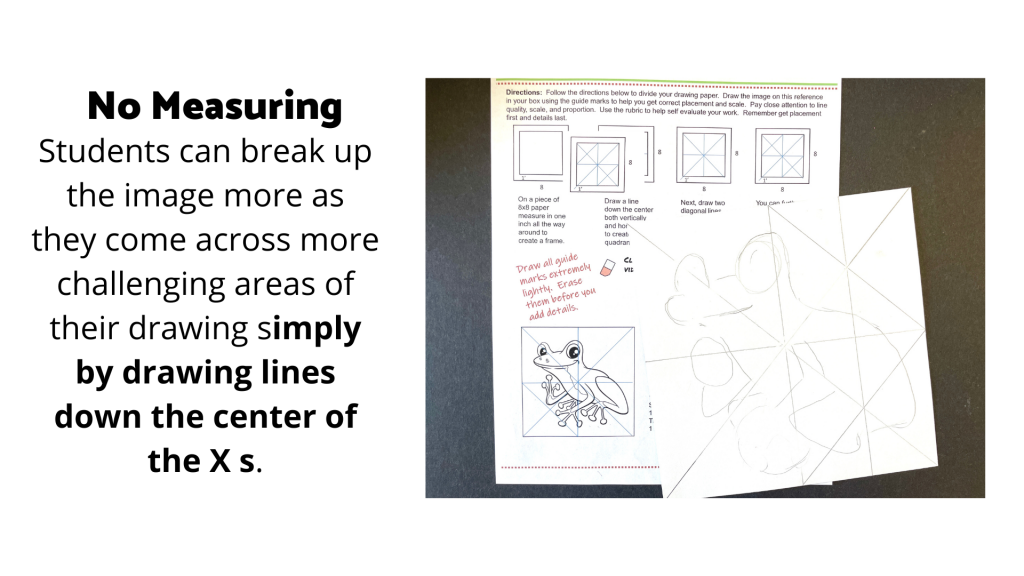
Learning to draw using a grid can help students break an image down into smaller parts and not get overwhelmed by the complexity of it but, it can also become a crutch and hinder their ability to see the bigger picture.
This beginner high school art lesson teaches students how to use the X grid first, because they can start with fewer lines to help scale their drawings without honing in on small details too early. If they are struggling with a specific area it is super easy to add more guide marks without having to measure anything.
I love the X grid mostly because it requires no measuring and you can add lines super fast and only when you need them. This beginner high school art lesson introduces gives students the security of having guide marks without the tight complicated grid.
The first few projects we do use the X grid to get the proportions of the drawing mapped out first. I start small with some super simple line drawing worksheets.
You can click HERE for a free line drawing worksheet for your classes.
The art worksheet is where the magic happens.
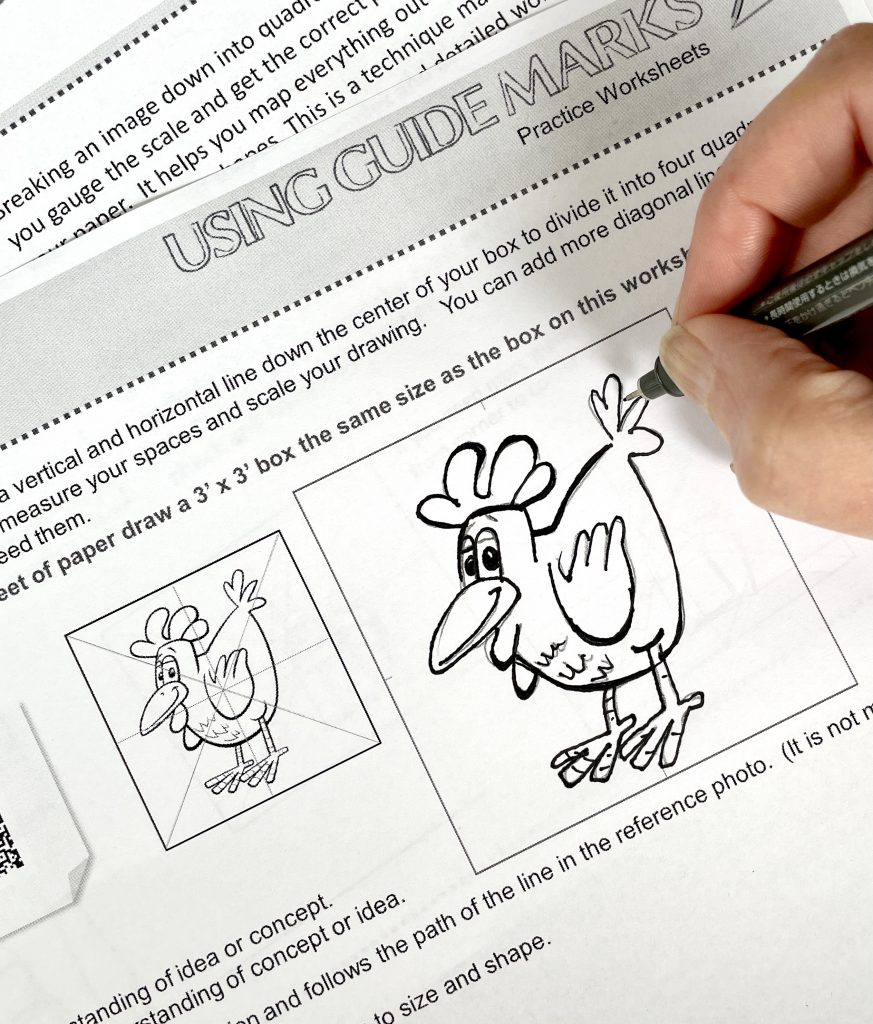
Beginning with a small scale image on a worksheet is so much less intimidating than a larger piece of paper. I’ve found that students are so much less likely to get frustrated if they make a “mistake” on the worksheet and have to erase or rework something.
While they are completing the worksheet I love to tell them that if they don’t find mistakes they are doing it wrong and they aren’t looking hard enough.
There are no mistakes, refining the drawing is the most important part of the process.
The practice drawing worksheet is my opportunity to show them that mistakes actually aren’t mistakes at all. They are part of the process and learning to find them and remembering to look is one of the best habits that they can develop.
I find myself repeating “nobody gets it right on the first try, not even me” very often.
Taking the time to find things that you missed and correcting them early is a huge achievement and will save so much time and frustration later. Most people learning to draw overlook this step and regret it later.
The beginning of the drawing is all about simple shapes and comparing size, space, proportions, and relationships of one shape to the next. If the big shapes aren’t right, the little ones won’t be either.
It is often the second or third time you compare your relationships or proportions that you will get it right.
Most people don’t realize this and move on before they have double checked and compared the basic forms.
Drawing the basic shapes and comparing proportions and relationships is easier said than done.
Students will still be tempted to draw details first even with the x grid and after you have explained it.
I walk around and remind remind remind, I dramatically demonstrate how easy it is to focus on the details and then realize your proportions were wrong. I like the analogy of building a house. You wouldn’t start the trim work or apply the paint
Students get it and appreciate it but the temptation to fine tune before they are ready is so strong. This process takes a little practice and patience to remember and get used to but this is the lesson where everything usually clicks and habits are developed.
How to Draw Using an X Grid
Choosing Good Reference Images to Draw From
You can use this method of drawing with any simple reference photo to get students to scale up their image and map out proportions before details.
You want to choose simple photos with no shading and not too much detail at first. You also need to make sure the dimensions of the reference photos match the dimensions of the drawing.
If you are having students choose their own images and do the measuring themselves, it can be a little hectic with larger classes.
I usually have images available and I pre grid the original photos at first until students get used to the process. The complete beginner high school art lesson with the images, rubrics, slideshow, and video demonstration can be found in my TPT Shop.
After the drawing process comes a little more naturally and they get more comfortable and confident in their abilities, I take the training wheels off and they learn to draw the guide marks themselves.
In the beginning I try to make the isolate the new skill as simple as possible so that they are learning the important things and not getting overwhelmed by too many new processes at one time.
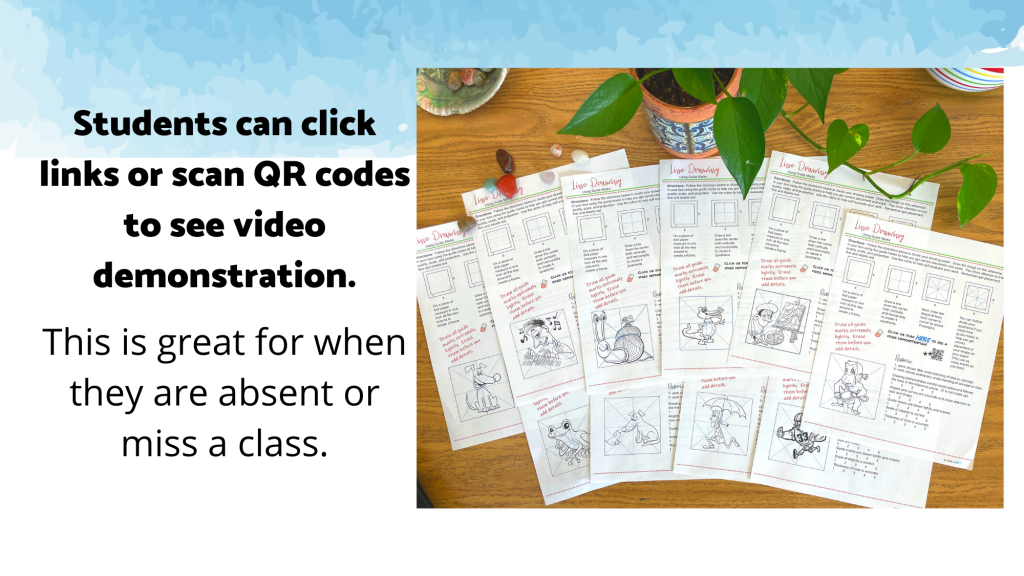
Adding Fine Point Marker to the Drawings and Focusing on Line Quality
Once students are happy with their drawings they use an ultra fine point Sharpie or similar fine line marker to go over their pencil. This is where we focus on variation in thickness of their lines.
Before this project we usually practice this skill in our Neurographic Drawing Lesson so students are already familiar with the process. Adding variety in the thickness of line really makes these drawings come to life an shine.
To Color or Not to Color?
I have done this both ways. Students LOVE to color their drawings, but if they aren’t careful they can easily detract from the beautiful line work especially if they haven’t learned shading or color theory yet.
Before students begin to color, I always review the importance of practicing on scrap paper first, I show them how to layer lighter similar colors in watercolor or marker first then add similar colors over the top with colored pencil to blend and create depth.
I find it easiest to show them a slideshow or video that explains the coloring process quickly at first and then I walk around and give personal demonstrations to small groups. The slideshow that I use is also included in the Simple Line Drawing Lesson in my TPT shop.

Be the first to know about discounts, freebies, and new lesson plans for drawing!
Find me on my blog – Inside Out Art Teacher, YouTube, or Instagram.


