Want to See How to Set It Up?
This video shows the basic Padlet setup. My classroom workflow has evolved, but the technical steps remain the same.

In a busy art classroom, projects multiply like glitter. You start the week with neatly stacked portfolios, and by Thursday there are mystery drawings under tables, half-finished paintings drying in odd corners, and at least one student who swears, “I turned it in.”
Somewhere between creativity and cleanup, things get lost — including your mental energy.
I realized I didn’t just need a grading tool. I needed a documentation and accountability system.
This became one of my core classroom systems that protects my peace. It allows me to capture every student’s work, track daily progress, eliminate lost projects, and reduce grading overwhelm — all while building student confidence.
Here’s exactly how I use Padlet as a digital documentation workflow in my in-person art room.
In This Post
• Why Every Art Teacher Needs a Documentation System
• The Walk-Around Photography Ritual
• How This Eliminates Lost Work & Speeds Up Grading
• Built-In Accountability Without Constant Reminding
• Why I Photograph the Work Myself
• How Padlet Works Alongside Google Classroom
• How This Cut My Grading Time in Half
• What About Rubrics?
• Frequently Asked Questions
The Walk-Around Photography Ritual (AKA: The “Wrap It Up” Window That Solves More Than You Think)
I don’t photograph work every single class period.
I do it during the natural overlap between projects.
As some students are finishing up one project and others are beginning the next, I walk around and photograph the completed pieces. It becomes part of the transition — not an extra task.
There’s always a two- or three-day overlap window.
Some students are wrapping up.
Some are refining details.
Some are already excited to begin the new project.
That transition space is where this system shines.
When a few students start finishing early, I don’t send them to a random “early finisher bin.” I ask them to push their work further — add more detail, strengthen contrast, refine composition. Then we move into the next project together.
Because we’re always rolling forward, students don’t stall out waiting for something to do.
And here’s what naturally happens:
The students who are lagging see the shift. They know the class is moving on. They tend to tighten up their focus so they don’t fall behind on the new project.
No extra worksheets.
No busywork folders.
Just momentum.
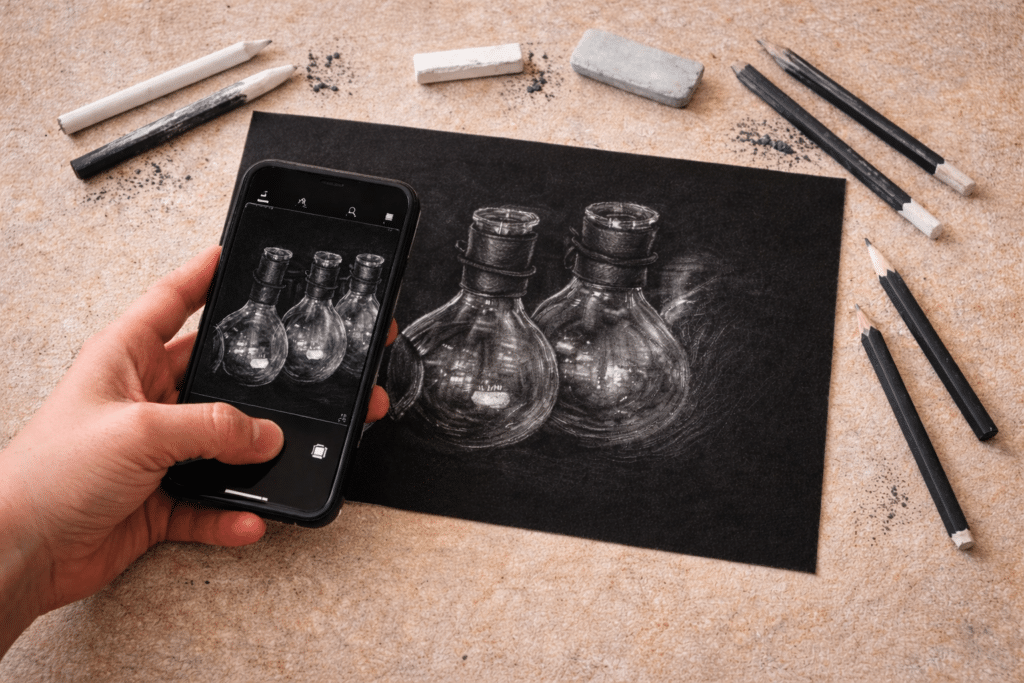
During that finishing window, I photograph the completed work and upload it to our board. It marks closure for one project and signals the beginning of the next.
The documentation becomes part of the rhythm of the room.
This Is Bigger Than an App — It’s a Classroom System
Padlet isn’t the magic.
The system is.
The power comes from having a consistent, repeatable process that:
• Documents every student’s work
• Creates built-in accountability
• Reduces grading chaos
• Protects student confidence
• Protects your mental energy
This digital documentation workflow works because it fits inside a larger structure of intentional art classroom systems.
When your procedures are predictable, your transitions are smooth, and your expectations are visible, the room feels different. Calmer. Clearer. More focused.
You’re not chasing papers.
You’re not sorting piles.
You’re not wondering who turned something in.
You’re teaching.
If you’re working on strengthening your own classroom systems, I break down the bigger framework inside my Art Room Systems Reset Checklist, and you can grab the Free Substitute Teacher Binder there too.
Because when your systems are strong, everything else gets lighter.
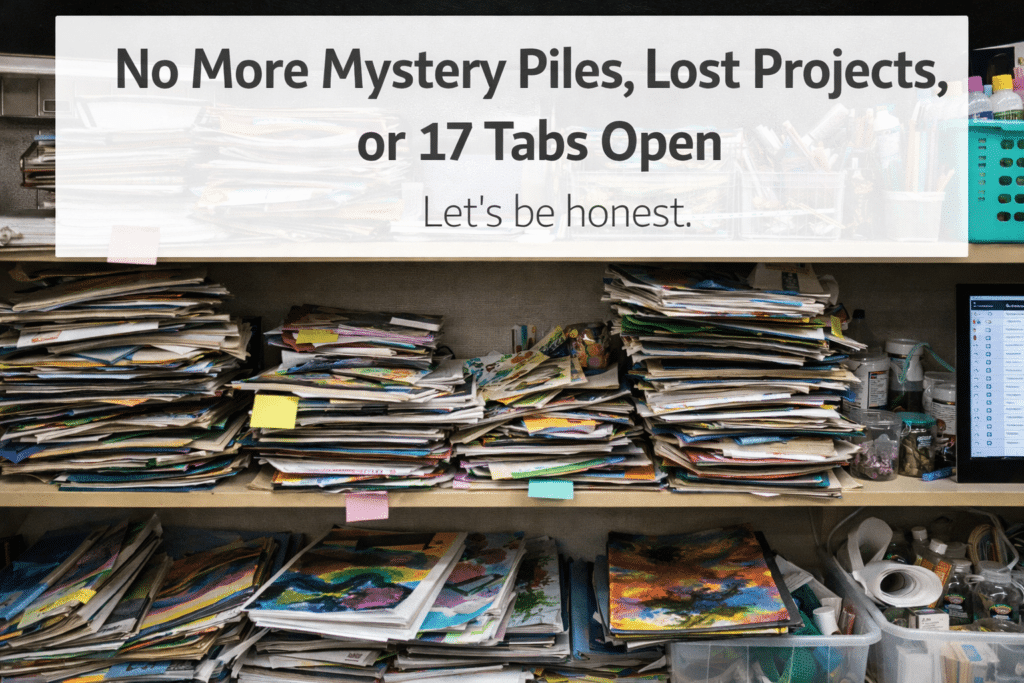
No More Mystery Piles, Lost Projects, or 17 Tabs OpenLet’s be honest.
We’ve all had the “turn it in” moment where students drop their work in a pile on your desk… and you smile confidently… while secretly hoping it doesn’t disappear into the paper abyss.
By the end of the day, there’s a stack. By the end of the week, there are multiple stacks. And sometimes you don’t even get the chance to review the work in the moment — which means you miss opportunities to say, “Add more detail,” or “Push that contrast a little further.”
I’ve tried using Google Classroom alone, too. It works — but you have to click a file, open a file, close a file, open another tab, scroll, click again. You can’t see everything at once in a clean visual flow.
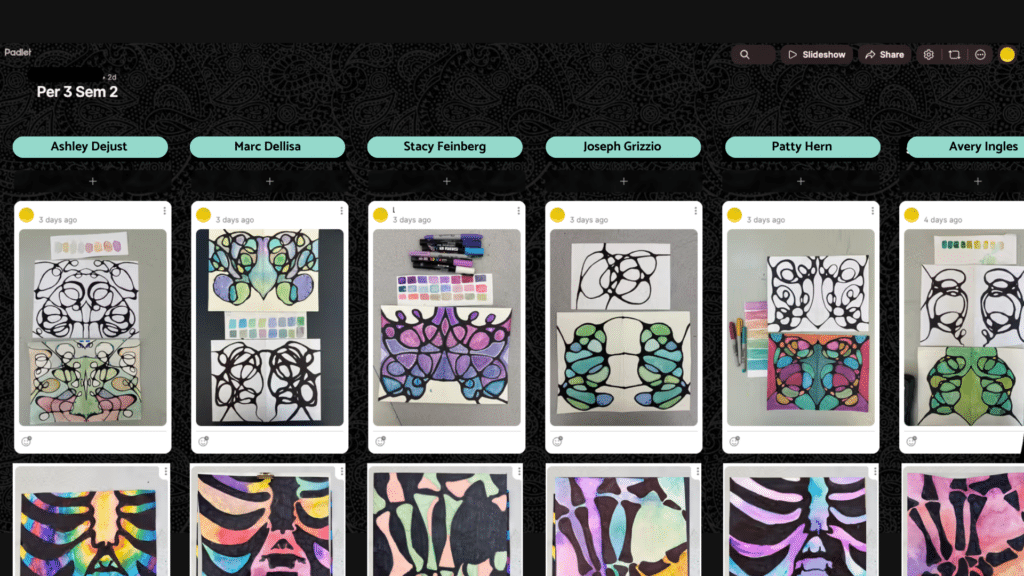
What makes this system different is the layout.
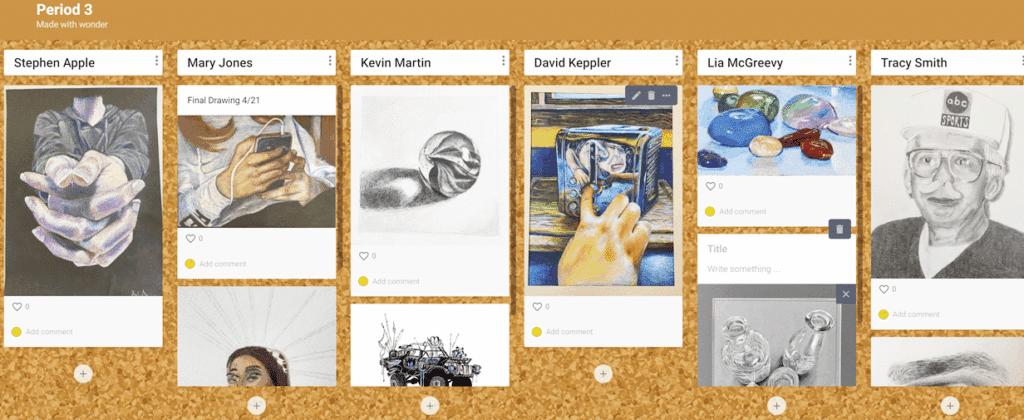
In Padlet, each student has their own alphabetized column. Their work builds vertically over time. You can literally see progress project by project as their skills grow.
For me, that means:
• No physical papers to sort or alphabetize
• No mystery piles
• No endless tabs to open
• Faster grading from my computer
• A clear visual record of growth
I can scroll a single student’s column and assess efficiently. Or I can scan across the board and see the entire class at once.
It also functions as a digital portfolio.
I keep the Padlet link posted inside Google Classroom so students can always access it. They can see their own work, see what classmates are creating, and reflect on progress. It becomes part gallery, part progress tracker.
Administrators love it during observations because the evidence is visible immediately. Growth is documented. Process is clear.
And one unexpected bonus? I always have the app on my phone.
If another teacher mentions a student, I can quickly pull up their artwork and share it. That moment travels. The student hears about it in another class. And that kind of cross-class recognition quietly boosts confidence in a way that’s hard to manufacture.
All because the work isn’t buried in a pile — it’s organized, accessible, and alive.
Built-In Accountability Without Constant Reminding
One of the biggest shifts I noticed after implementing this system wasn’t about grading.
It was about behavior and ownership.
Students know their work will be photographed and documented when they finish. That simple expectation changes the room dynamic.
There’s less drifting.
Less pretending to be “almost done.”
Less confusion about what was completed and what wasn’t.
Because progress is visible.
If a student is behind, they can see it.
If they’ve improved, they can see it.
If they rushed something, it’s clear.
The system quietly reinforces responsibility without me having to hover or repeat instructions.
It also creates natural momentum between projects.
When we enter that overlap window — some students finishing, some beginning — the documentation marks closure. It signals, “This project is complete. We’re moving forward.”
No early-finisher busywork.
No artificial filler assignments.
Just steady forward motion.
And when systems create momentum instead of friction, the entire classroom feels calmer.
This digital workflow is just one piece of the larger art classroom systems I use to reduce friction and build student ownership.
Why I Photograph the Work Myself (And Stopped Making Students Do It)
I haven’t always used this system the same way.
There was a time when I had students photograph and upload their own work. It worked… mostly. But there were always a few who forgot. A few who rushed it. A few who “accidentally” didn’t upload anything at all.
And when that happened, the documentation broke down.
Once I started photographing the work myself during that transition window, everything changed.
First, nothing gets forgotten.
Even if a project is half done, I photograph it. Even if a student isn’t thrilled with it, I photograph it. Something gets documented — whether they like it or not.
That alone eliminates the “I didn’t turn anything in” situation.
Second, it creates a built-in one-on-one interaction.
When I’m the one holding the camera, it gives me a natural reason to pause next to each student. I can ask a quick question. Give quick feedback. Encourage a final detail. Redirect gently if needed.
It turns documentation into connection.
Over the years, I’ve used Padlet in different ways. During virtual learning, students tracked progress daily because I couldn’t physically see their work. I needed that digital check-in.
Now that we’re back in person, I see them every day. I talk to them every day. They can’t quietly fall behind the way they once could.
But we still look forward to that photographing moment.
It marks completion. It signals growth. And it reinforces that their work matters enough to be documented.
What About Rubrics? (And How I Handle Grading Transparently)
A lot of teachers ask about rubrics.
I don’t use a traditional paper rubric that gets stapled to the back of a project and then disappears into a folder.
Instead, I build my rubric categories directly into our school’s grading platform (we use Genesis, but every school system has something similar).
Rather than seeing “Watercolor Project – 85,” students see the grade broken down into categories.
For example:
• Color harmony
• Layered paint application
• Craftsmanship
• Composition
Each category has a description built into the grading platform, and students can see exactly how many points they earned in each area.
So if someone created a beautiful line drawing but rushed the color application, they can see precisely where points were gained and where they were lost.
It’s transparent.
Parents can see it.
Students can see it.
Administrators can see it.
And if anyone ever questions a grade, I don’t have to dig through folders or find a missing rubric. Everything is documented digitally, screen to screen.
Combined with the visual documentation from Padlet, grading becomes clear, structured, and defensible.
No mystery numbers.
No vague feedback.
No paper trail to chase.
Just clarity.
How Padlet Works Alongside Google Classroom
I still absolutely use and love Google Classroom.
Google Classroom is my instruction hub.
That’s where I post:
• Slideshows
• Reference images
• Video demonstrations
• Project directions
• Rubric categories
• Assignment expectations
Students can see exactly how they’ll be graded from the beginning because the rubric categories are outlined there and then entered into our grading platform.
Padlet serves a different purpose.
Padlet is my documentation hub.
Inside each Google Classroom assignment, I attach the link to our Padlet board. Students know that when they finish a project (or reach that transition window), their work will be photographed and added there.
Everything lives where it makes sense.
Google Classroom = materials and instruction.
Padlet = visual progress documentation.
Grading platform = transparent category breakdown.
When each tool has a clear role, the system runs smoothly.
How This Cut My Grading Time in Half
This system has dramatically reduced the time I spend grading student artwork.
Because everything is visually organized and alphabetized, I can assess efficiently from my computer.
I can:
• Scroll one student’s full column to see growth over time
• Compare projects side-by-side
• Enter grades directly into our grading platform
• Leave quick voice or written feedback when needed
Before students even walk into the room, I know who needs extra support and who is ready to push further.
Instead of spending my time sorting stacks of artwork, I spend it teaching.
That shift alone has been worth it.
Getting Started with Padlet
To begin, go to www.padlet.com and create an account.
Padlet offers both a free and paid version.
The free version allows you to create up to three boards. The paid version allows unlimited boards and additional organizational features.
I started with the free version and later upgraded once I saw how much time it was saving me. The workflow efficiency alone made it worth it.
Many schools already have a subscription, or are willing to purchase one if you ask. It’s worth checking with your administration or technology department first. Some teachers have even had success getting support through their PTSO.
If a paid subscription isn’t an option, you can absolutely make the free version work. You may just need to organize multiple classes within a single board.
The system matters more than the subscription.
Frequently Asked Questions About Using Padlet in the Art Classroom
Do you photograph student work every day?
No. I photograph student work during the natural transition window between projects — when some students are finishing and others are beginning the next assignment. This keeps the process efficient and avoids disrupting instructional time while still ensuring every project gets documented.
What do you do about early finishers?
I don’t send students to unrelated “early finisher” activities. Instead, I ask them to refine their current work — add detail, strengthen contrast, improve craftsmanship — and then transition into the next project. Because there’s always a short overlap window, the class keeps moving forward without filler assignments.
Why don’t you have students upload their own work?
I used to. But photographing the work myself creates a built-in one-on-one interaction with every student. It also eliminates forgotten uploads. Even if a project isn’t fully complete, it still gets documented. Nothing slips through the cracks.
How do you handle grading and rubrics?
I build my rubric categories directly into our school’s grading platform. Instead of one overall project grade, students see specific category breakdowns (such as craftsmanship, composition, or color use). Combined with the visual documentation in Padlet, grading is clear, transparent, and easy to defend if questions arise.
Can this work with Google Classroom?
Yes. I use Google Classroom as my instructional hub for slideshows, directions, reference images, and rubric expectations. I attach the Padlet link to each assignment so students always know where their documented work lives. Each platform has a clear role within the system.
Do you need the paid version of Padlet?
No. You can start with the free version. It allows a limited number of boards, but you can organize multiple classes within one board if needed. The system works regardless of subscription level — consistency is what makes it effective.
How does this improve classroom management?
Because progress is visible and documented, accountability increases naturally. Students know their work will be photographed and reviewed. This reduces drifting, eliminates “I turned it in” confusion, and creates steady momentum between projects.
Shirts for Art Teachers Who Grade Art (You Know How It Is)
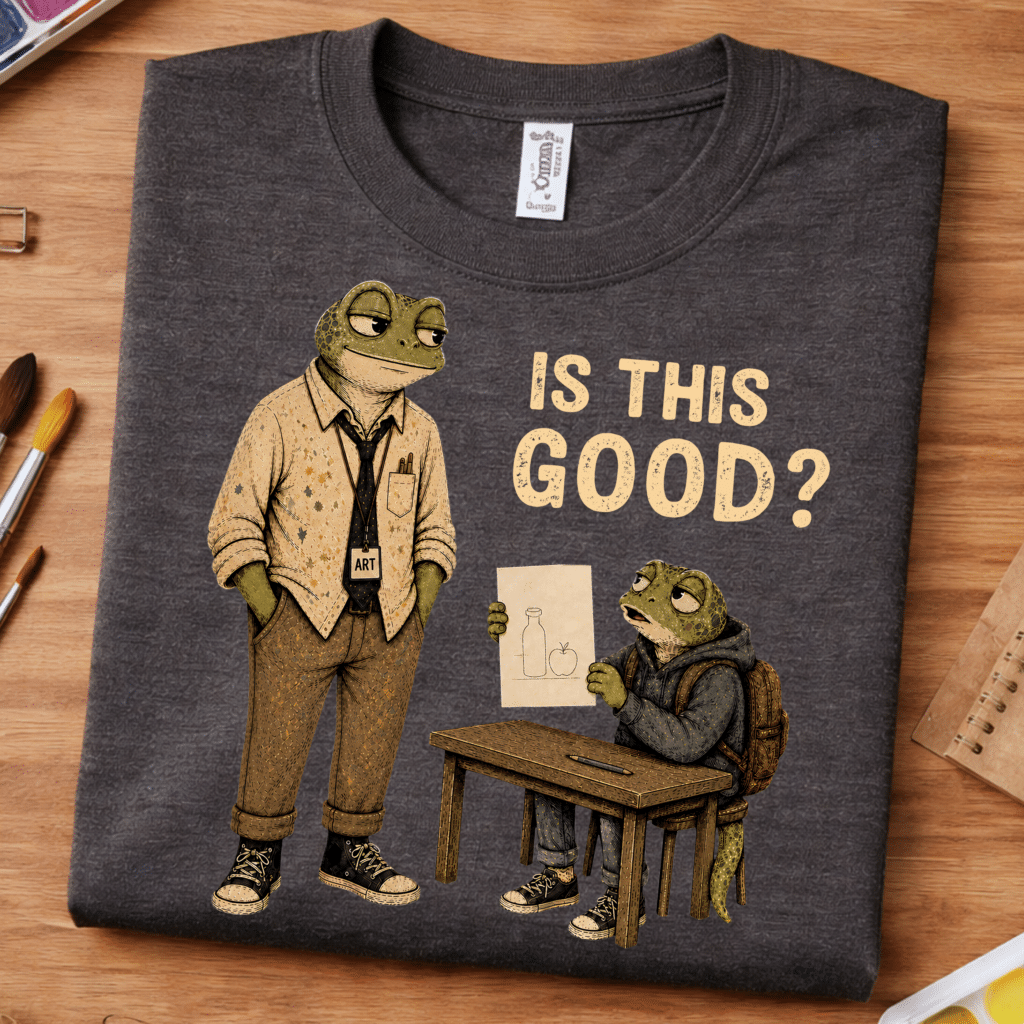

Is This Good?
They’ll Remember Their Phone
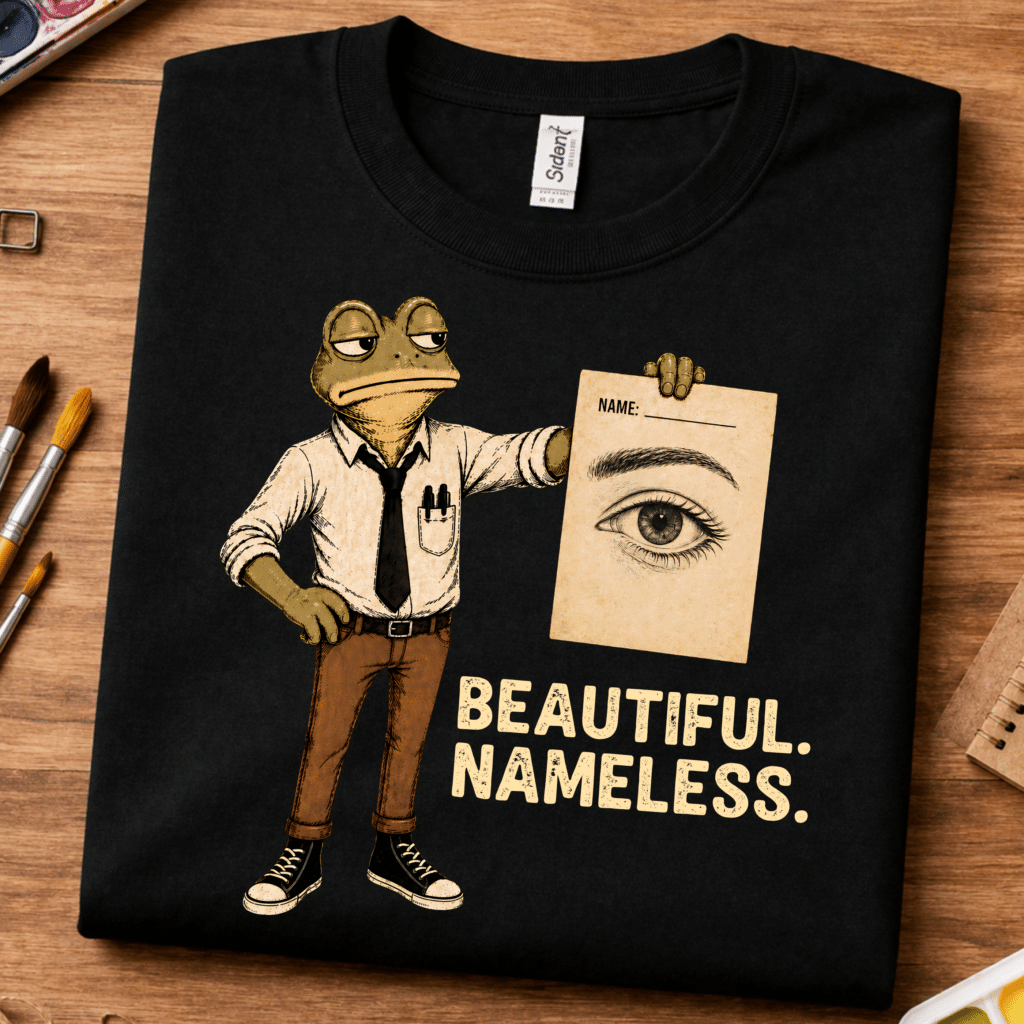
Beautiful. Nameless.
Be the first to know about discounts, freebies, and new resources!
Find me on my blog – Inside Out Art Teacher, YouTube, or Instagram.


