Hey there! Get ready to add some serious depth and dimension to your colored pencil drawings with this super fun tutorial! Today, we’re going to be creating tints and shades of color in a flash by layering markers and colored pencils. The end result? Some absolutely stunning colored pencil crystals that are sure to impress.
And the best part? These crystals are perfect for incorporating into your Neurographic art designs. Talk about taking your drawings to the next level!
But that’s not all – next week, we’ll be diving even deeper and showing you how to create these crystals from scratch AND how to incorporate them into your Neurographic art designs. It’s going to be an absolute blast.
And if you’re hungry for even more knowledge, don’t worry – I’ve got you covered. All of the reference images, handouts, and worksheets that I used here will be linked below. You’ll get access to a whole package of goodies, including a slideshow with multiple video demonstrations, all of the reference images, value scales, handouts, a rubric, and anything else you need to teach your students or learn how to layer colored pencils like a pro.
So what are you waiting for? Let’s get started!
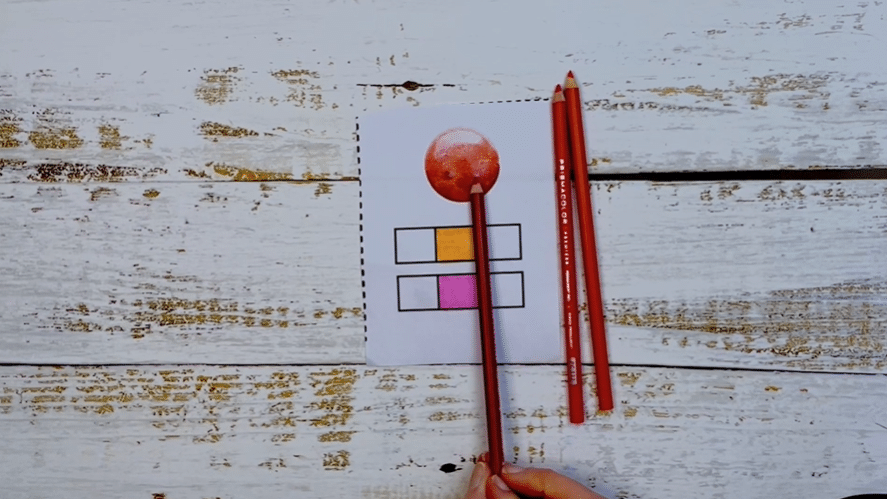
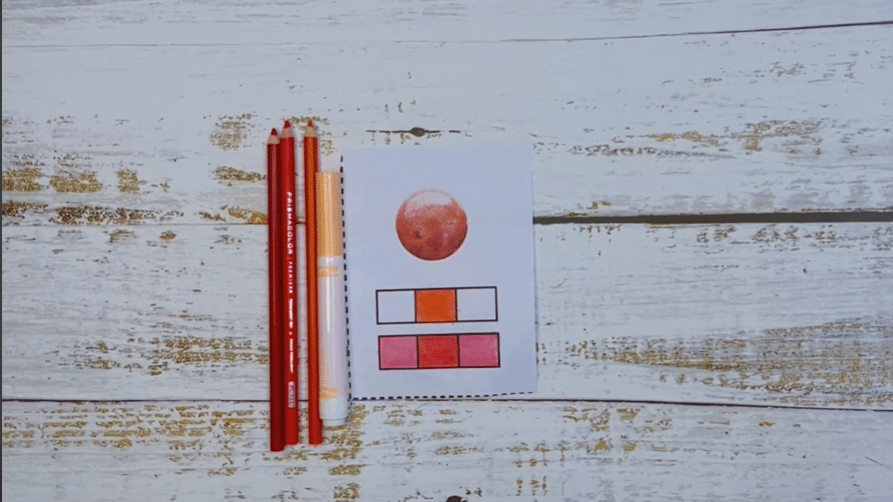
Step 1: Choose your markers!
It’s time to get your marker game on and choose the perfect shade for your students’ crystal drawings.
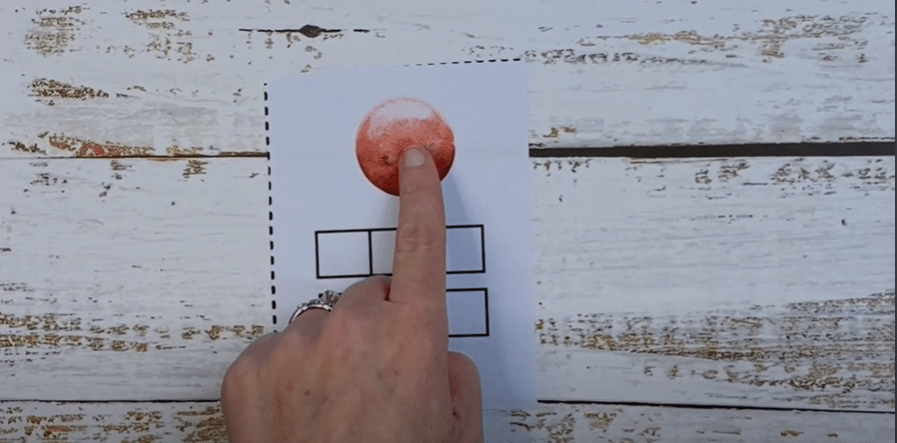
To create depth and dimension in your crystals, it’s important to choose a marker color that’s lighter than the middle value of the crystal. This will make your crystals pop and look like they’re about to jump off the page. Unless, of course, you’re going for the “crystals that have been run over by a steamroller” look. Hey, I don’t judge.
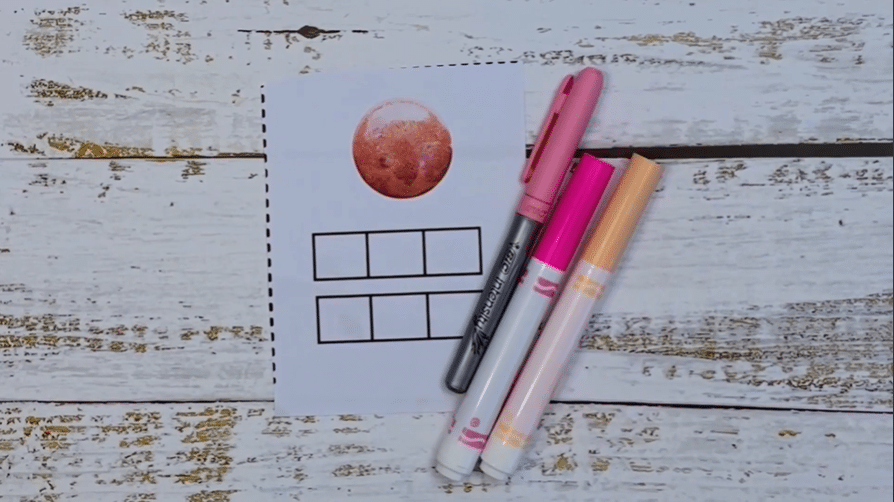
Now, we all know that marker colors can be deceiving. That’s why it’s important to make sure you (if you are the artist) or your students (if you are the teacher) do some practice coloring before letting loose on the final project. Often the marker color comes out completely different than the color of the cap.
And let’s not forget to have some fun with it! Try out different shades and colors until you find the one that makes your students’ crystals shine like diamonds in the sun. I promise your students will thank you for it, and who knows, you might just inspire the next Picasso in the process.
Step 2: Choose your colored pencils
It’s time to dive into step two of our crystal drawing adventure – choosing your colored pencil colors! Don’t worry, it’s not as daunting as it sounds. I’ll have you coloring like a pro in no time.
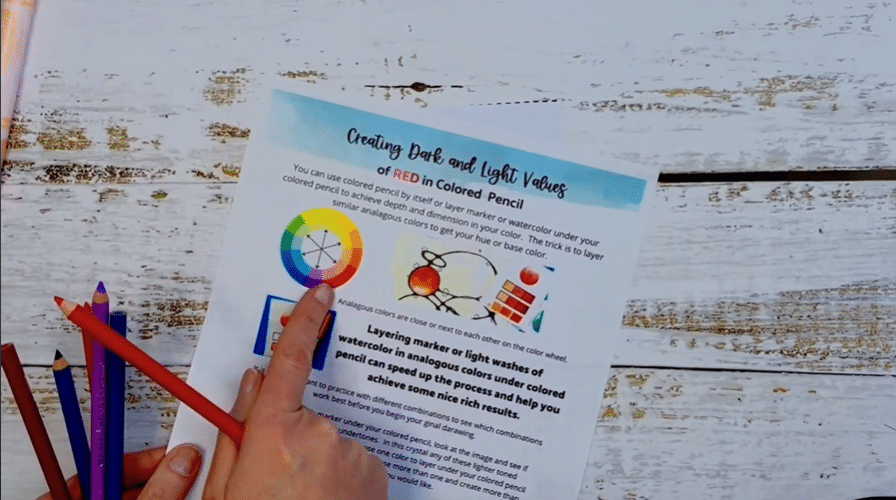
First things first, we’re going to pick three analogous colors. Now, I know that sounds like a fancy-pants art term, but all it means is choosing colors that are close to each other on the color wheel. Easy peasy, right? We’re going to pick three analogous colors that best match the middle value of the crystal you’re drawing. Think of it like choosing the perfect outfit – you want your colors to match and complement each other.
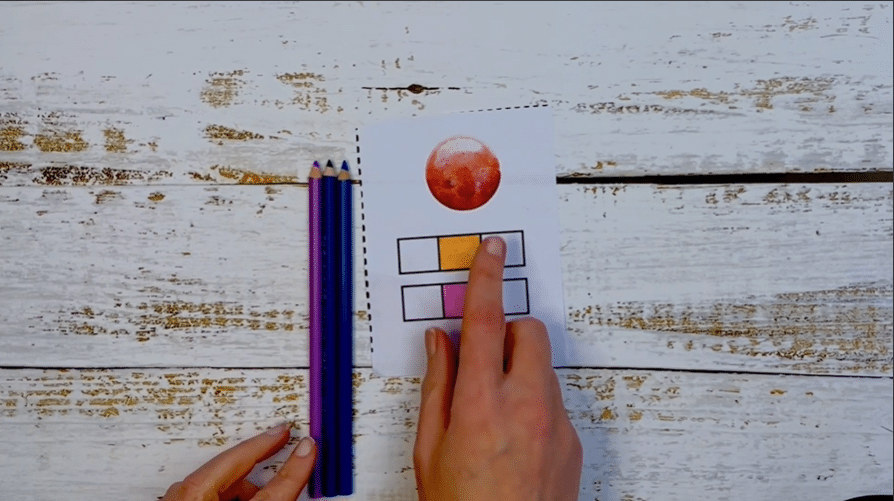
But we’re not stopping there, my fellow art enthusiasts. We’re also going to need three darker, cool tones to create some shadow and depth in our crystal. Think of it like adding some killer shades to your outfit – it takes your look from “so-so” to “spectacular!”
And last but not least, we’re going to need a white colored pencil. Yes, you heard that right, white. This little guy is going to be your secret weapon for creating highlights and bringing your crystal to life. Think of it like adding a little sparkle to your outfit – it catches the eye and makes you shine!
So grab those colored pencils and get ready to rock those crystals like a fashionista on the runway. Don’t forget to have some fun with it and experiment with different colors until you find the perfect combo.
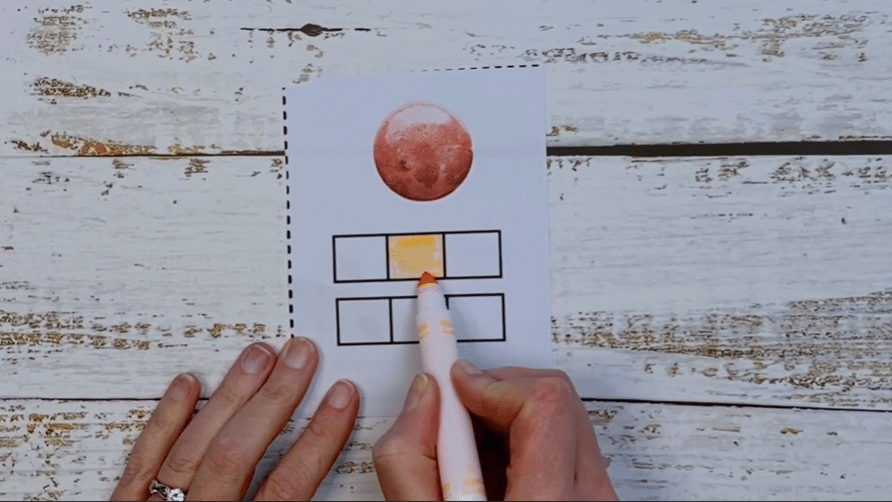
Step 3: Experiment with creating tints and shades
This is where the real fun begins, because now we get to experiment and play around with our colored pencils. It’s like being a mad scientist in a laboratory, but instead of potions, we’re mixing colors to create the perfect shade.
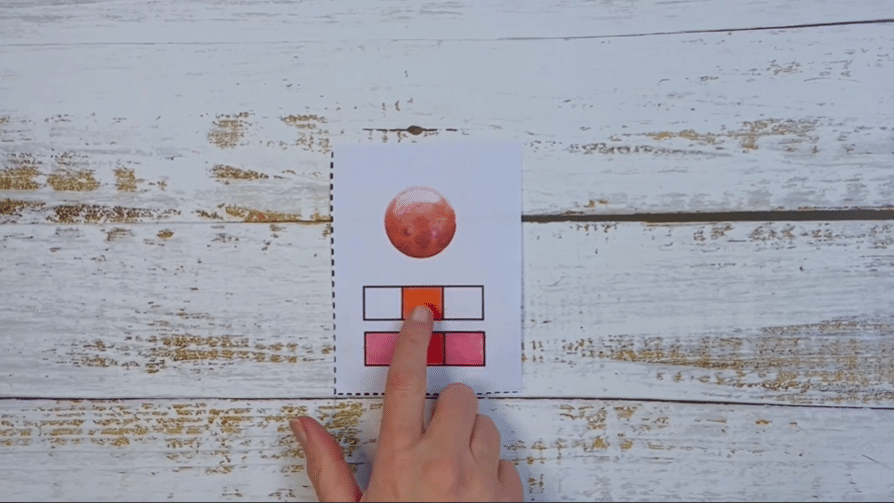
So, here’s the deal – we’re going to try out two different options to see which one we like best. This is just practice, so don’t worry if it’s not perfect the first time around. We’re just trying to find the sweet spot, the middle value of the image we’re going to draw.
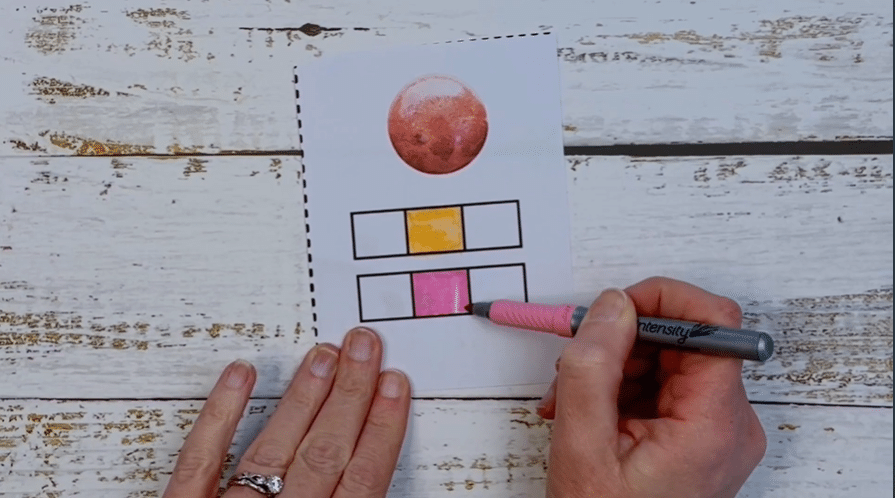
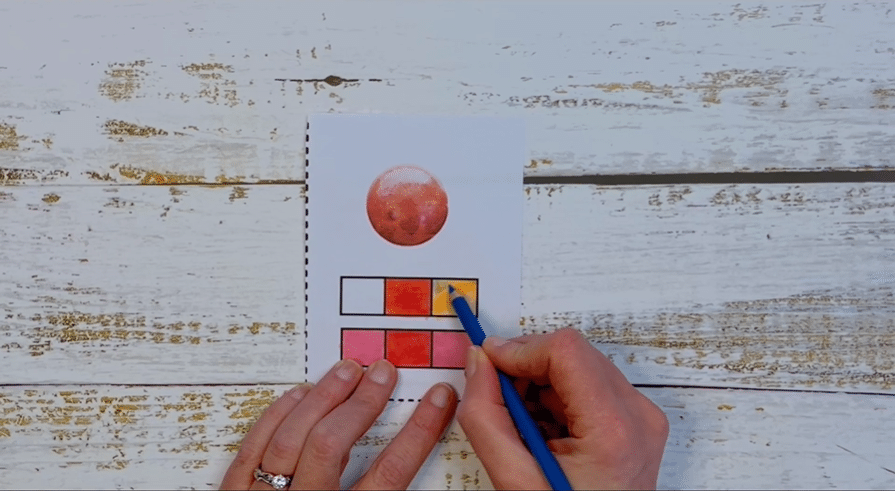
Layer the three analogous colors over the marker to create the hue (middle value)
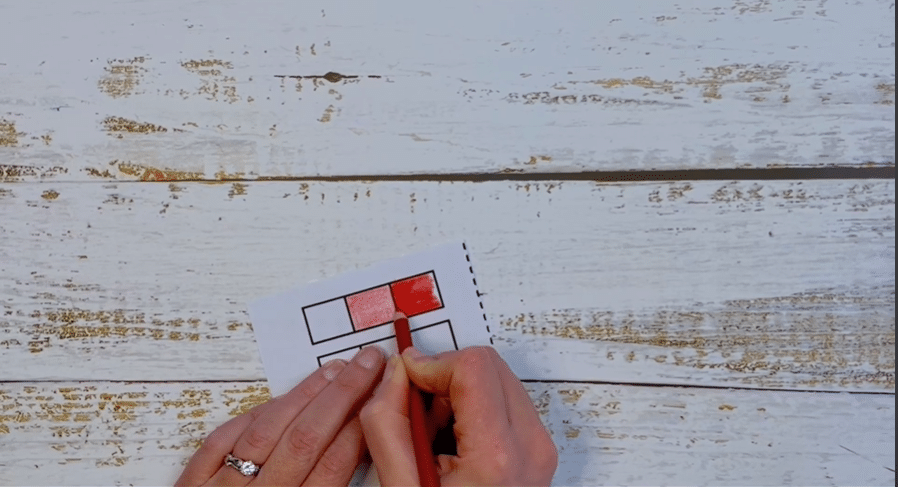
Begin by layering the three analogous colors and in very thin, light strokes over the marker to create your hue (middle value). Think of it like painting with a delicate touch – we want to build up our colors gradually in very thin layers.
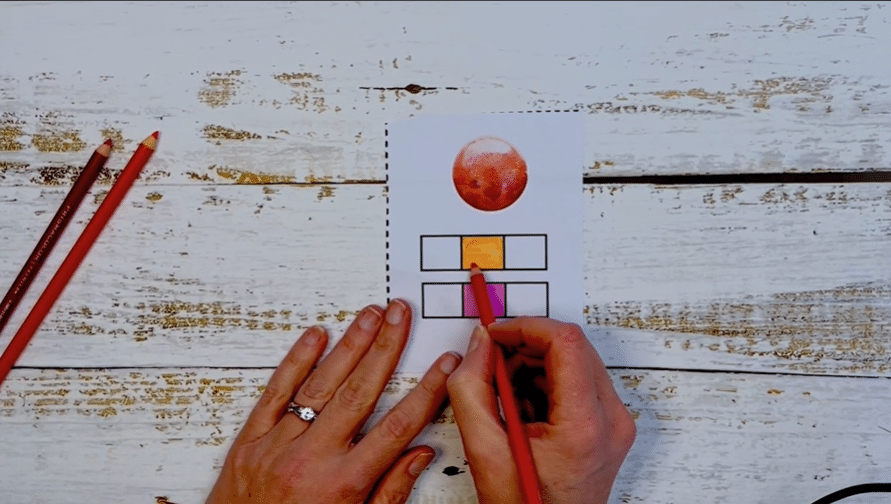
Use short strokes, a circular motion, and a super sharp point to create the perfect effect. And don’t forget to layer the colored pencil right over the marker for both options.
Once you’re done, step back and take a look. Which option do you like better?
Step 4: Practice – colored pencil drawings
So, when I was teaching my students about this coloring technique, I noticed that a lot of them were so eager to jump right into coloring without practicing first. I get it – coloring can be so exciting and you just want to see the finished product right away. But I had to explain to them that even I don’t know if a color will work until I practice and test it first.
That’s why I encourage everyone to take their time and really practice their color combinations until they find the perfect one. Trust me, it’ll save you time and extra work in the long run. When I’m starting out, I like to use the same marker color as my base. And for all you beginners out there, I highly recommend using markers because they make the process much faster.
Now, most of your students will think that pressing harder or choosing a darker color is the way to create darker values. It is the intuitive answer and most people would think that it only makes sense. However, it won’t give you the lower-intensity shadow tones that you need. I often show my students side-by-side examples that demonstrate how a value scale will look by layering cool tones under the hue, vs. pressing super hard or using different colors.
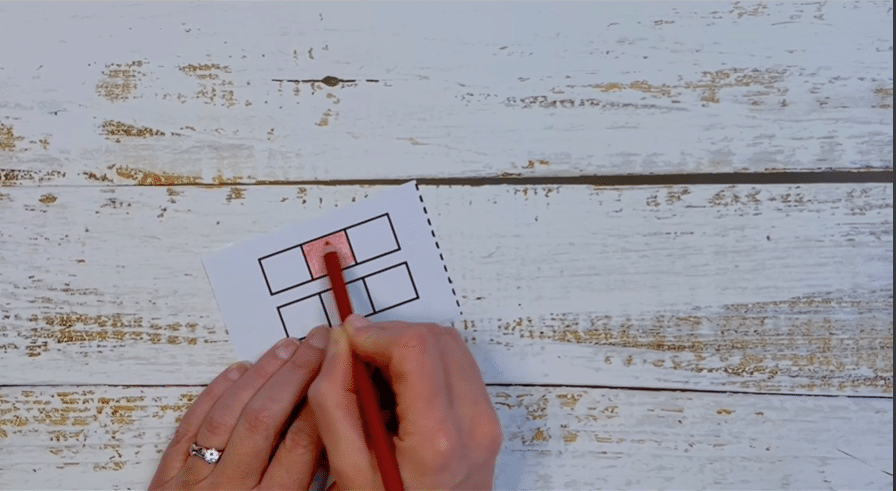
Layer darker cool colors (blues and violets) lightly over marker base to create undertones for the shades.
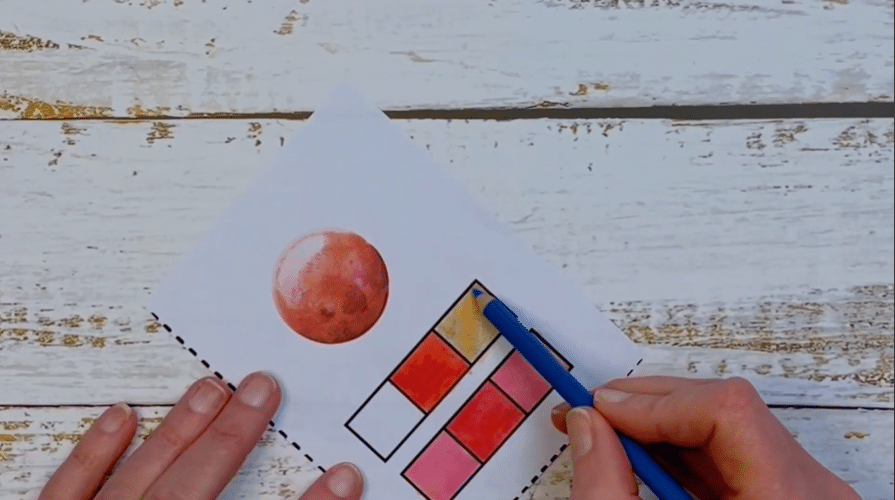
It’s true that the under layers won’t look pretty, but that’s okay. It’s all part of the process. I use gentle pressure and short strokes while spinning my paper to get a better angle. And while it’s best to use drawing paper, for practice, I usually just use cheap old copy paper because it’s more cost- and time-efficient.
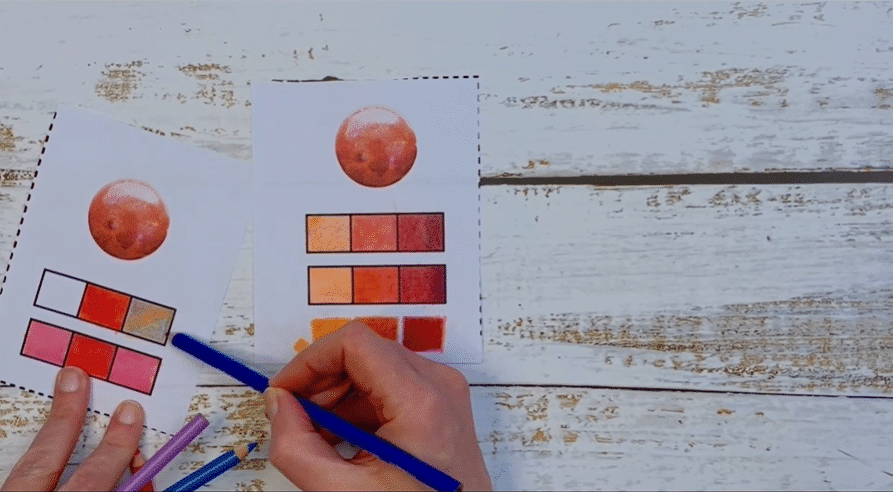
To create lighter tints of your color, simply layer white colored pencil under your three analogous hue colors and use super light pressure.
So there you have it! With enough practice, you’ll be able to find your perfect color combination and start creating beautiful drawings in no time.

Need more? No worries, I’ve got your back!
My Layering Marker and Colored Pencil lesson is complete with:
✅ An editable student slideshow with step-by-step guidance
✅ A teacher slideshow with step-by-step guidance
✅ 2 video demonstrations showing each step of the art lesson
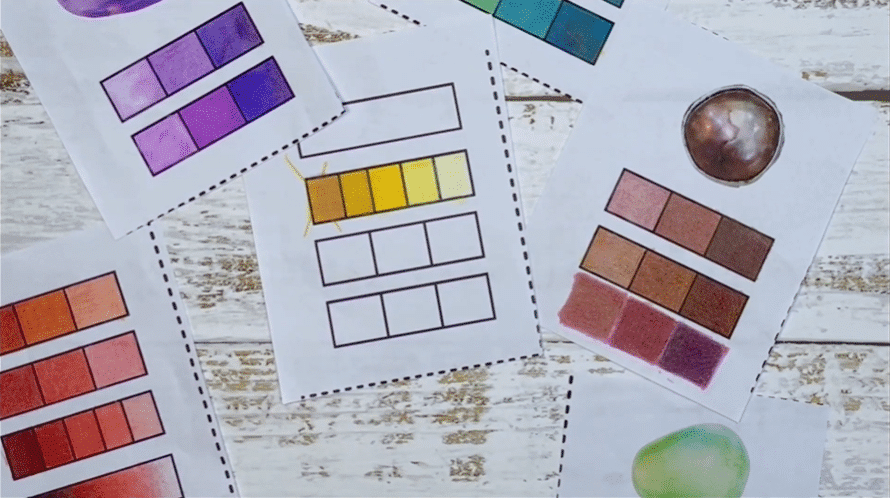
✅ 14 colorful crystal reference images to draw from
✅ 5 Instructional Handouts (PDF) with Links to Slideshow
✅ Blank practice value scale sheets
✅ Teachers instructions
✅ A rubric for easy grading

Ready to continue your creative adventure? 🎨
👉 PURCHASE THE LESSON NOW 👈
This middle or high school art lesson is great for beginner artists or advanced students. Students learn how to layer markers and colored pencils to create tints and shades of value using no black. This technique creates rich vibrant tints and shades of value fast. This lesson is ready-to-go and contains everything you need to achieve amazing results and build student confidence fast.
Be the first to know about discounts, freebies, and new resources!
Find me on my blog – Inside Out Art Teacher, YouTube, or Instagram.