Let’s talk honestly for a second.
Planning a Black History Month art project can feel stressful especially when you’re trying to find something meaningful, age-appropriate, and doable in a real classroom.
You want it to be meaningful.
You want it to honor the artist and the history.
You don’t want it to feel like a rushed “February-only” activity that students forget by March.
And at the same time, you’re teaching real kids in real classrooms:
- beginners who shut down the moment drawing feels hard
- students who say “I’m bad at art” before you even finish explaining
- classes where time is tight and attention spans are shorter
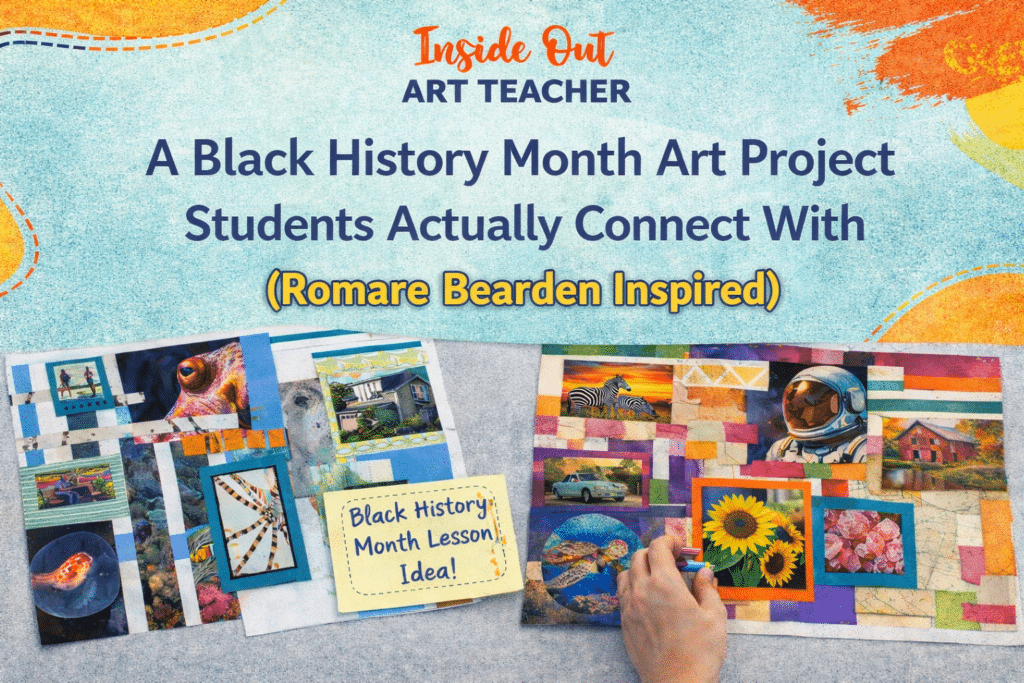
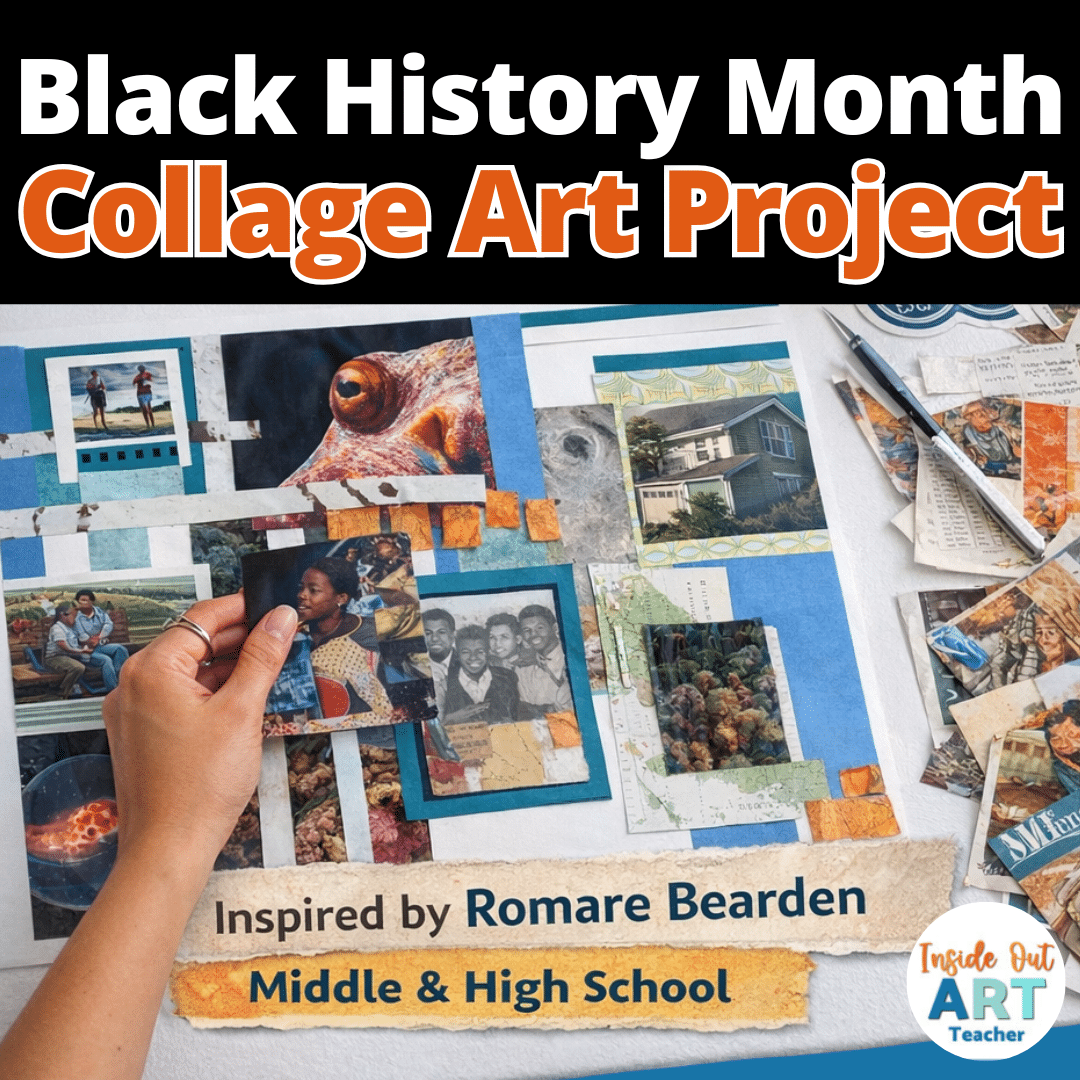
That’s why I love this Romare Bearden–inspired collage project so much.
Not because it’s fancy.
Not because it checks a box.
But because it meets students where they actually are, and it gives teachers a lesson that feels manageable, meaningful, and calm.
Looking for more lesson ideas? Explore this guide to seasonal art projects for middle and high school students organized by time of year.
Who Is Romare Bearden? (And Why Students Actually Get His Work)
Romare Bearden was an American artist best known for his bold, layered collage work that told stories about everyday life, memory, music, and culture, especially the lived experiences of Black Americans.
But here’s the part that matters for art teachers:
Bearden didn’t make art that was about drawing things perfectly.
He cut images apart.
He layered photographs and paper.
He repeated shapes, shifted scale, and let things feel slightly off on purpose.
His work looks like memory feels…fragmented, emotional, overlapping.
And that’s exactly why students connect with it.
Why Romare Bearden Connects So Well With Students

When I introduce Romare Bearden to students, something interesting happens.
They don’t immediately ask,
“Is this right?”
or
“Are we supposed to copy this?”
Instead, they ask:
- “Why does this look cut up like that?”
- “Is that a photo or a drawing?”
- “Wait… can we do it like this?”
Bearden’s work invites curiosity instead of comparison.
His collages are built from:
- scenes of daily life
- family moments
- music and movement
- personal and cultural memories
Students don’t have to be “good at drawing” to understand what’s happening. They can feel it.
And that’s huge, especially during Black History Month.
Because the message underneath the lesson becomes:
Art doesn’t have to be perfect to be powerful.
Your story is worth showing, even if it’s messy.
For middle and high school students,especially hesitant or beginner artists,that’s a relief.
They see an artist who didn’t rely on realism or technical perfection.
They see permission to experiment.
They see that art can tell a story without looking polished or pretty.
That’s what makes a Romare Bearden–inspired collage project such a strong fit for Black History Month:
- it centers a Black artist authentically
- it values lived experience and memory
- and it gives every student a way in
Why This Project Works (Especially for Beginners)

Here’s the biggest reason this project works so well:
There is no drawing barrier.
Students don’t have to worry about proportions.
They don’t have to worry about realism.
They don’t have to compare themselves to the “good drawers” in the room.
Instead, they’re working with:
- magazines
- torn paper
- found images
- layering, placement, and choice
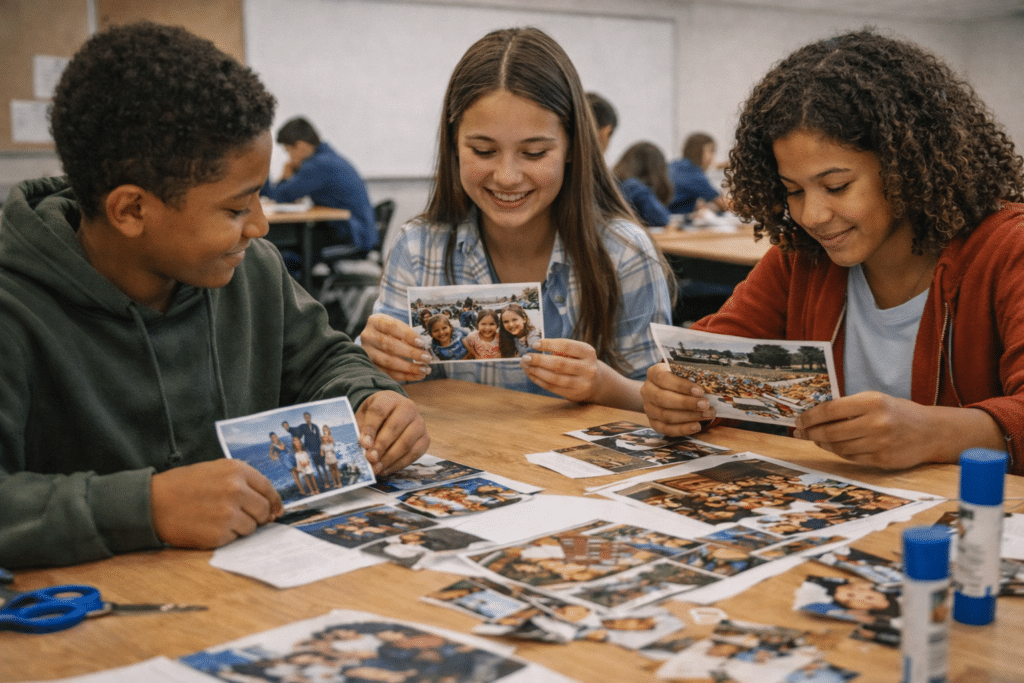
Suddenly, students who usually freeze are participating.
Students who rush slow down.
And students who usually say “I don’t care” actually start making decisions.
That alone is a win.
What This Project Looks Like in a Real Classroom
Materials You’ll Need (and What to Do If You’re Missing Some)

One of my favorite things about this project is how flexible it is when it comes to materials. You don’t need anything fancy, special-order, or stressful to track down. If you’ve got paper, glue, and images to cut up, you’re good to go.
At the most basic level, you’ll want:
- Old magazines — honestly, the messier and more mismatched, the better. Variety gives students more visual options and leads to more interesting collages.
- Colored fadeless paper or regular construction paper — either works. This becomes the base or background and helps everything feel intentional and cohesive.
- Scrap paper or cardboard for backing — cereal boxes, old folders, or leftover cardstock work perfectly.
- Glue sticks — collage is much calmer (and less sticky) when you avoid liquid glue.
If you have access to them, these are great additions — but not requirements:
- Textured or patterned papers to add visual interest and depth
- Circles, lids, or small containers for tracing repeated shapes (students love this and it quietly reinforces repetition and rhythm)
- Found paper scraps from other projects — leftover prints, painted papers, or test sheets are perfect here
One of the reasons collage works so well for beginners is that it adapts to whatever you have on hand. If supplies are limited, students can work smaller. If you have a lot, they can layer more. The learning stays the same either way.
Teacher tip: Start planting the magazine seed early. I mention all the time that I’m happy to take old magazines to coworkers, families, librarians, even the front office. Before you know it, people start bringing them in “just in case,” and your room quietly becomes the school’s unofficial magazine drop-off spot. The best part? People love donating them. It feels good to clear space at home and support your classroom, and it stretches your supply budget way further than you’d expect. Total win.
Also, If you’re trying to build or replenish supplies without spending much (or anything), I’ve shared more ideas here on keeping art materials affordable and sustainable.
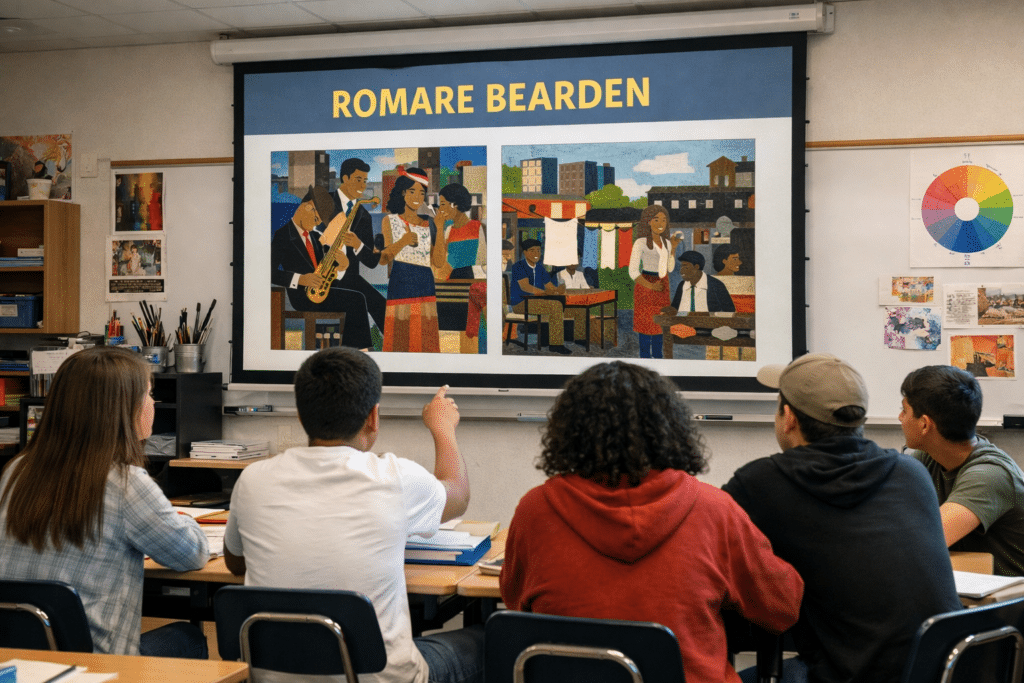
First: Looking at Bearden’s Work

I always start this project by looking at Romare Bearden’s collages together.
Not as a lecture.
And definitely not as a worksheet dump.
I treat it more like a conversation than an art history lesson. We look, we talk, we notice things out loud.
I’ll usually throw out a few simple questions and let the room do the rest:
- What do you notice first?
- Where does your eye keep moving?
- Does this feel crowded or calm? Why?
There’s no need to steer students toward a “right” answer here. The goal isn’t analysis for analysis’s sake… it’s getting them comfortable looking closely before they worry about making anything.
If students are pointing, disagreeing a little, or changing their minds as they talk, that’s a good sign. It means they’re actually engaging with the work instead of waiting to be told what to think.
As we talk, students naturally start noticing things like:
- images overlapping each other
- shapes repeating across the page
- figures that feel cut apart and reassembled
- spaces that feel busy, layered, or intentionally crowded
All of that happens without pressure, grades, or “write this down” energy.
From a teacher standpoint, this part does a lot of quiet work for you. You’re not scrambling to explain art history on the fly or trying to keep everyone on the same page.
The structure of the discussion carries the lesson forward, and students feel prepared before they ever touch scissors or glue.
Next: Choosing a Personal Memory
This is where engagement really starts to show up.
Students choose a memory, moment, or experience that matters to them.
Nothing too heavy. Nothing forced.
A family gathering.
A favorite place.
A moment that felt important.
Teacher tip: I usually frame this as “a moment you remember clearly” rather than “a big, meaningful memory.” That small wording shift helps students who freeze when things feel too deep or too abstract.
This mirrors how Bearden worked… using personal experience as the foundation for art and it gives students ownership right away.
Instead of asking, “What do you want me to draw?”
They start thinking, “How do I show this?”
At this stage, I’m not worried about perfect ideas.
If a student’s memory feels simple, that’s okay. Simple memories often lead to stronger compositions because students can focus on arrangement, repetition, and mood instead of trying to cram in too much.
If students get stuck:
I’ll quietly offer a few low-pressure prompts:
- a place you go often
- something you do with family or friends
- a moment that feels familiar, not fancy
Once students have a memory in mind, the cutting and arranging feels purposeful instead of random.
You’ll notice the room shift here.
Students start sorting images, comparing pieces, and talking through choices, not asking what they’re allowed to do, but deciding what makes sense for their story.
That’s usually when I know the lesson has them.
Planning Before Creating

Before anyone grabs glue, we pause here, and this step matters more than it sounds.
Students lay out images, test arrangements, and make decisions without committing yet. No cutting, no gluing. Just moving pieces around and seeing what works.
This planning stage helps students:
- think about focal points
- consider where images will go
- make intentional choices before anything is permanent
From a teacher perspective, this is the calm-before-the-storm step that actually prevents the storm.
It:
- reduces chaos once materials are out
- cuts way down on rushed, last-minute work
- leads to stronger final pieces without you having to micromanage
Students feel calmer because they’re not guessing.
They have a direction, even if it changes later.
Teacher tip:
If time is tight, I’ll have students snap a quick photo of their layout before gluing. It keeps them focused and gives them something to return to if pieces start wandering.
Creating the Collage (Where Confidence Builds)

Once students start building their collages, the room usually changes.
There’s movement, but it’s focused.
There’s conversation, but it’s purposeful.
This is the point where a lot of teachers exhale a little.
Because collage is flexible, students don’t feel like every decision is permanent. Pieces can be moved around. Images can be swapped. If something doesn’t work, it’s not a disaster… it’s just part of the process.
That flexibility does a lot of quiet work for you.
Students who usually erase endlessly stop overthinking.
Students who rush slow down because they’re making real choices.
Students who tend to shut down keep going because nothing feels “ruined.”
As they work, students naturally start applying big ideas without needing them spelled out:
- repetition and variation as images repeat across the page
- balance and movement as they adjust placement
- color, texture, and space as they layer materials
All without feeling like they’re “doing art wrong.”
Teacher tip: This is a great time to circulate and ask simple questions instead of giving directions.
Things like, “What part do you want people to notice first?” or “What made you put that there?” help students reflect without interrupting their flow.
For classes that struggle with confidence, this stage is especially powerful.
Students are working, adjusting, problem-solving and realizing they can trust their own decisions.
By the end of this step, most students aren’t asking if their work is “good.”
They’re figuring out how to make it say what they want it to say.
And that’s a pretty big shift.
Reflecting (And Connecting Back to Black History Month)

The reflection is what ties everything together.
Students take a moment to explain:
- the memory they chose
- why they selected certain images
- how their collage communicates meaning
This doesn’t have to be long or formal. Sometimes it’s a written response. Sometimes it’s a quick share with a partner or small group.
Teacher tip: I often frame reflection as storytelling, not “explaining your art.” That small language shift helps students open up more naturally.
This is where the Black History Month connection really lands.
Students see that Bearden’s work, and their own, is about lived experience, memory, and storytelling. Not perfection. Not copying.
They don’t just finish with a collage.
They finish with a deeper understanding of how personal stories and history intersect.
And that understanding sticks far longer than a rushed project ever could.
They finish with a deeper understanding of how personal stories and history intersect.
Why Teachers Keep Coming Back to This Lesson

There’s a reason this project ends up in my plans year after year.
It works with beginners.
It works with mixed ability classes.
It works when energy is high or when everyone’s a little fried.
Students can succeed right away.
No drawing skills are required.
The structure keeps things calm without feeling rigid.
And most importantly, students actually finish.
The final work feels thoughtful, personal, and display-worthy without being overly complicated or cookie-cutter.
It fits naturally into Black History Month, but it doesn’t feel locked into February. It’s the kind of lesson you can revisit anytime you want students thinking about story, memory, and meaning.
And it doesn’t feel rushed or performative.
Want to Try This Romare Bearden–Inspired Black History Month Art Project?
If you’re interested in running something like this with your students, you can absolutely use the steps above as a starting point and adapt them to your classroom.
If you’d rather have everything organized and ready to go: examples, planning guides, reflection prompts, and visual supports, that option is there too.
Either way, this is one of those lessons that meets students where they are and gives you space to breathe while teaching something meaningful.
Be the first to know about discounts, freebies, and new resources!
Find me on my blog – Inside Out Art Teacher, YouTube, or Instagram.
black history month art project | black history month art project | black history month art project | black history month art project | black history month art project | black history month art project | black history month art project | black history month art project | black history month art project | black history month art project | black history month art project | black history month art project | black history month art project | black history month art project | black history month art project | black history month art project | black history month art project | black history month art project