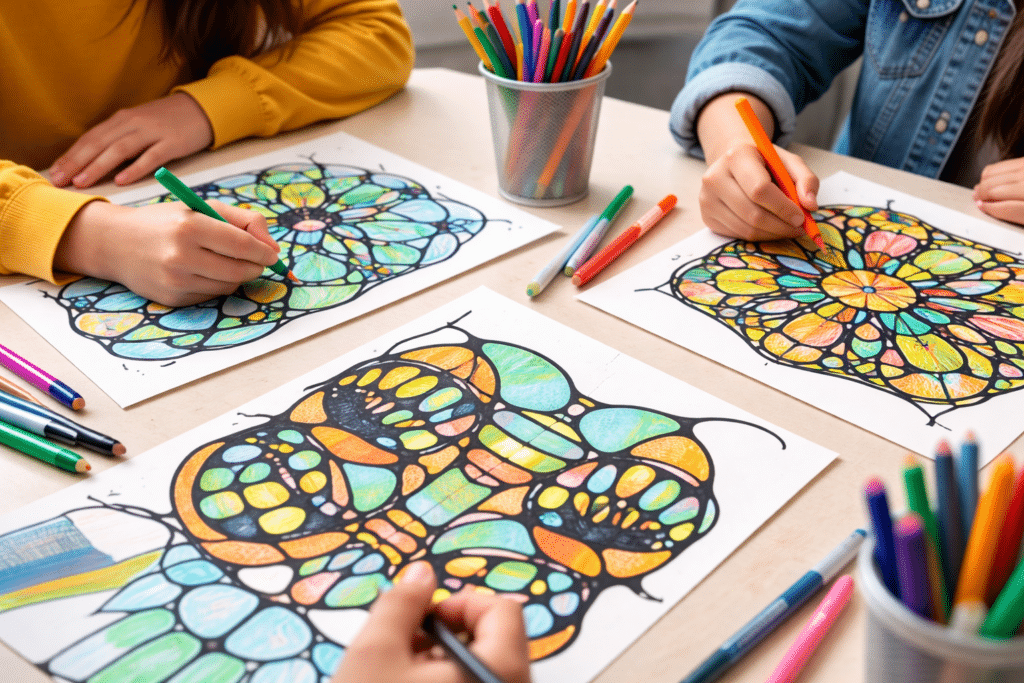
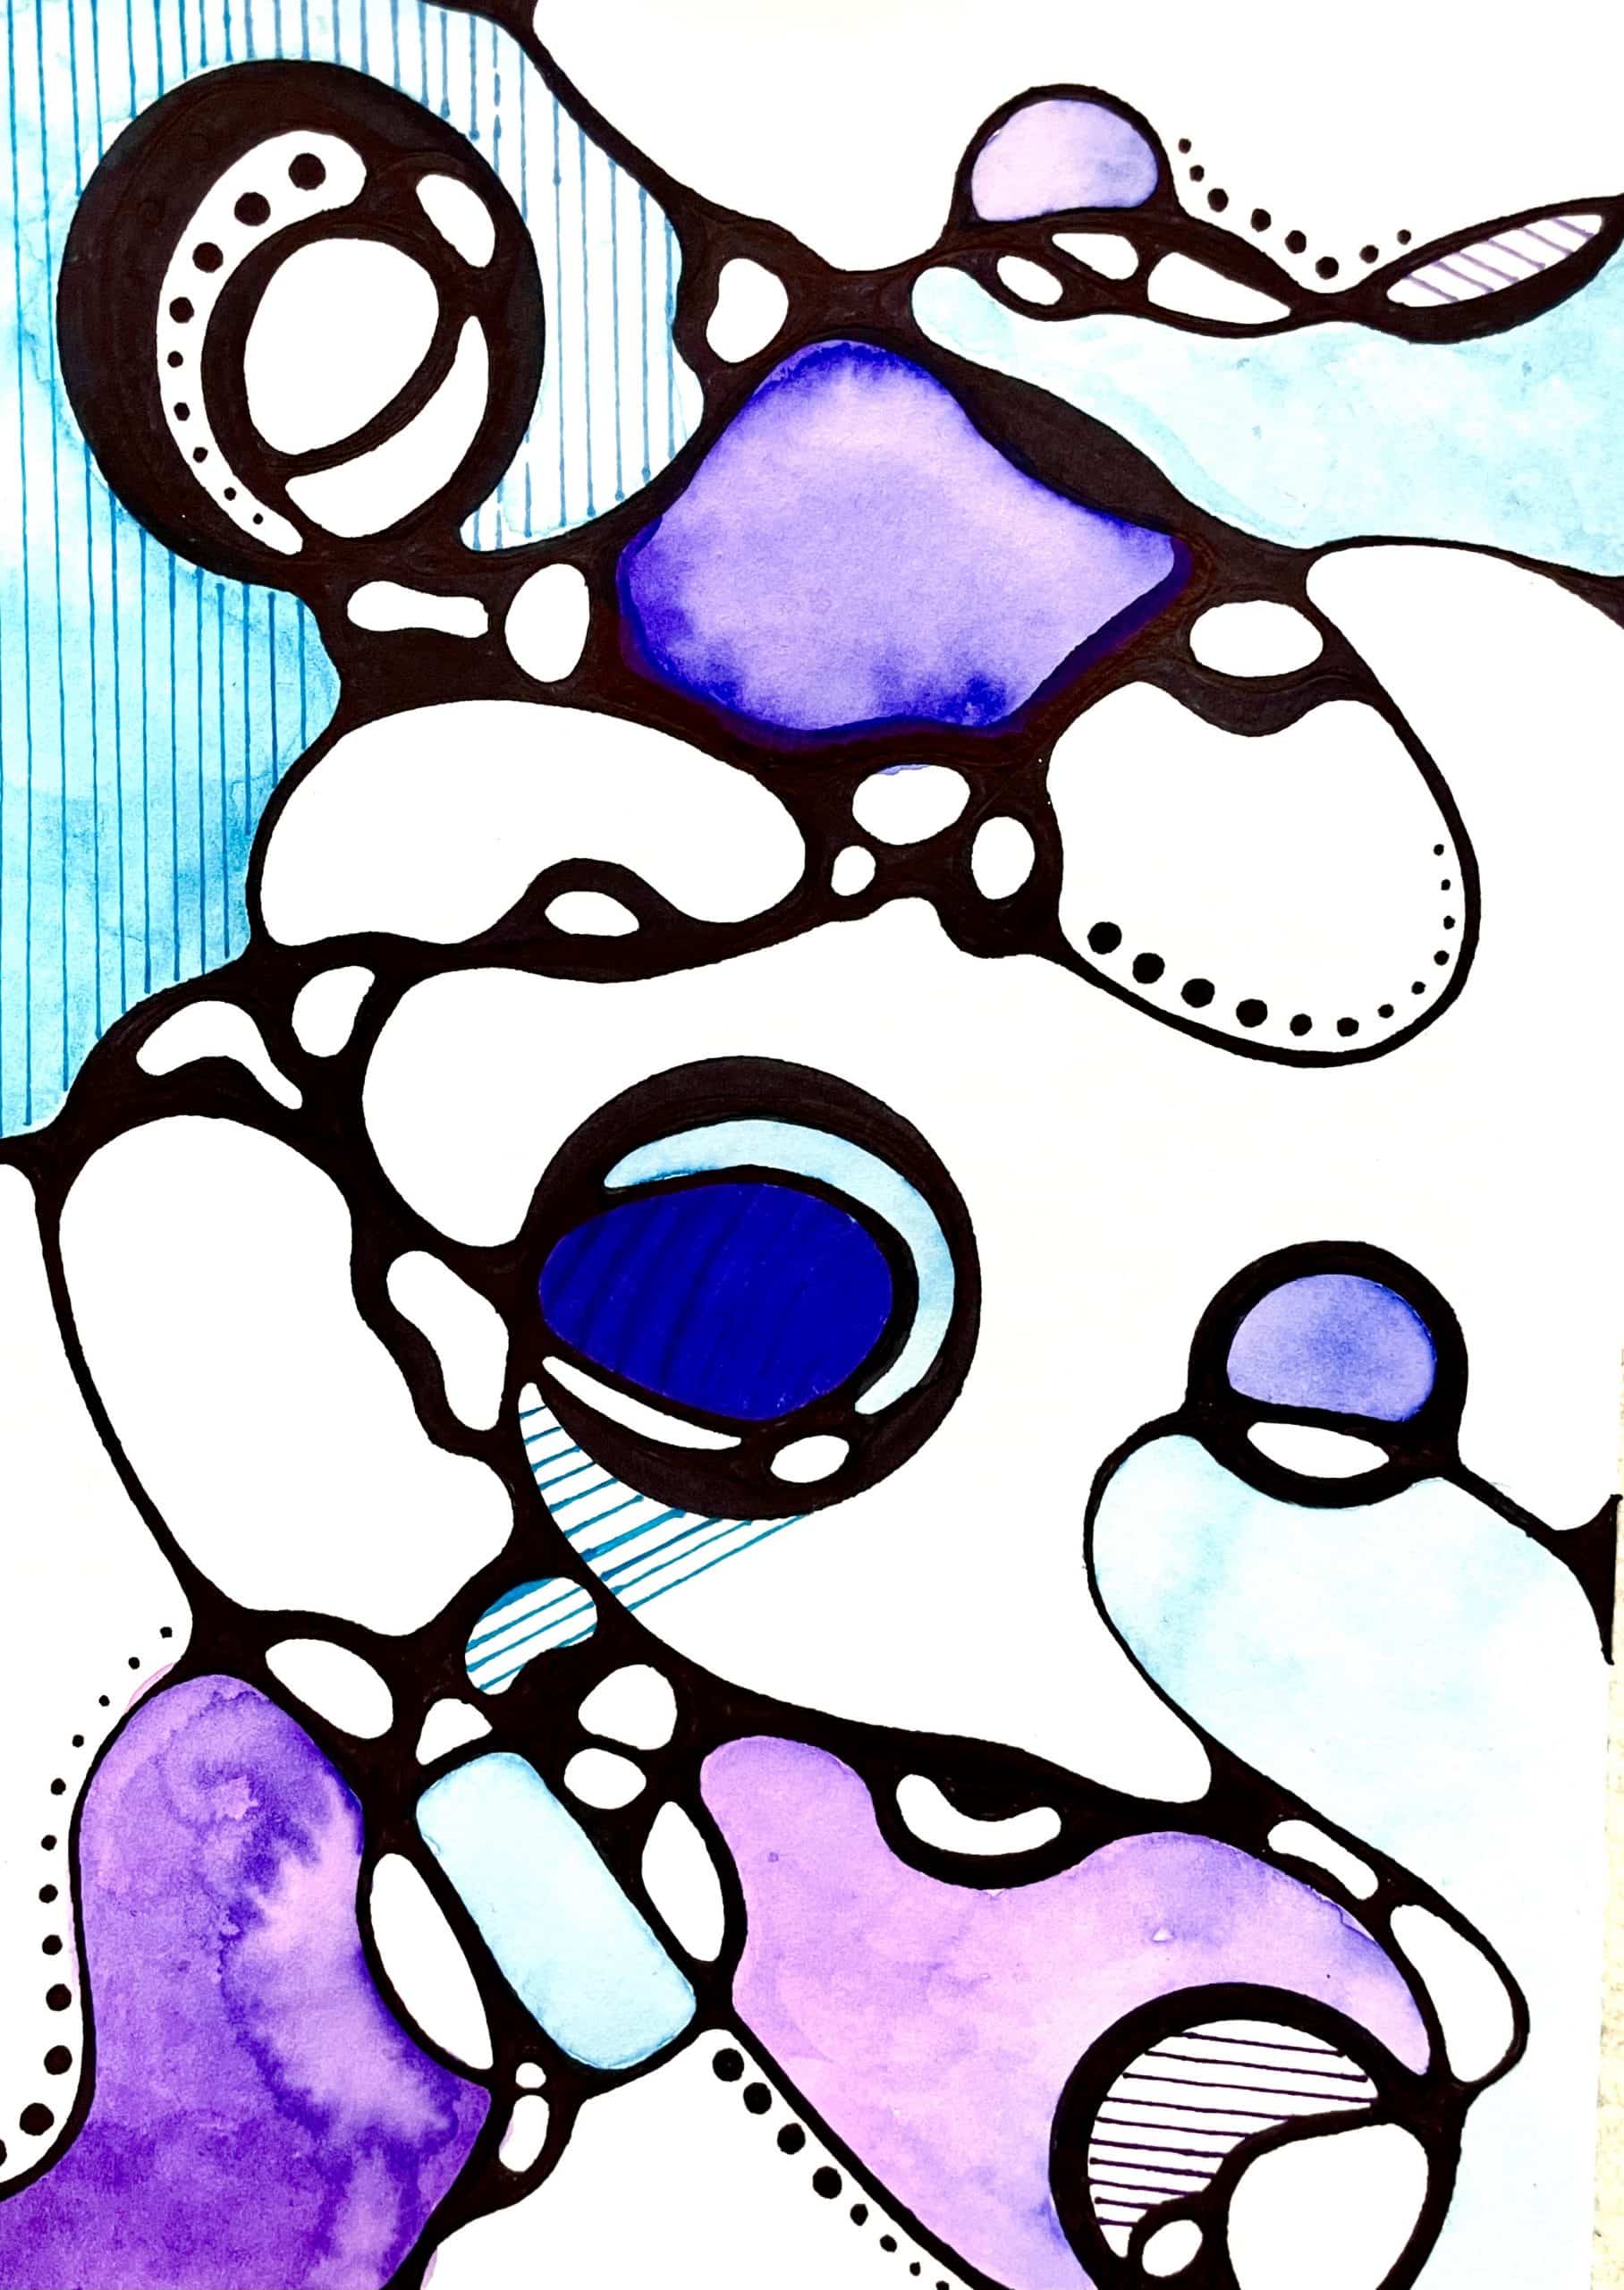
If you’re looking for a simple and engaging neurographic art lesson, this mindful drawing project is a perfect place to start. Inspired by the relaxing process of neurographic art, this activity helps students transform simple lines into intricate abstract designs while experiencing the calming benefits of focused drawing.
This neurographic art lesson for middle school and high school students introduces the calming line technique while helping students explore abstract design, pattern, and composition.
Because neurographic art requires no advanced drawing skills, it works beautifully as a first project for middle school or high school art classes. Students quickly realize that anyone can succeed with the process, which helps build confidence and sets a positive tone for the rest of the semester.
As students move through the mindful drawing steps, they become absorbed in the evolving patterns and flowing lines. The project provides just the right balance of clear structure and creative freedom—giving beginner artists the guidance they need while allowing more advanced students to experiment and develop their own unique designs.
If you’re new to this technique, you can explore more ideas, variations, and classroom examples in my complete guide to neurographic art here → neurographic art ideas for the classroom.
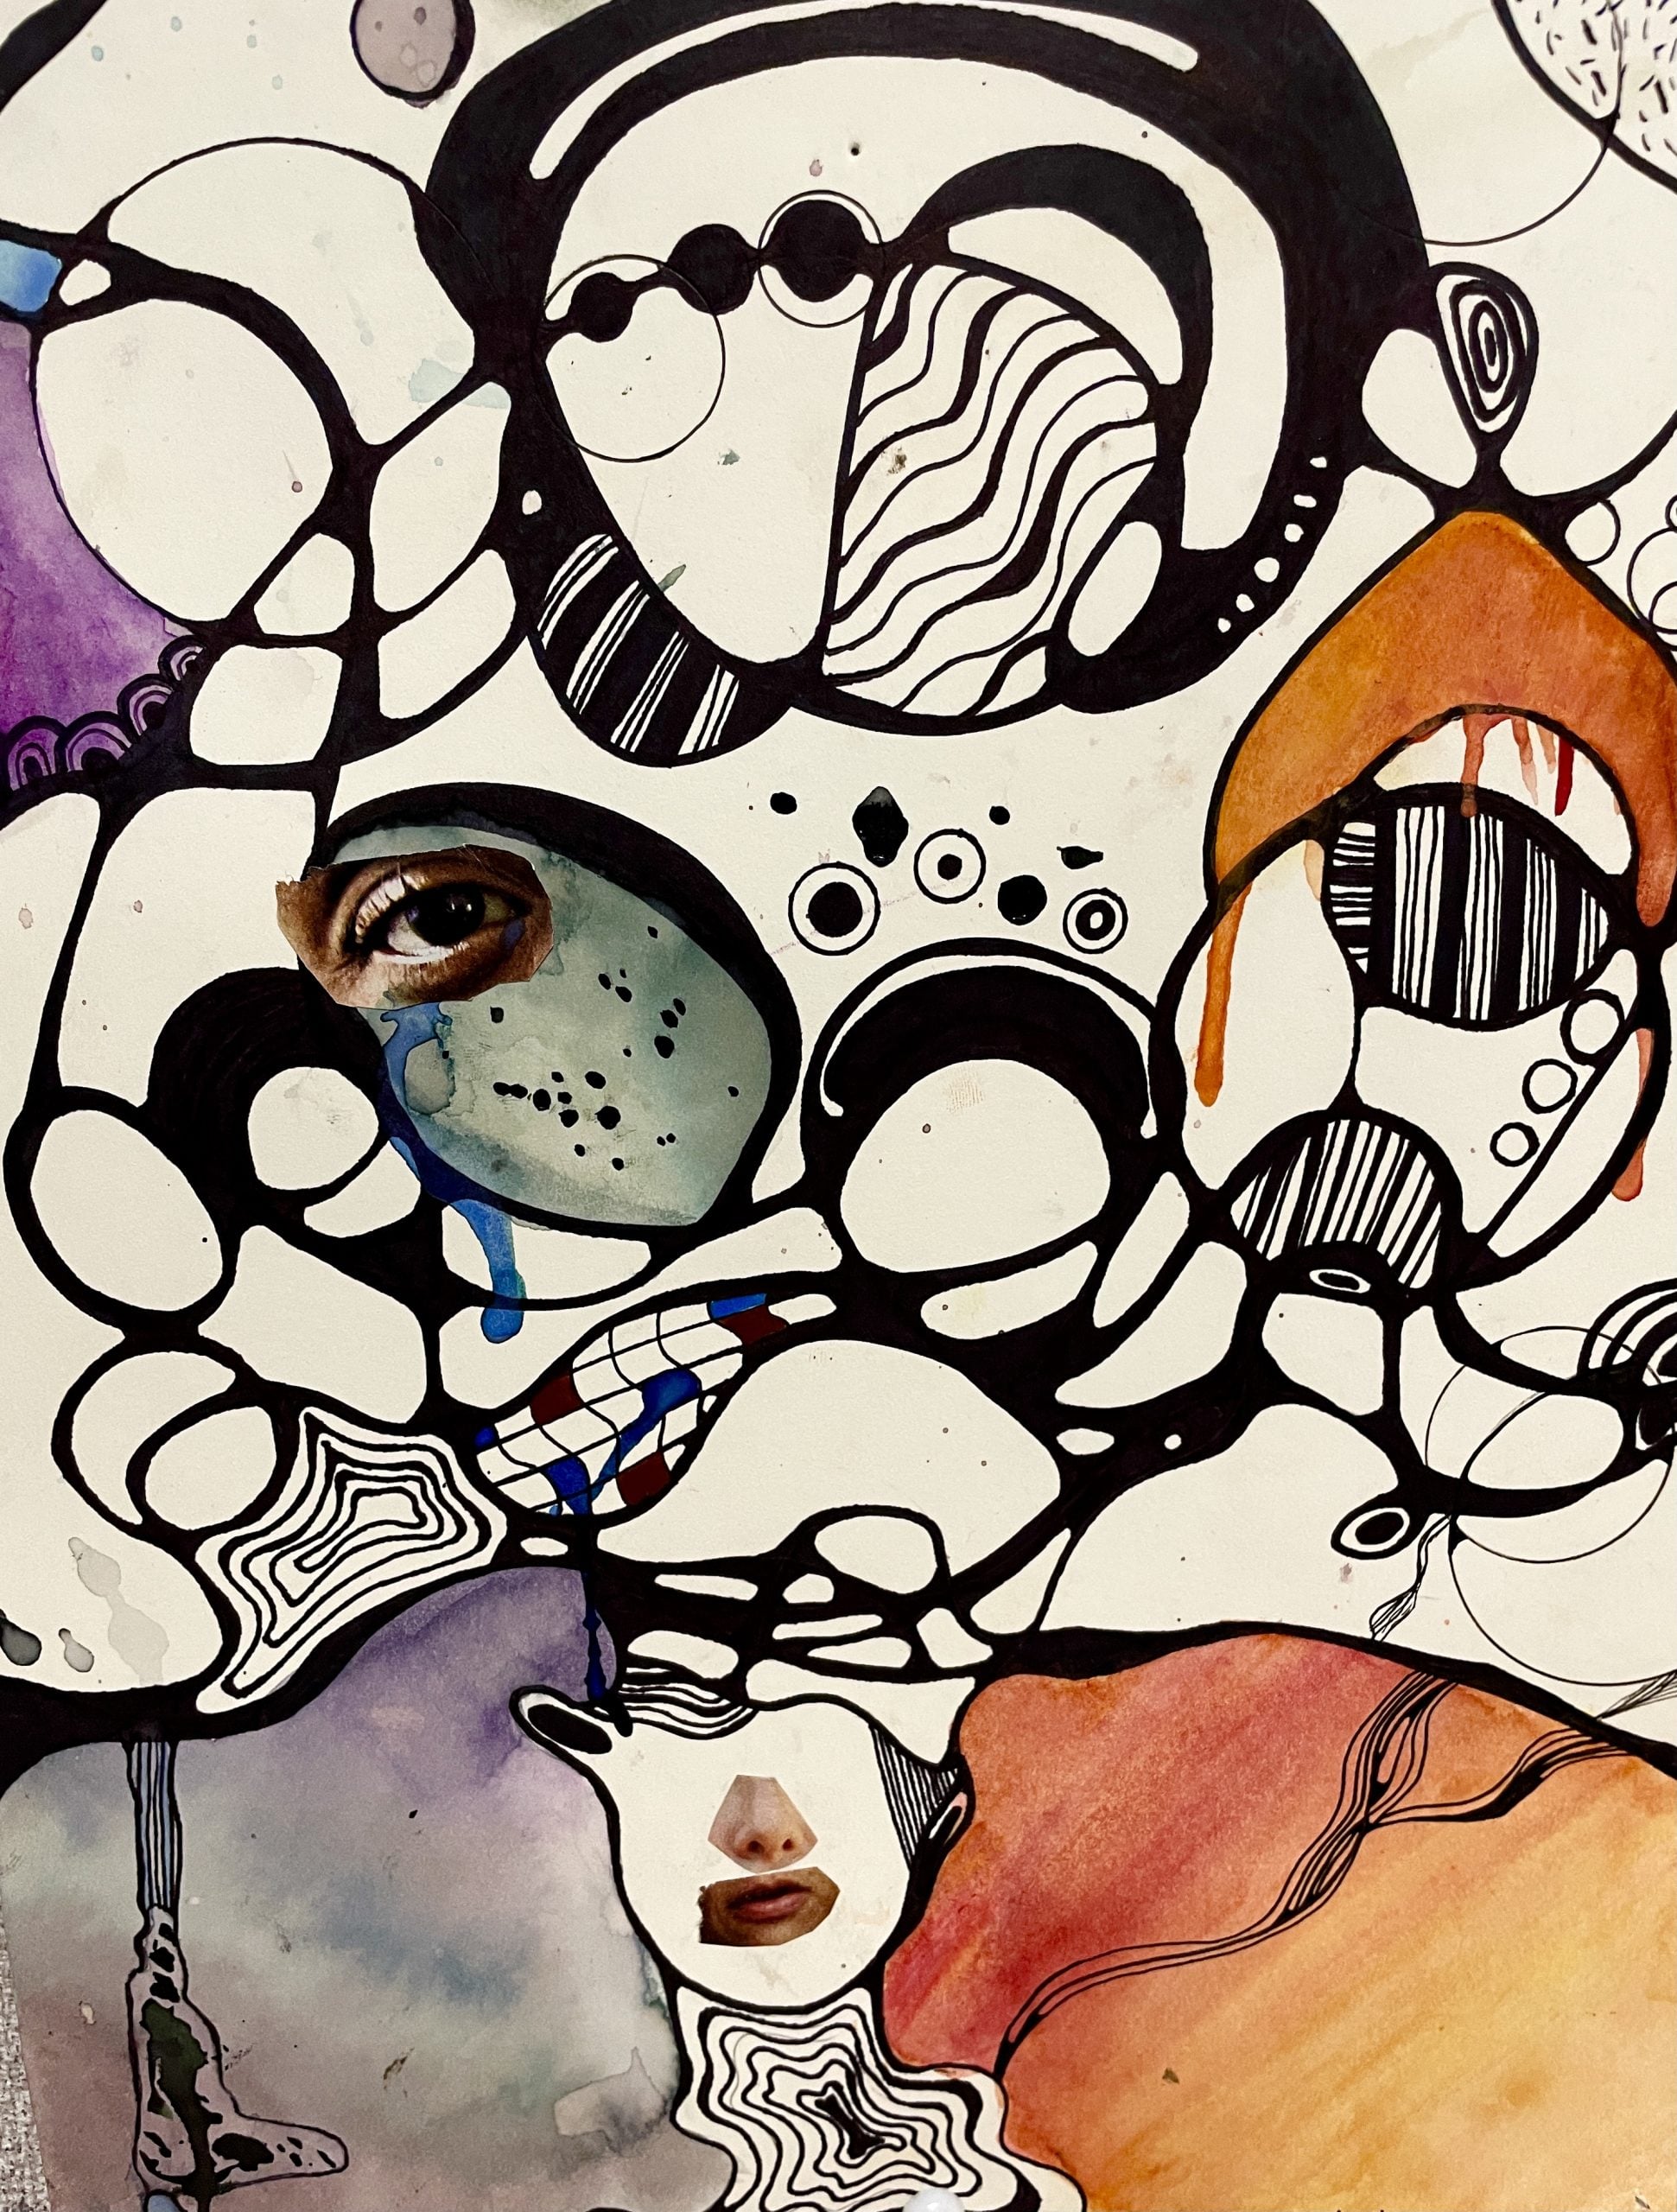
What is Neurographic Art?
Neurography is a meditative drawing process that combines psychology and art. The technique is said to link your conscious and subconscious mind and create new neural pathways.
The creative drawing process can help to reduce stress transform subconscious beliefs and create an overall sense of well-being. It was developed by Russian psychologist, creative entrepreneur, and architect Pavel Piskarev in 2014.
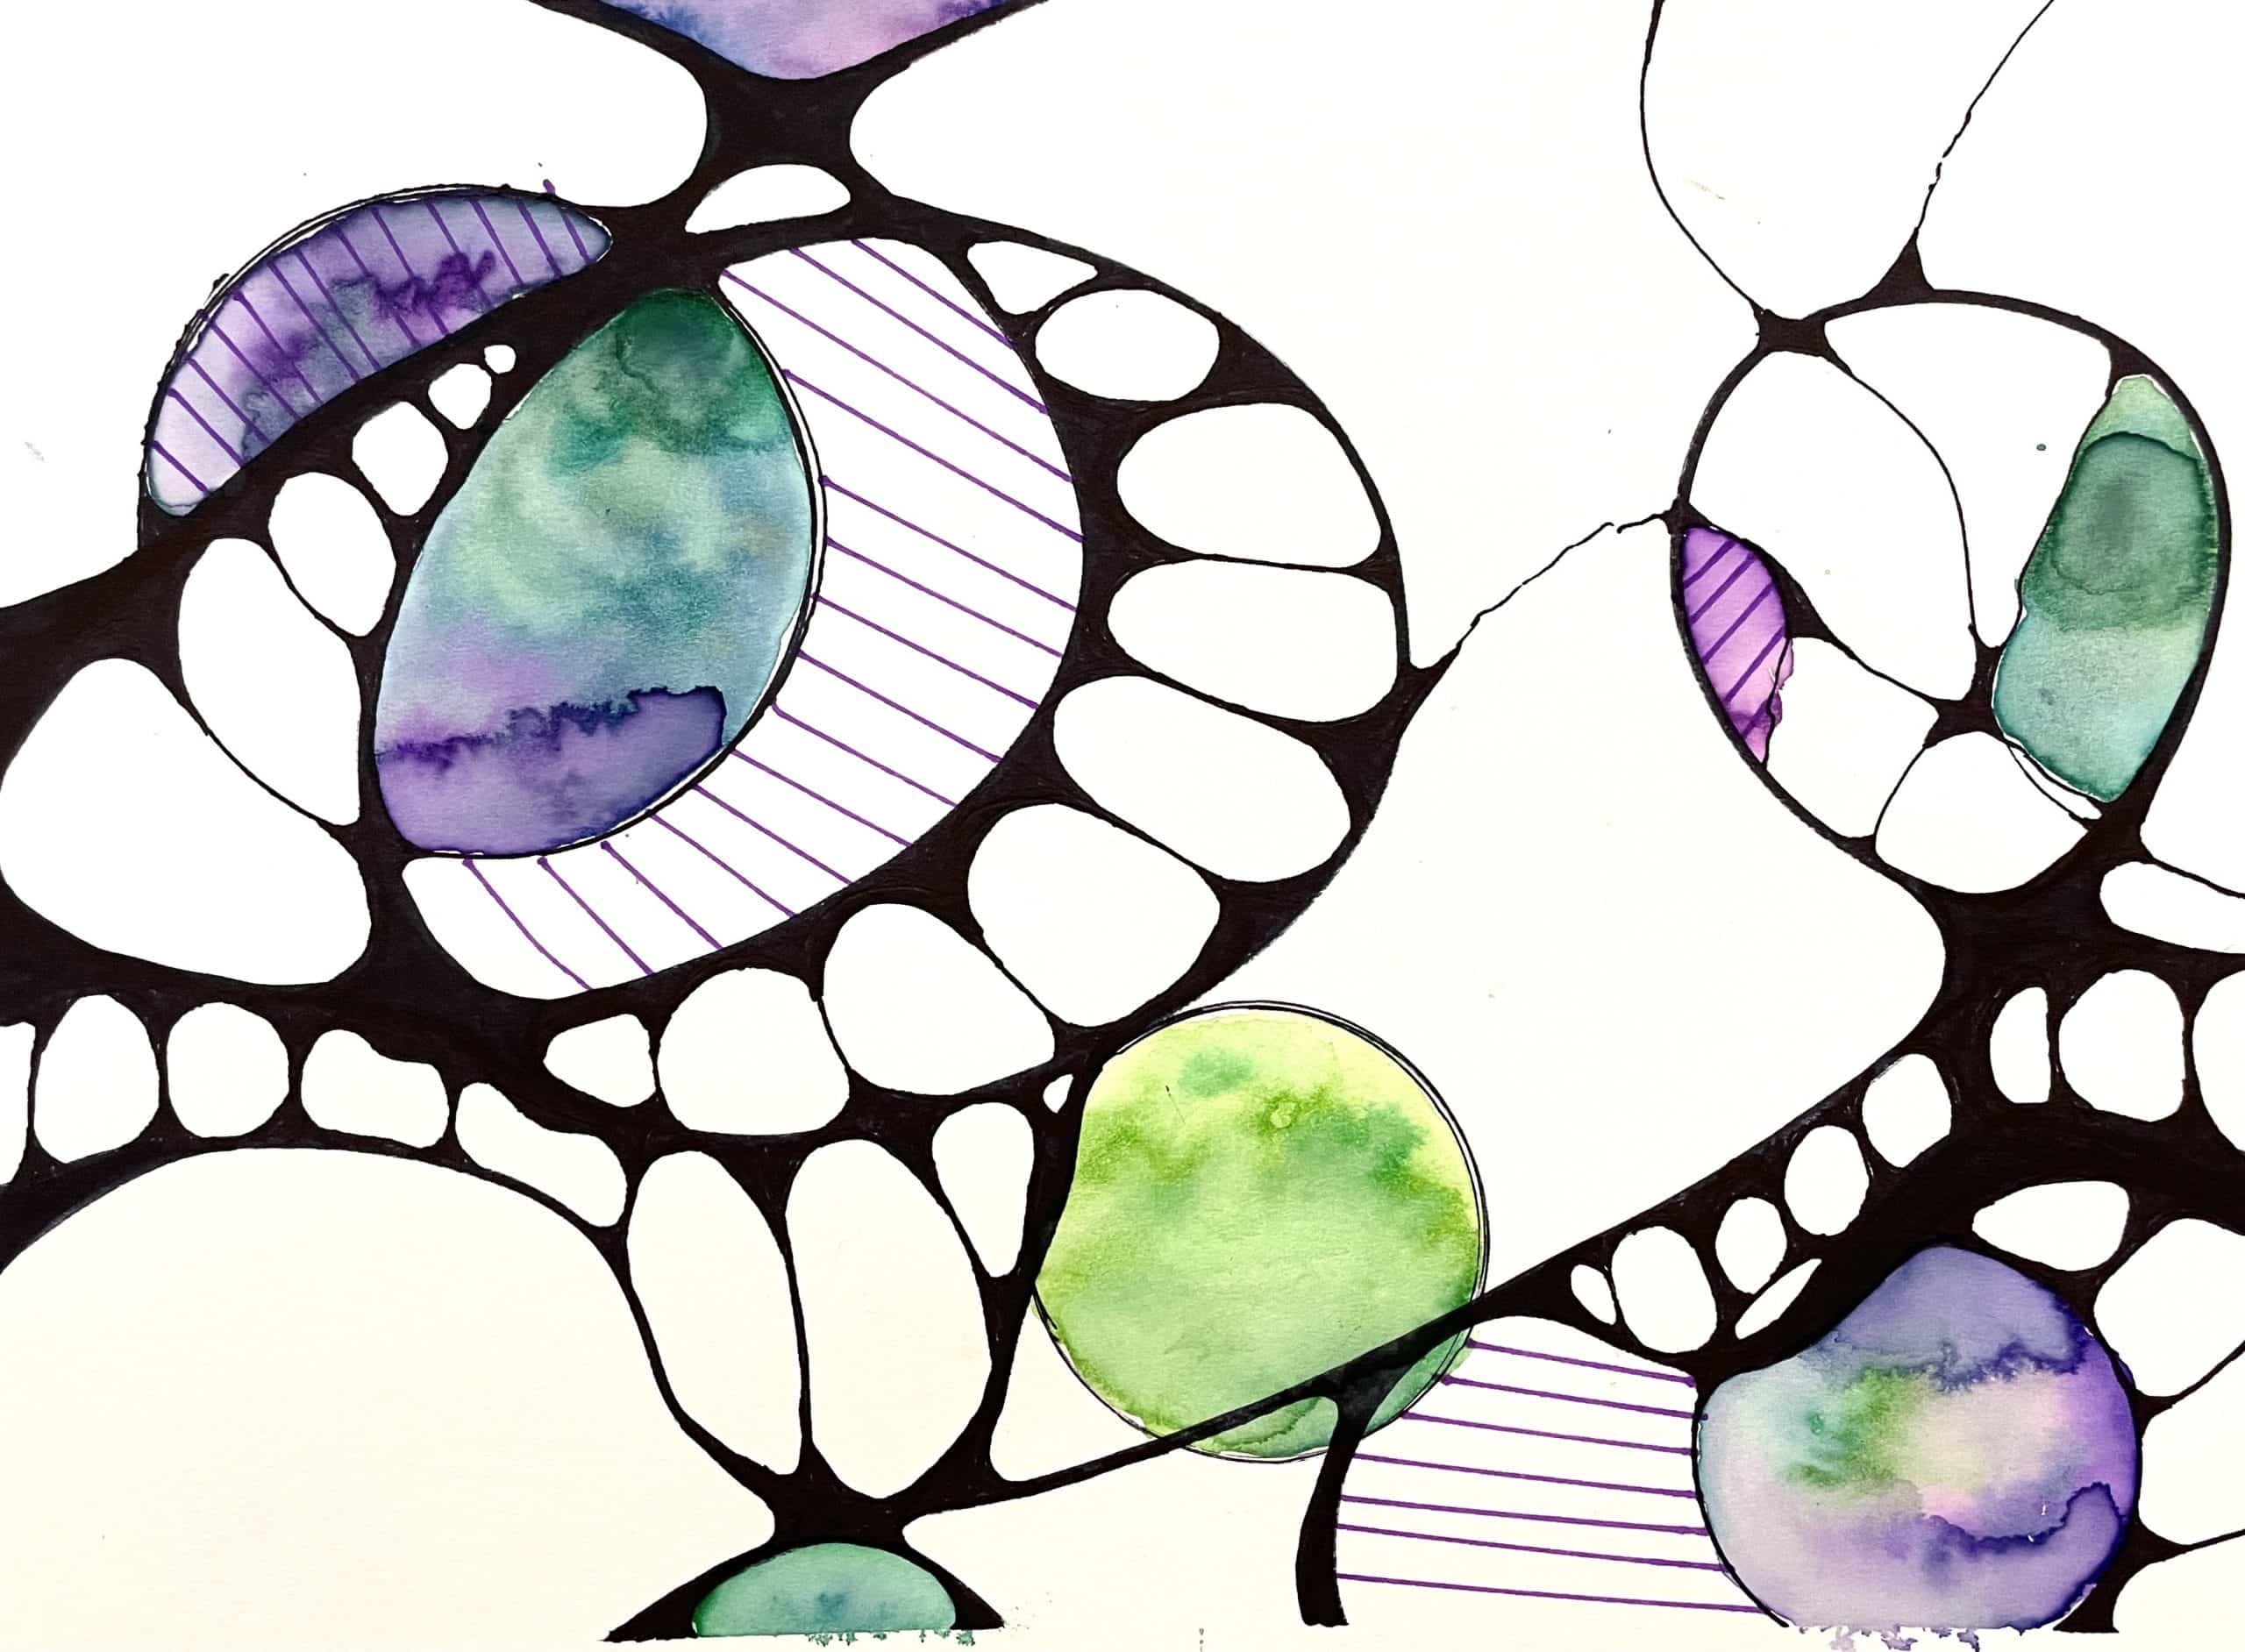
The cool thing about this kind of mindful art is that the drawings actually look like neurons. This type of drawing does not require any previous drawing experience or skills. In my experience, it absolutely encourages mindfulness and helps relieve stress and anxiety.
Many certified art therapists and counselors use this method of drawing in their coaching or healing practices to help patients improve their life. They need to take special courses and be trained to use it as a form of art therapy. This is not the approach I use in my classroom. However, I do tell my students that professionals do this kind of drawing for therapeutic purposes.

How Do You Create Neurographic Art?
To create Neurographic Art you follow a basic algorithm. In my classroom, I follow the algorithm, but also put my own spin on it. I approach it as a design lesson as well.
Here are the steps outlining the process and some tips on how to make this project flow smoothly with mixed-level classes:
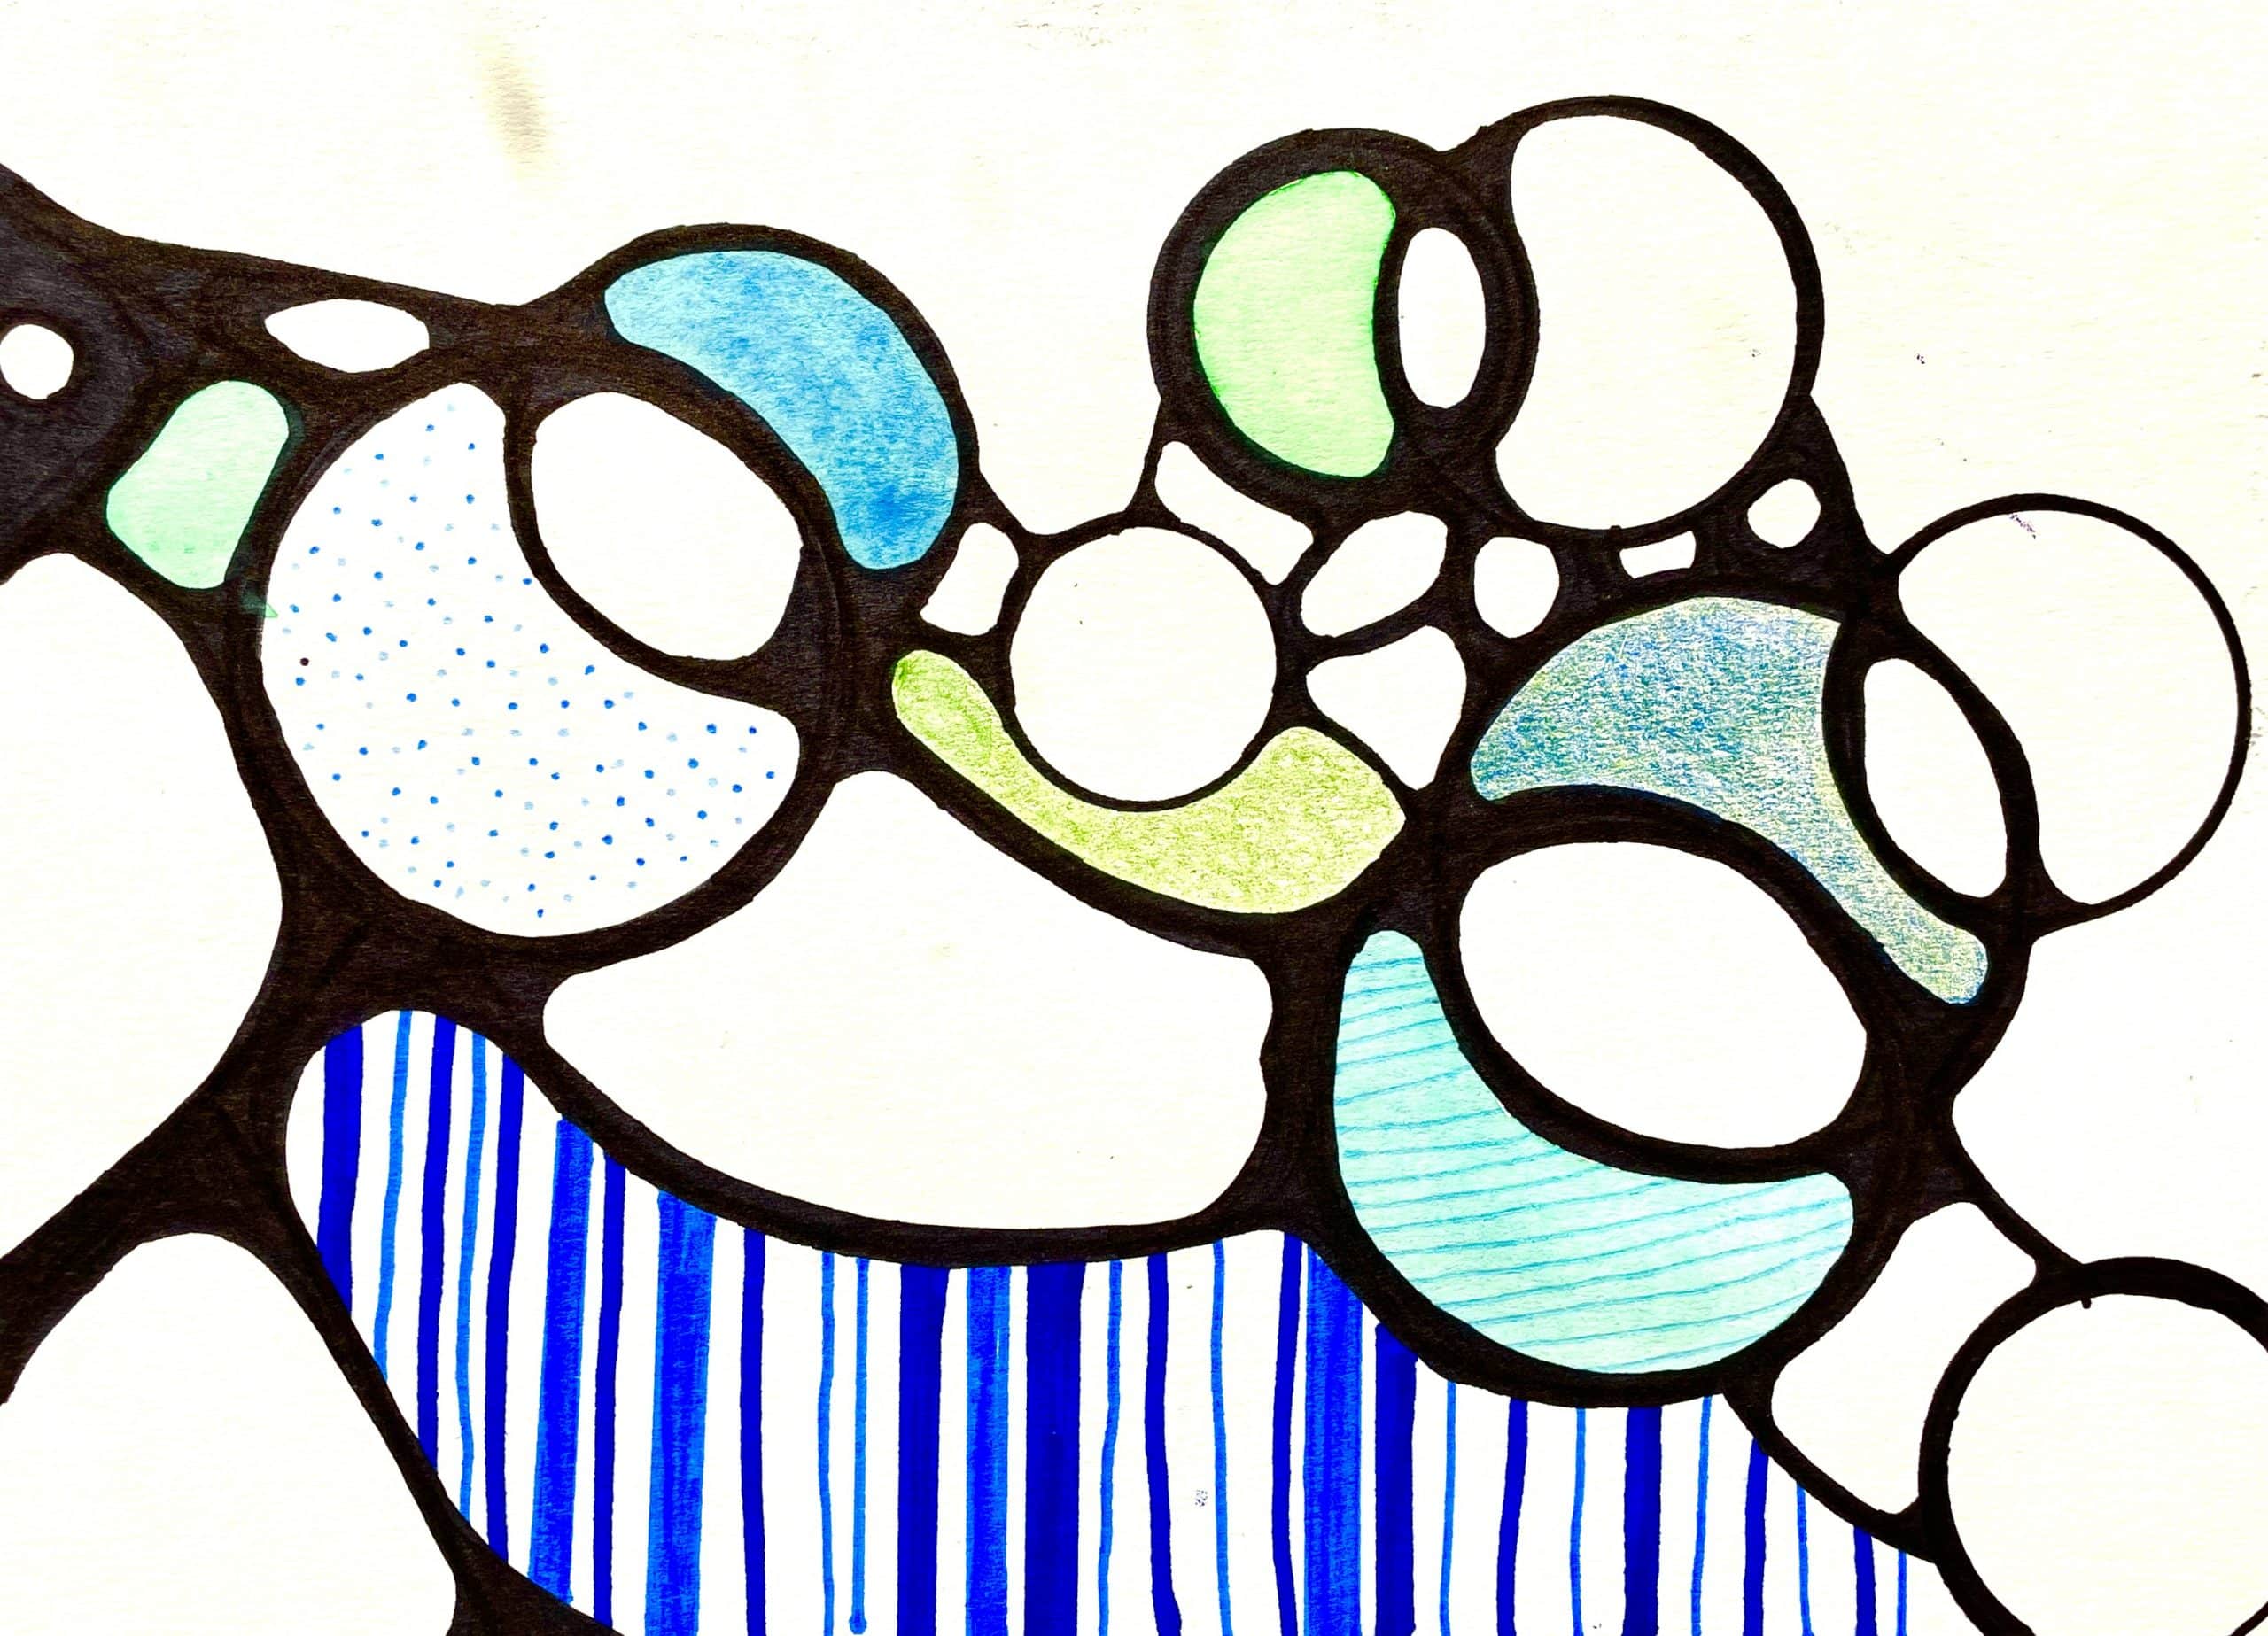
Step 1
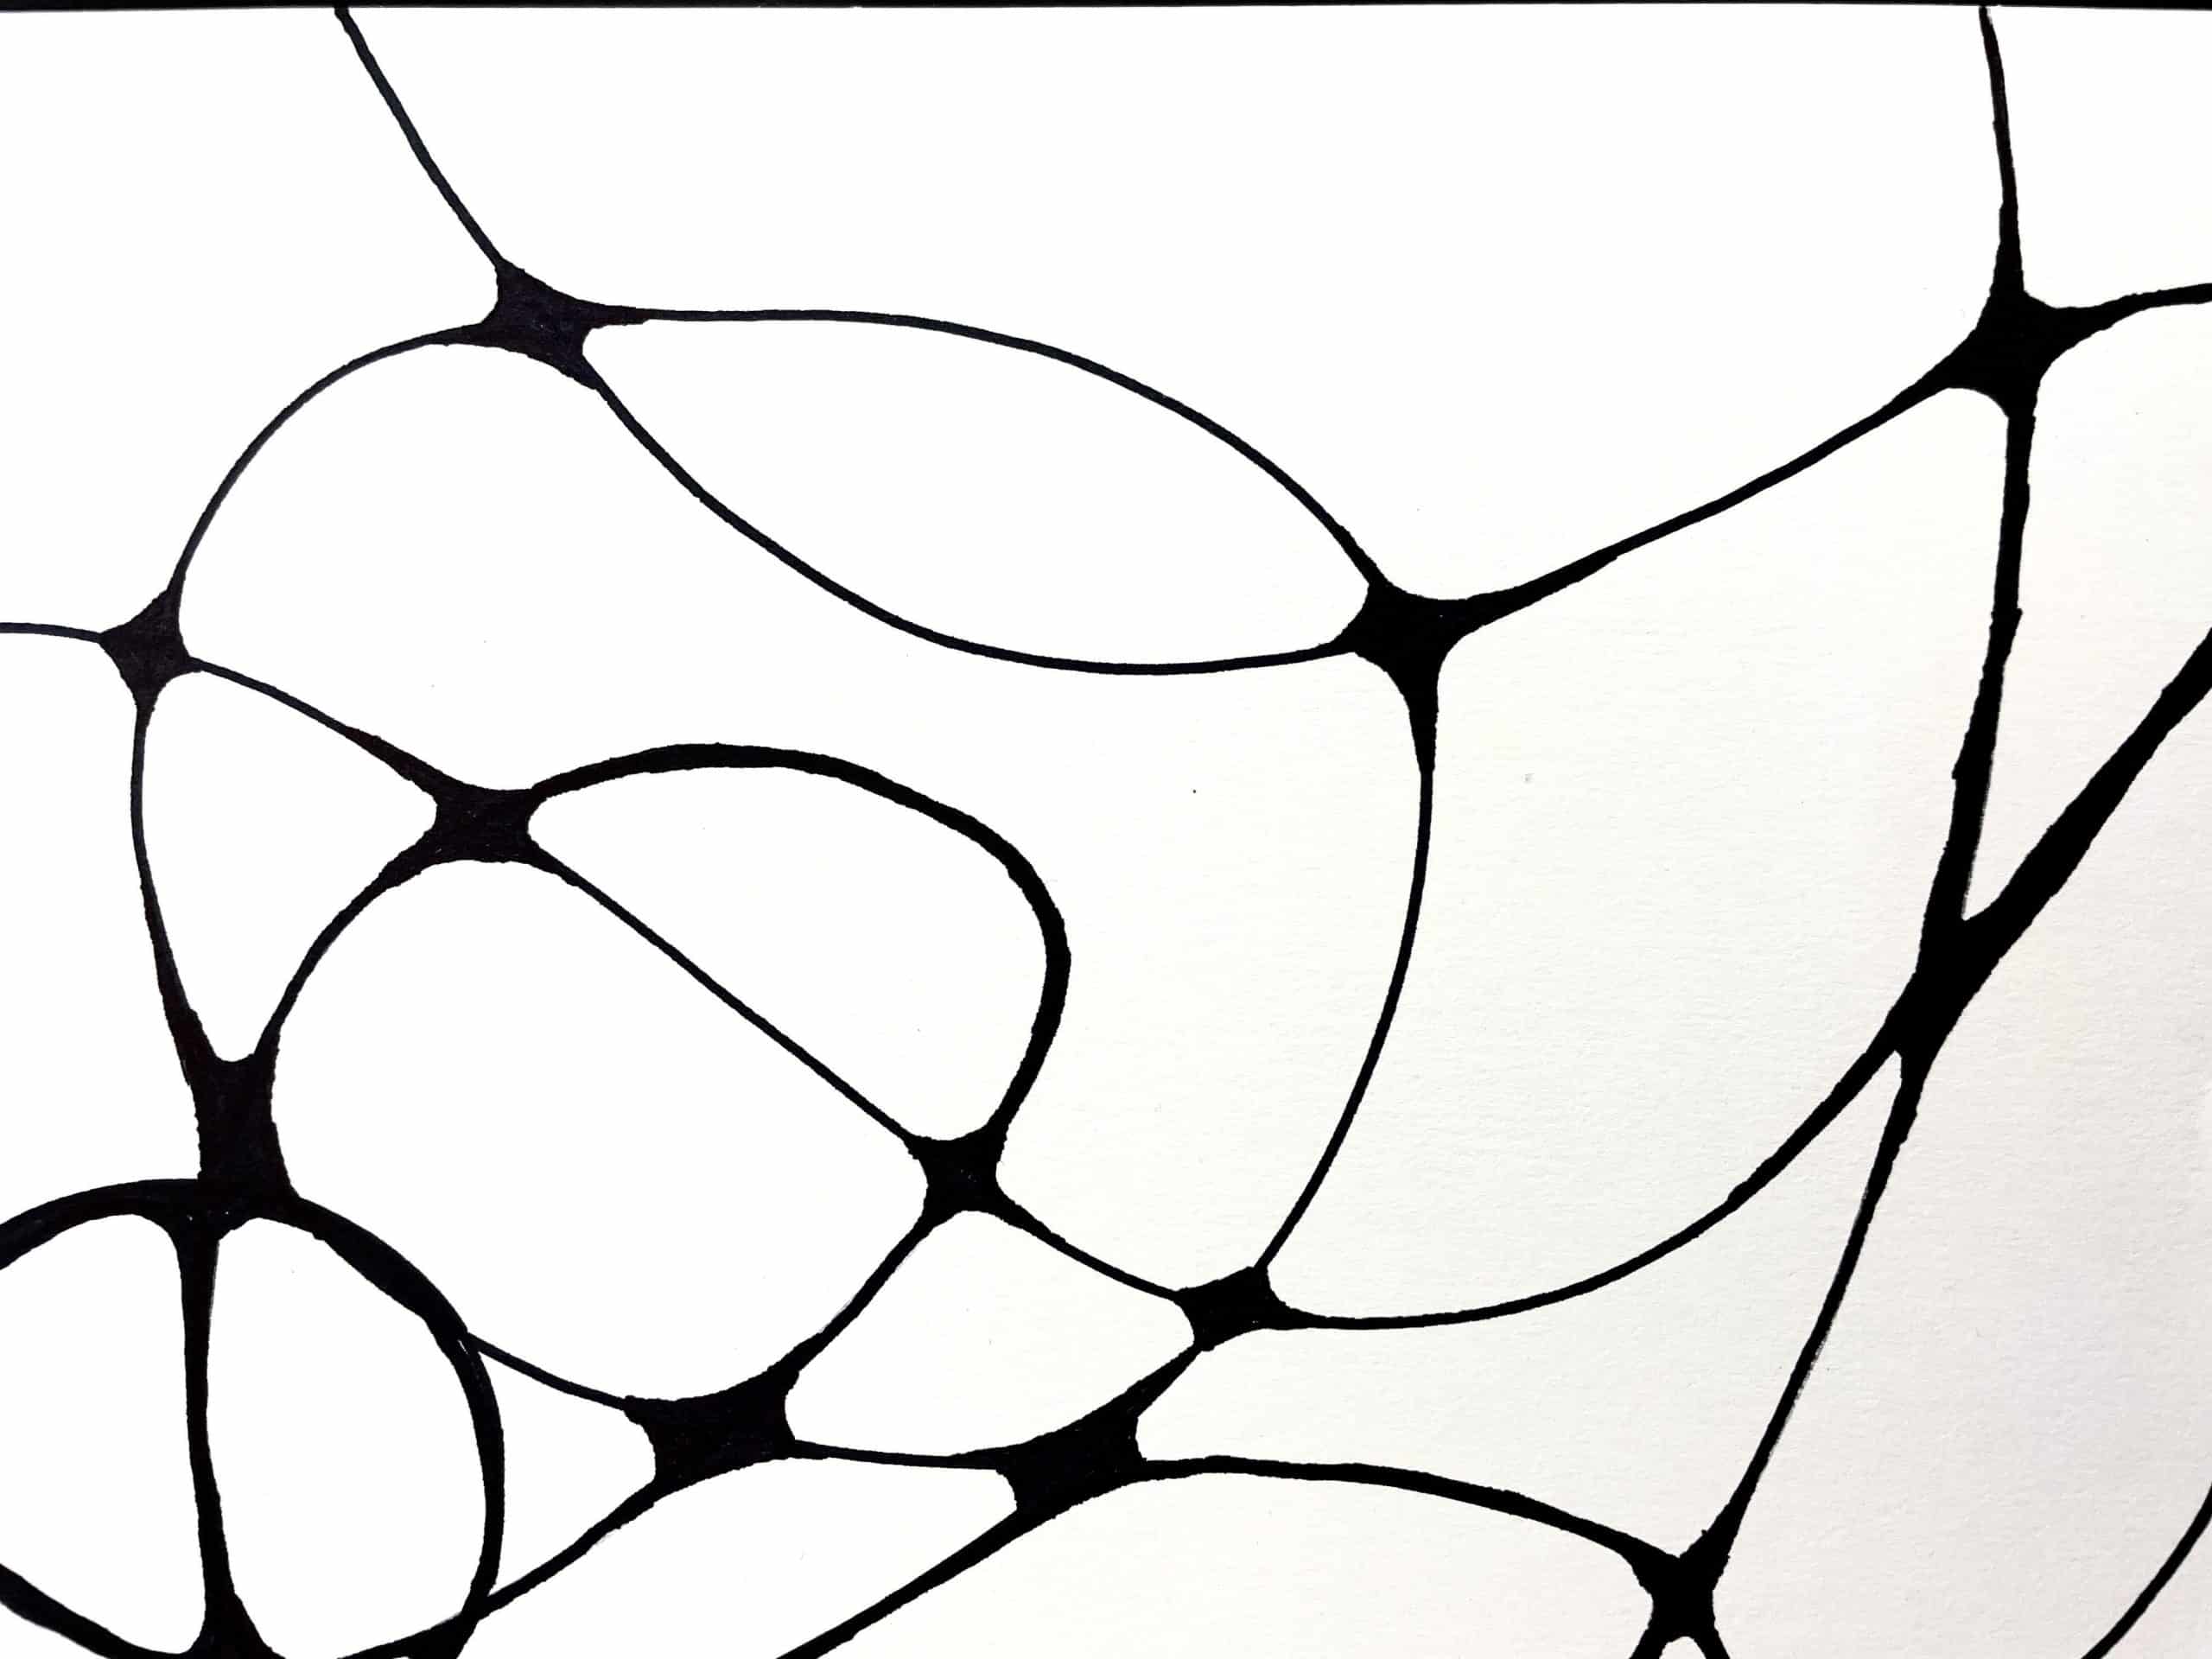
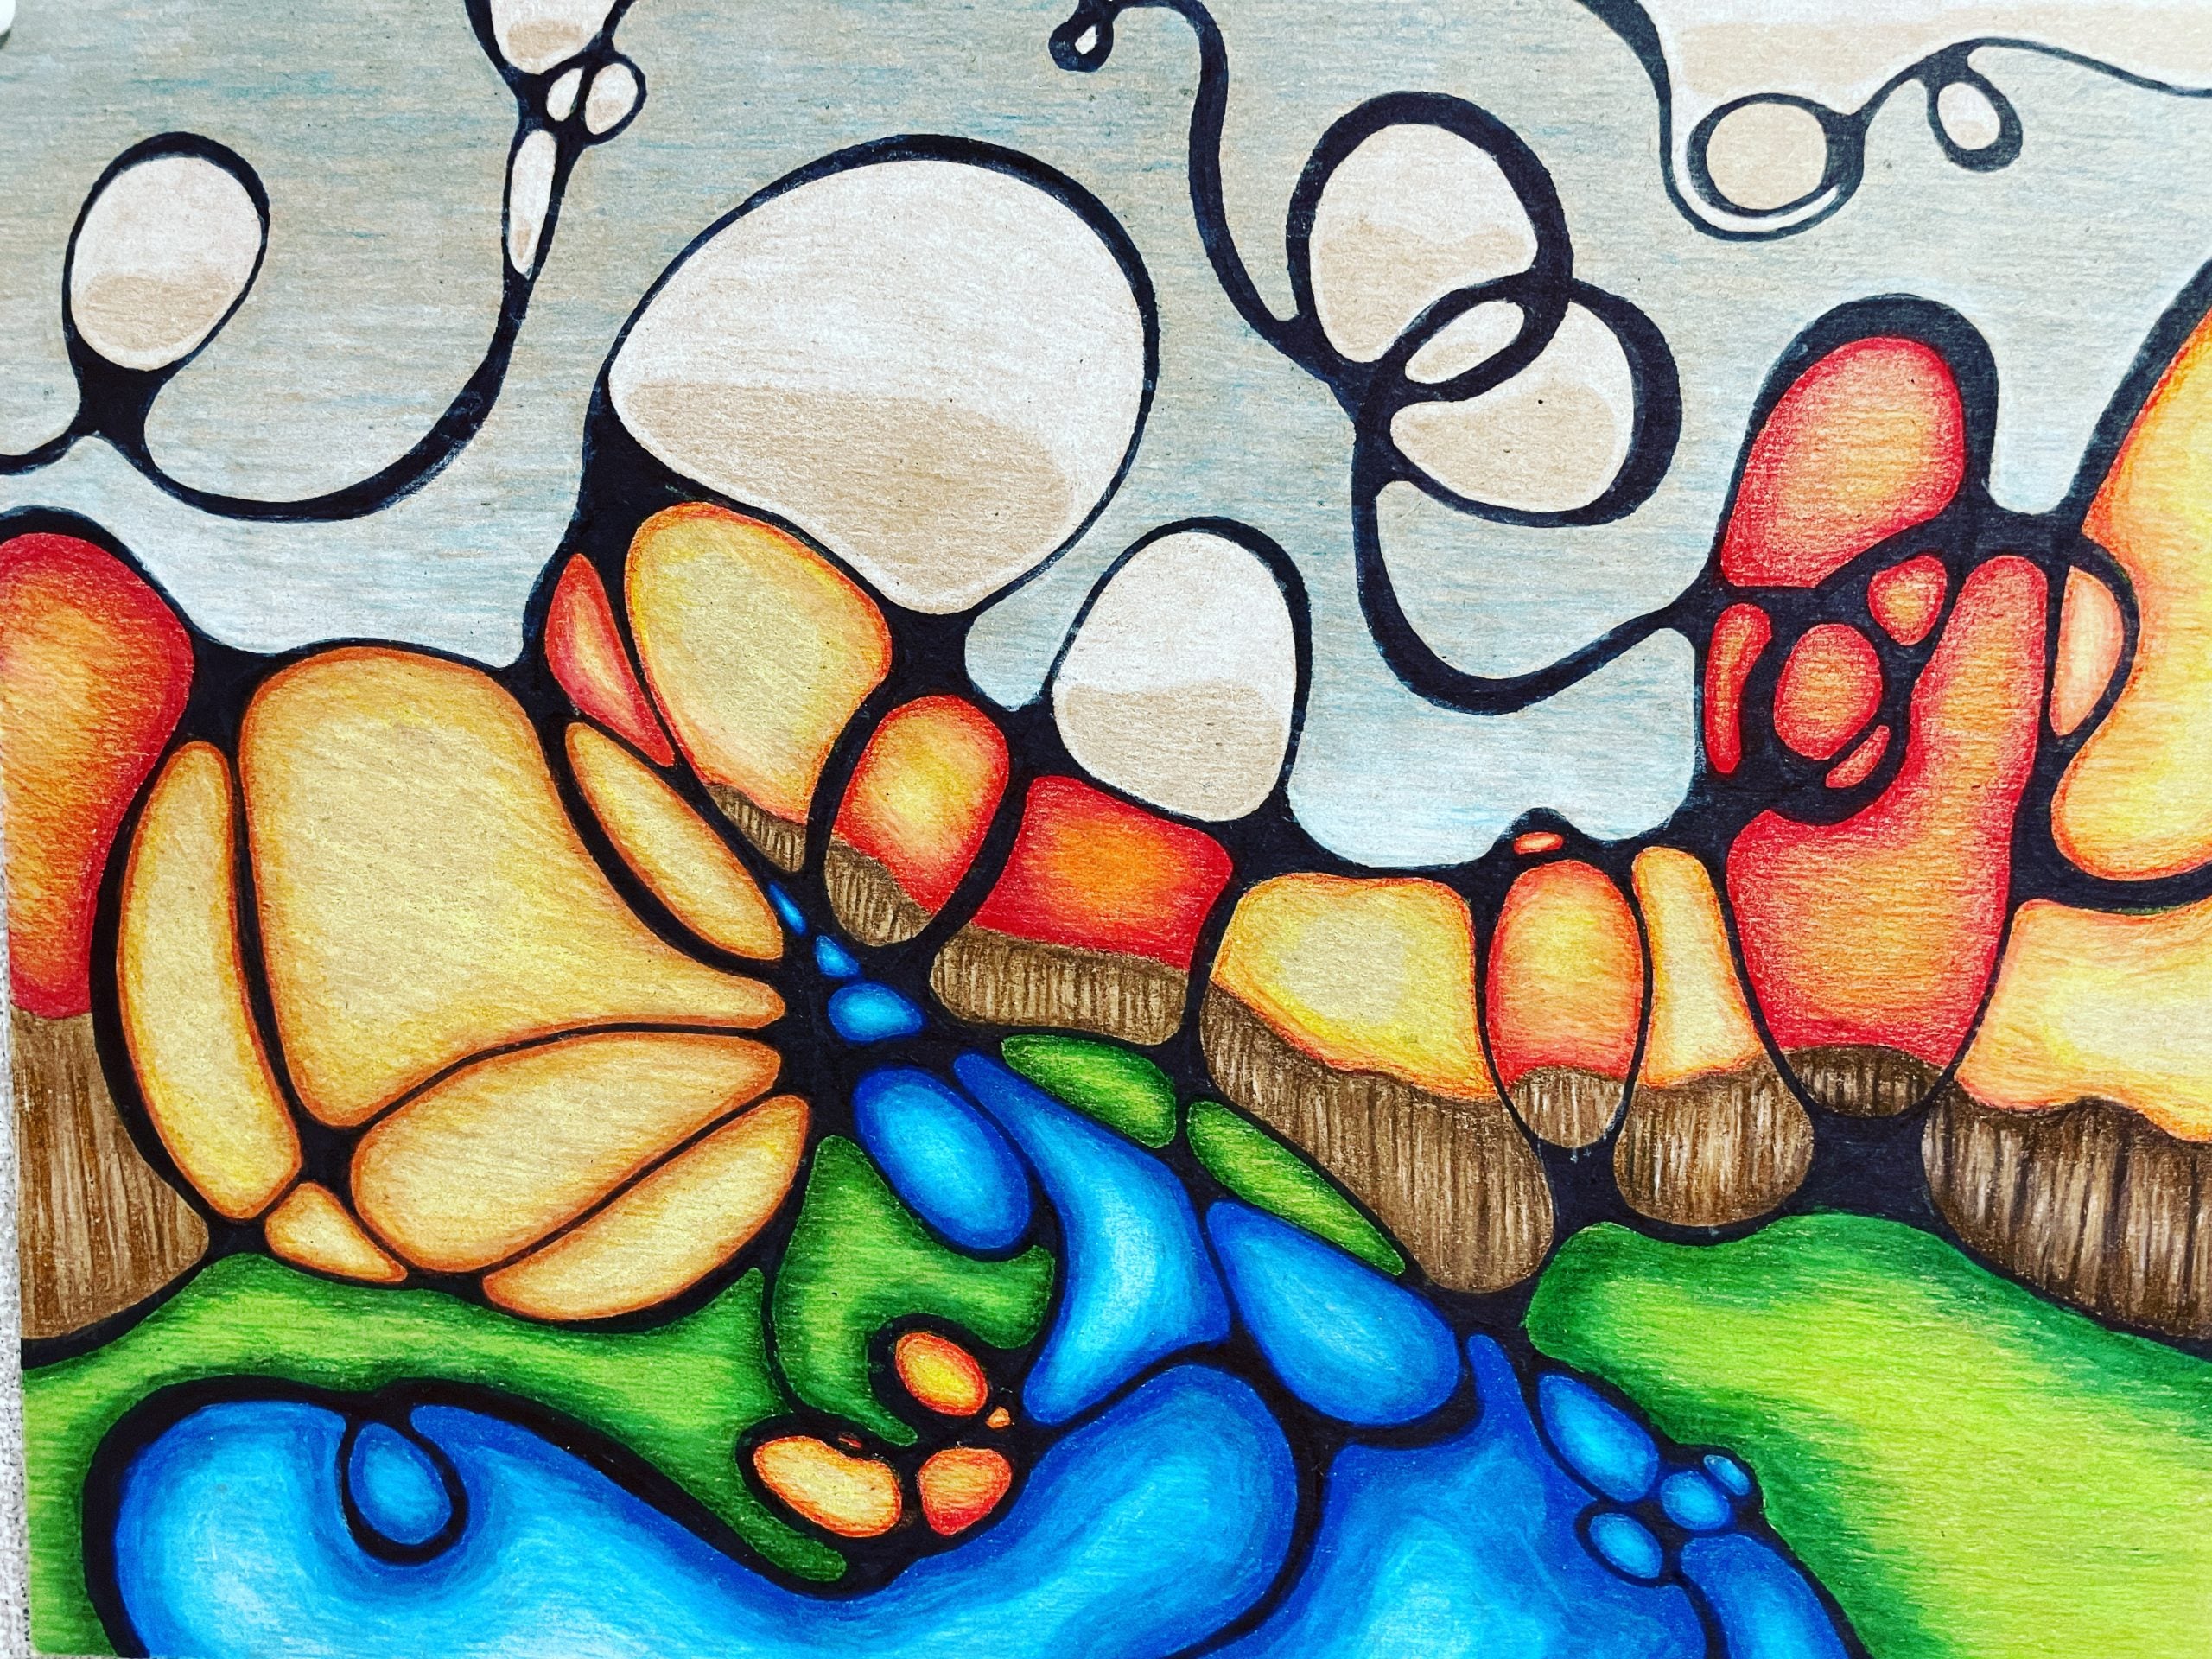
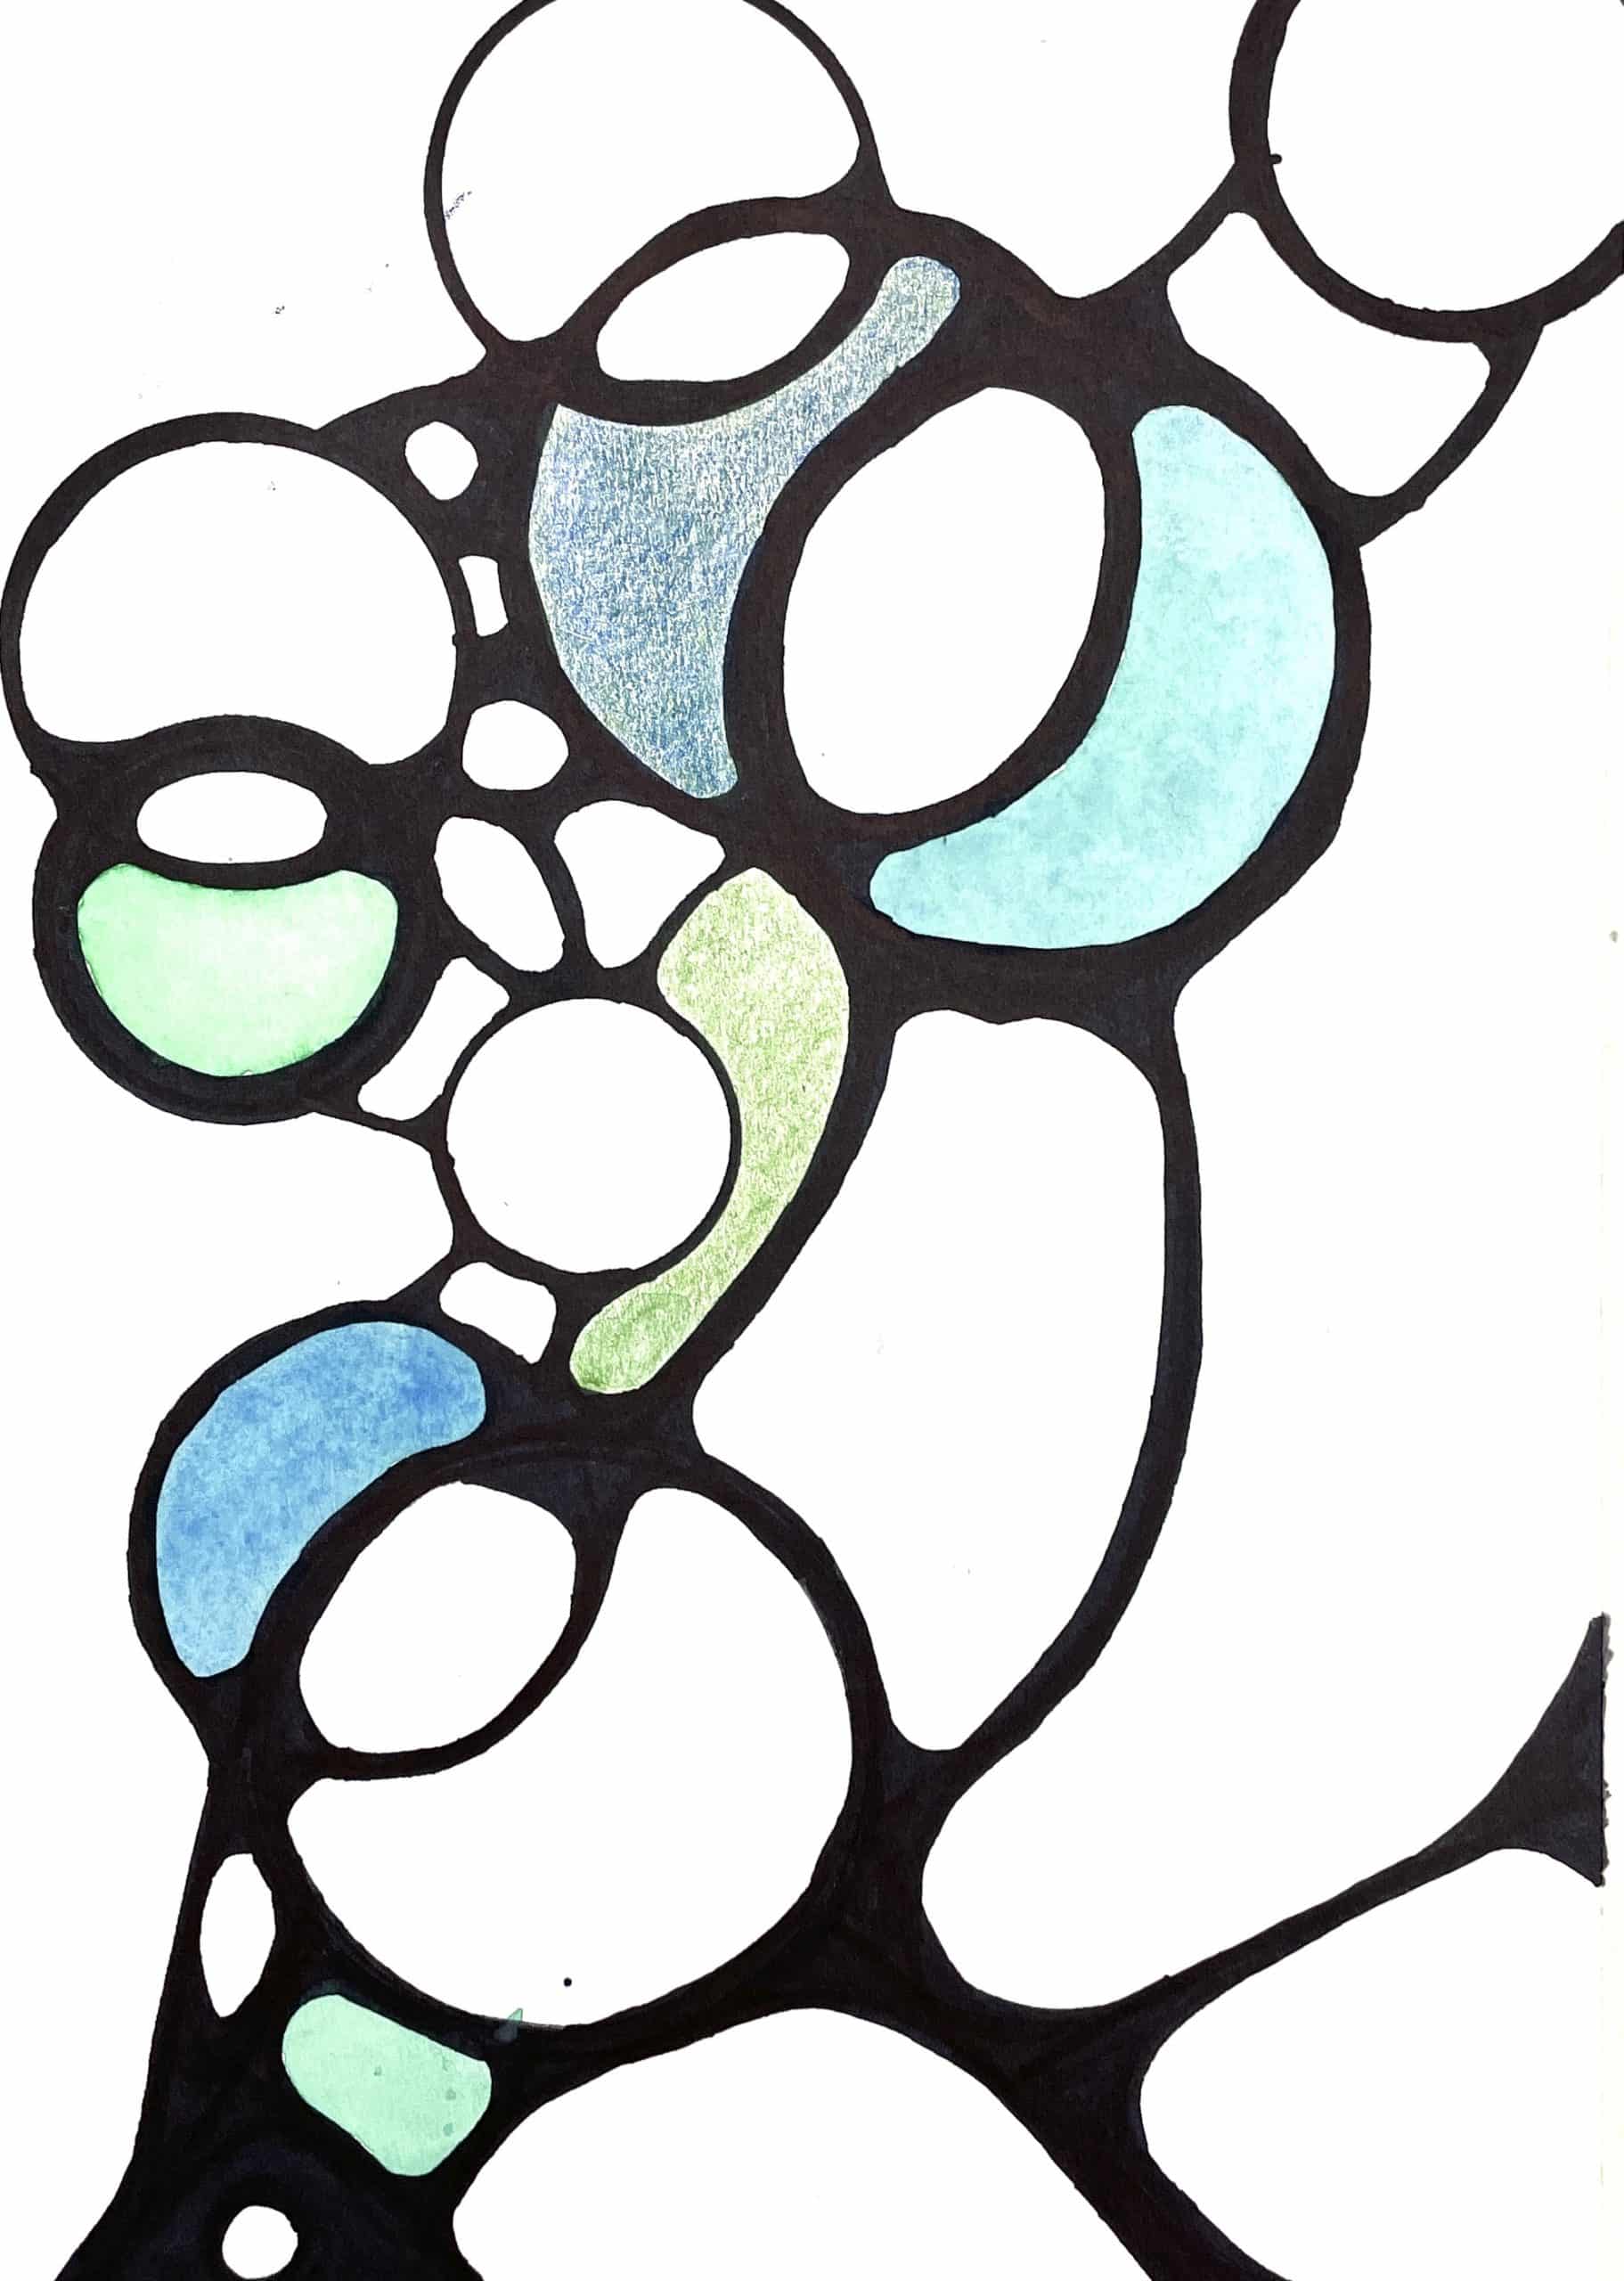
Begin by having students draw a freeform line on their page for three seconds. Some teachers and therapists have students reflect on a problem they are experiencing as they draw. When I do this part of the activity, I explain that this is a mindful drawing exercise and give students the option to meditate on an issue weighing on their mind as they work, but only if they would like to.
Slightly thicker markers work better for this step. Extra fine points can be difficult for beginners to control at this stage. It is also helpful to remind students to draw larger looping lines. Tight small shapes will give beginners more difficulty. Bigger loops will give them more space to experiment.
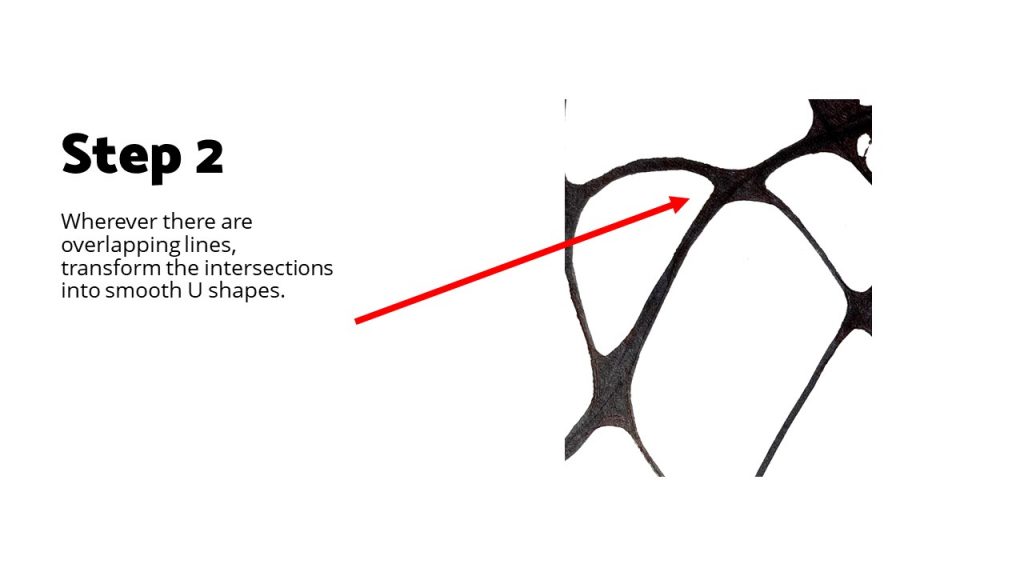
Step 2
Wherever there are overlapping lines, have students transform the intersections into smooth U shapes. It will be more relaxing and fulfilling for them if they follow the path of the lines and don’t jump around the page. That way they are able to see their designs begin to form and they will not have a bunch of unfinished areas. This strategy will help them feel more accomplished sooner.
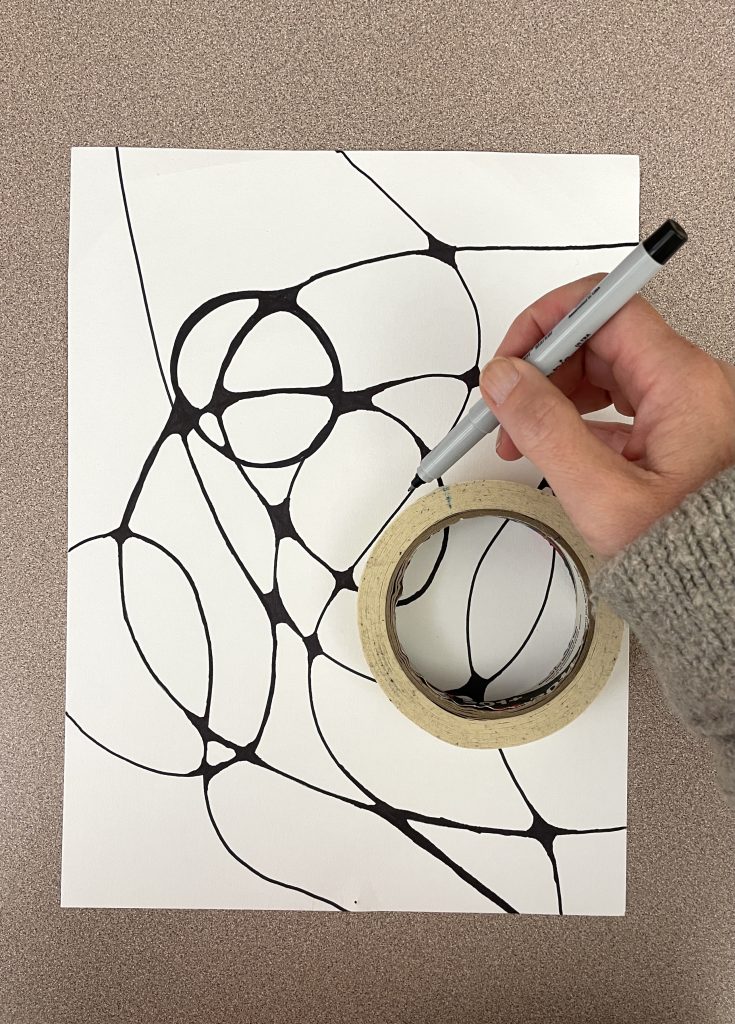
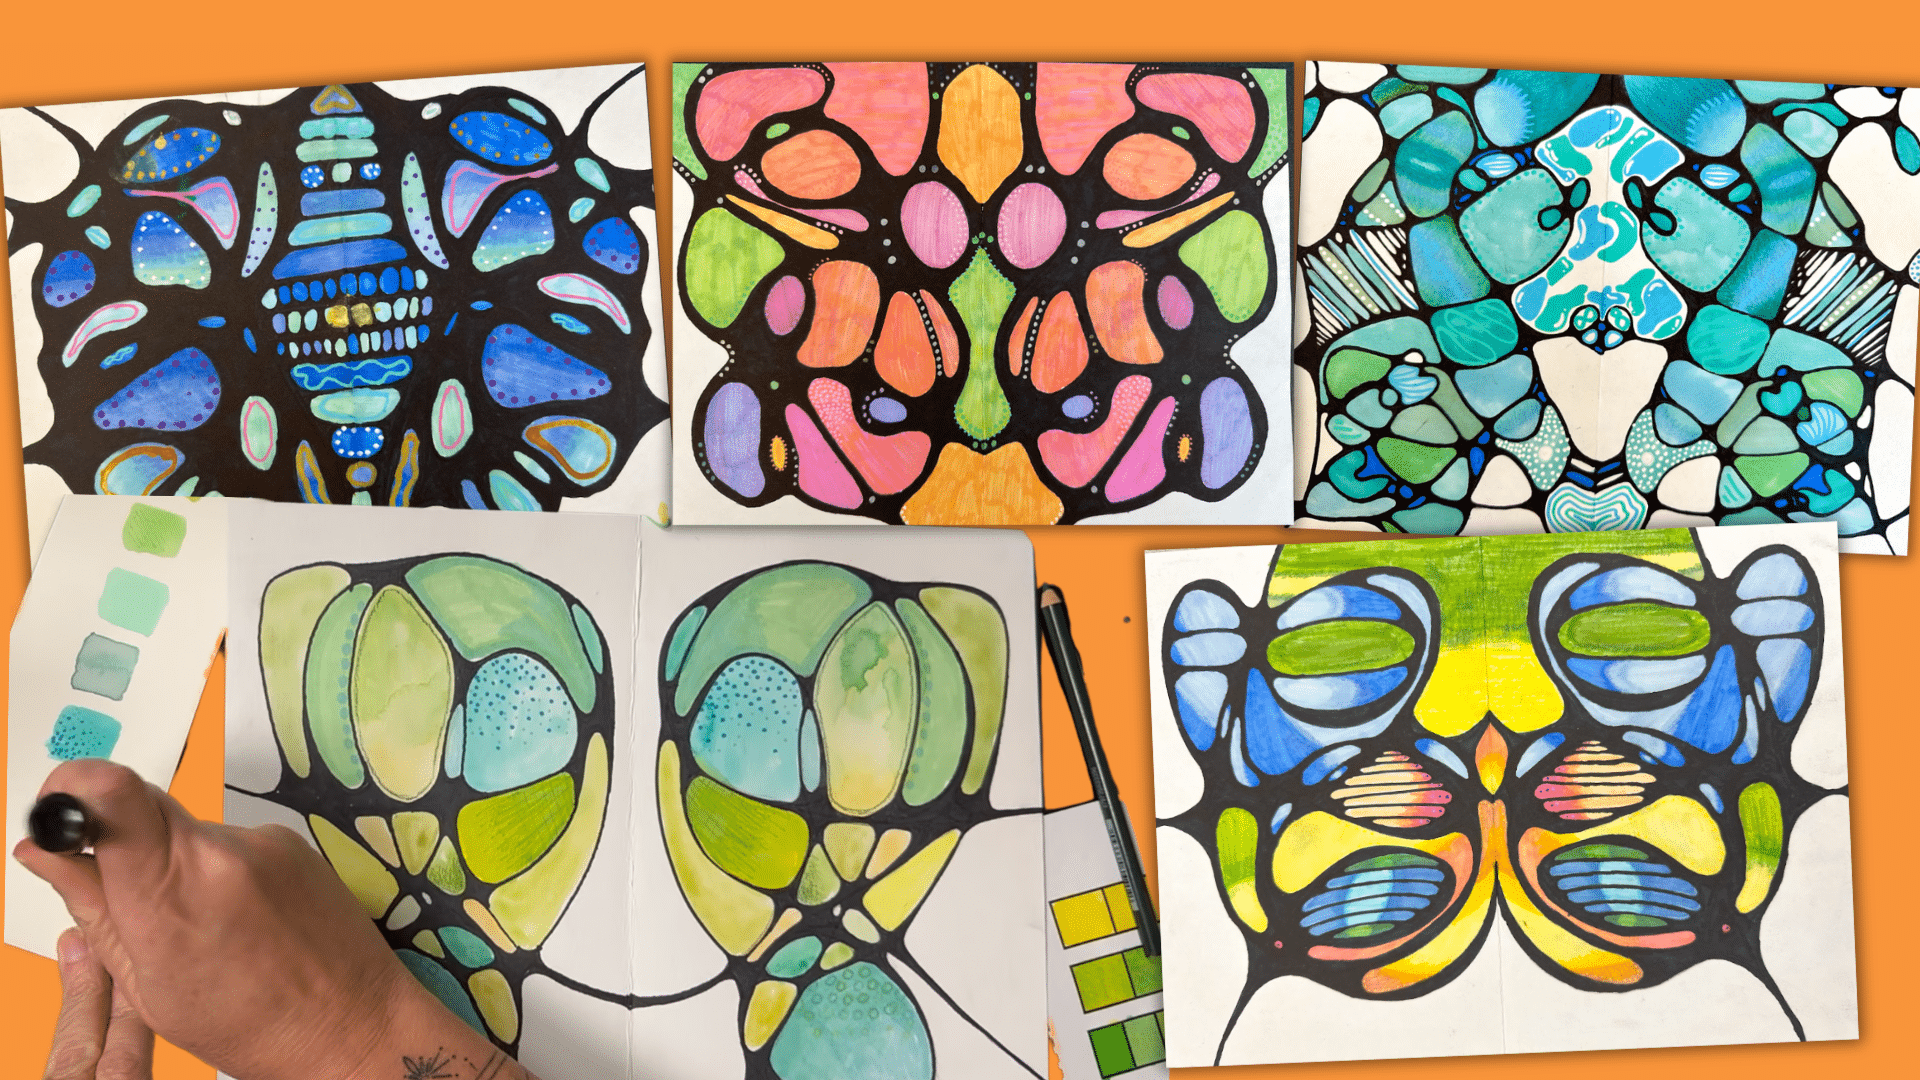
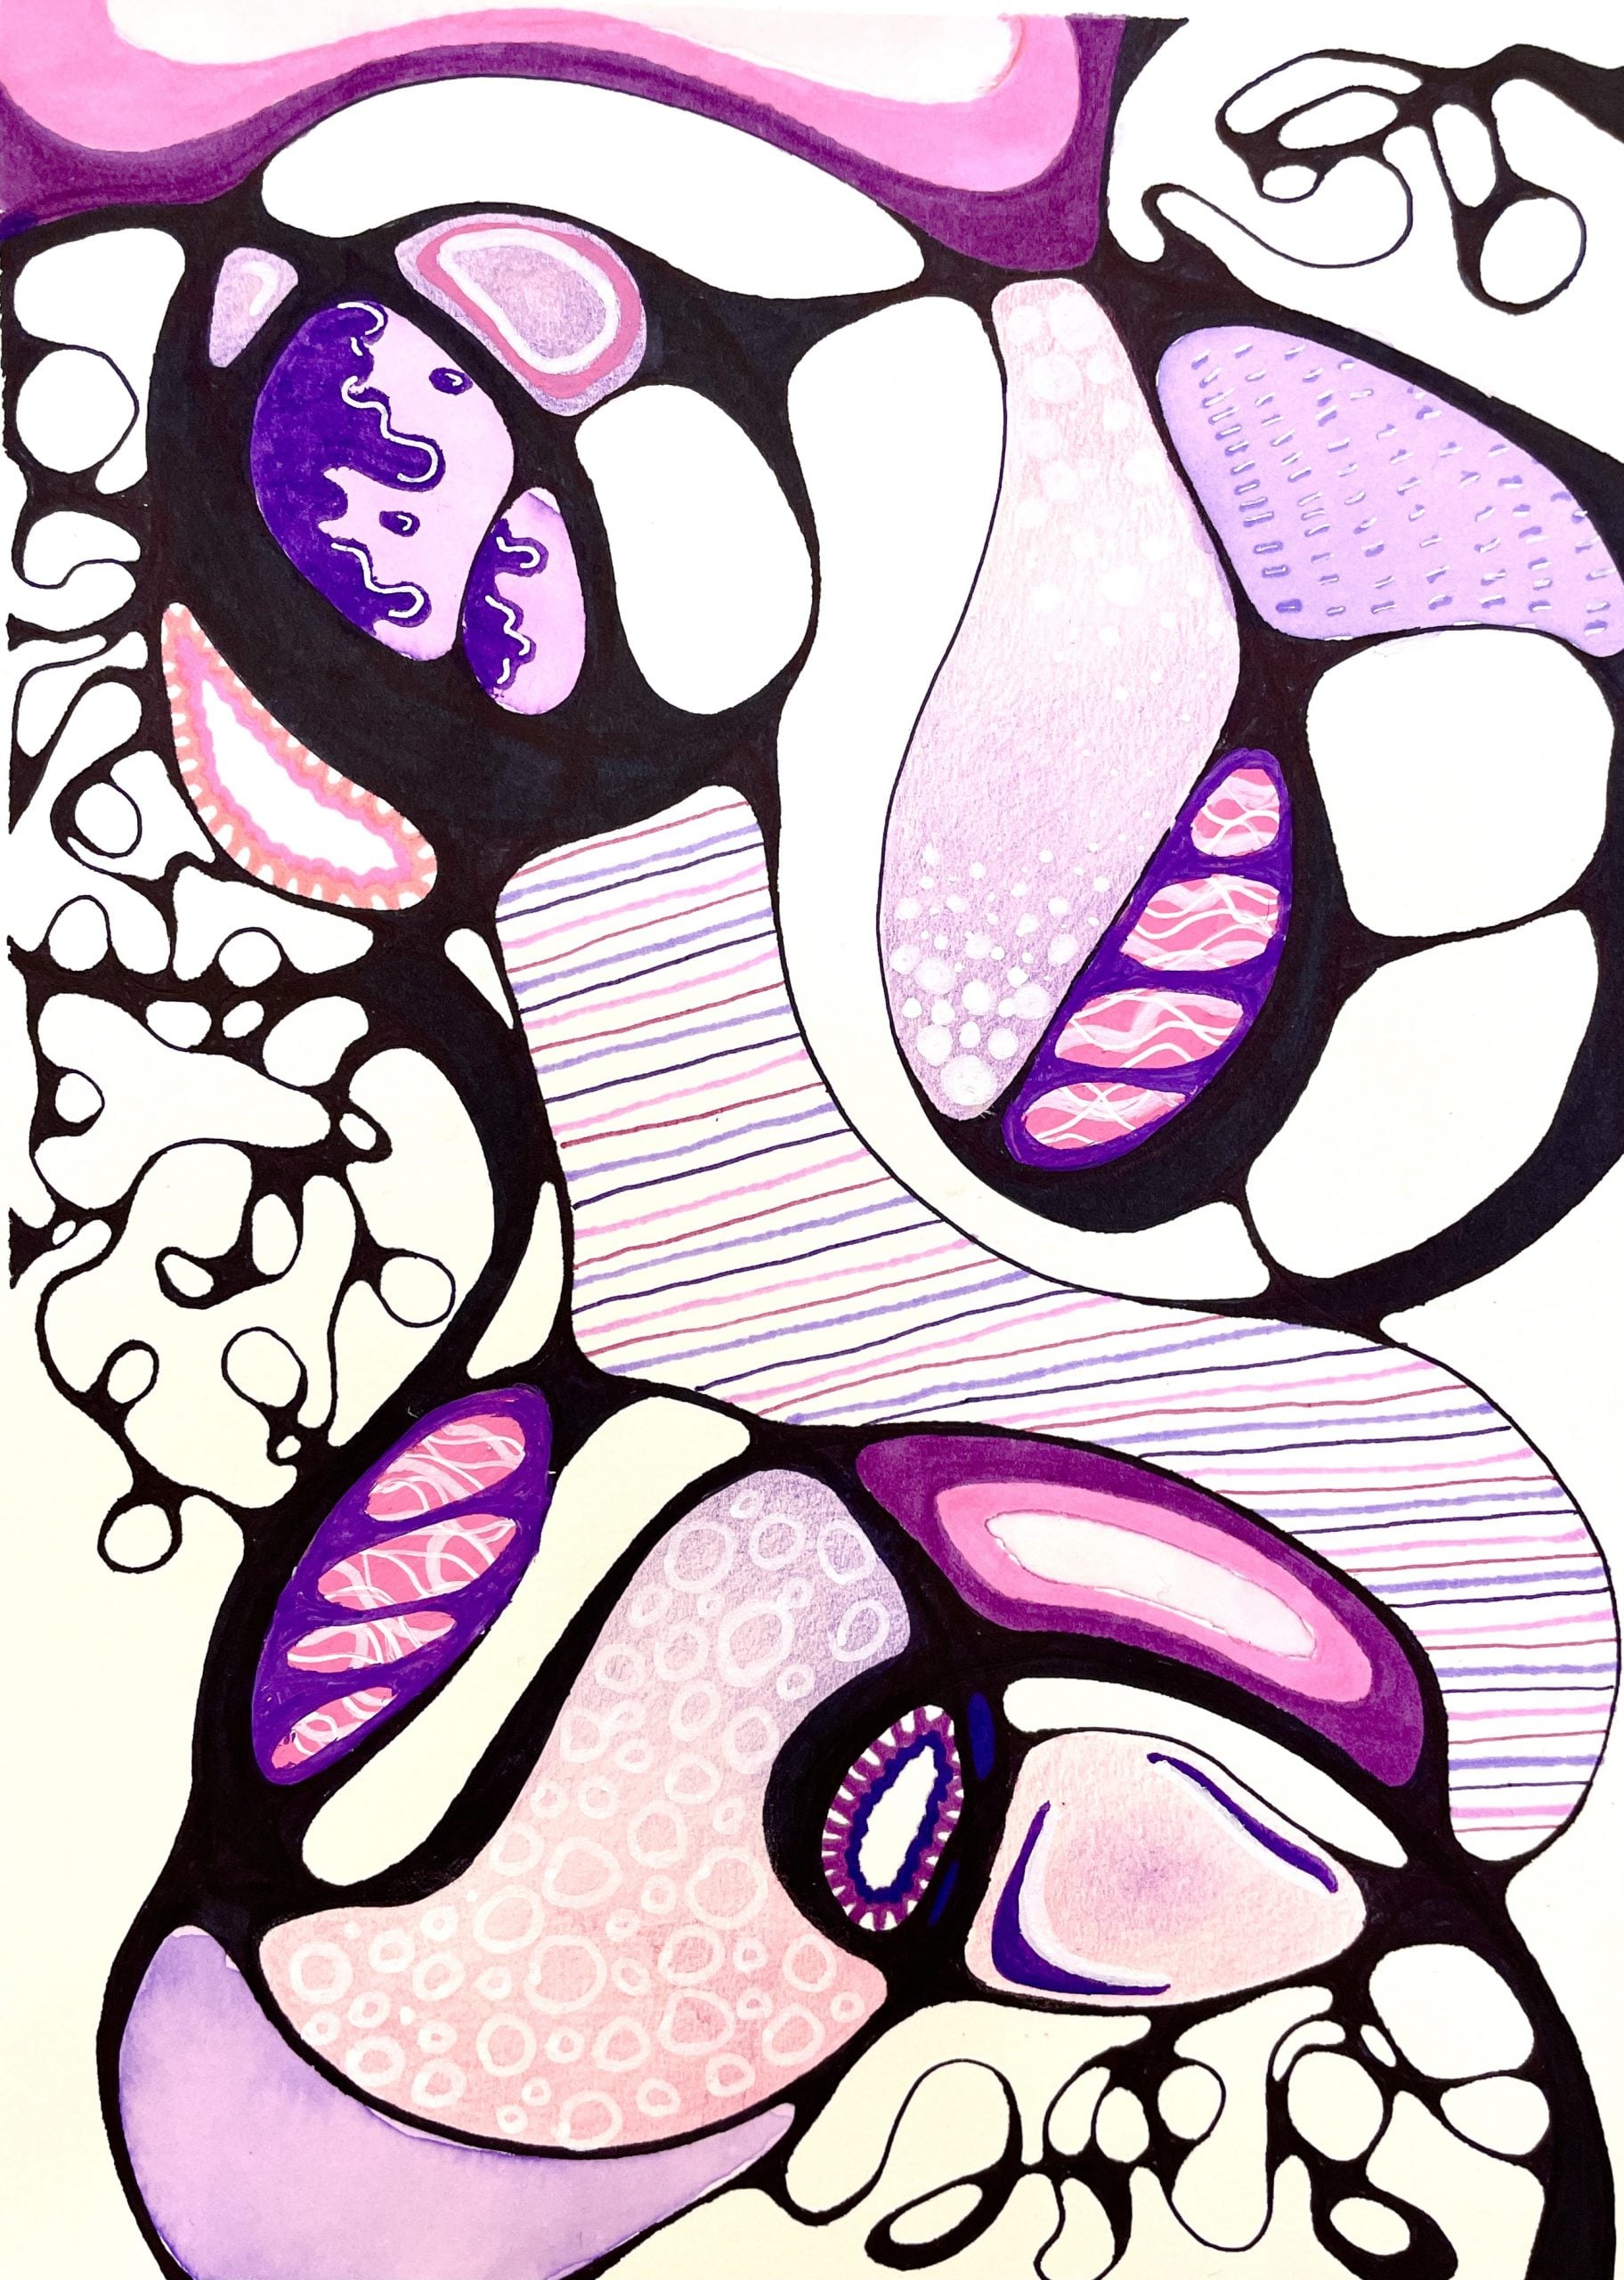
Step 3
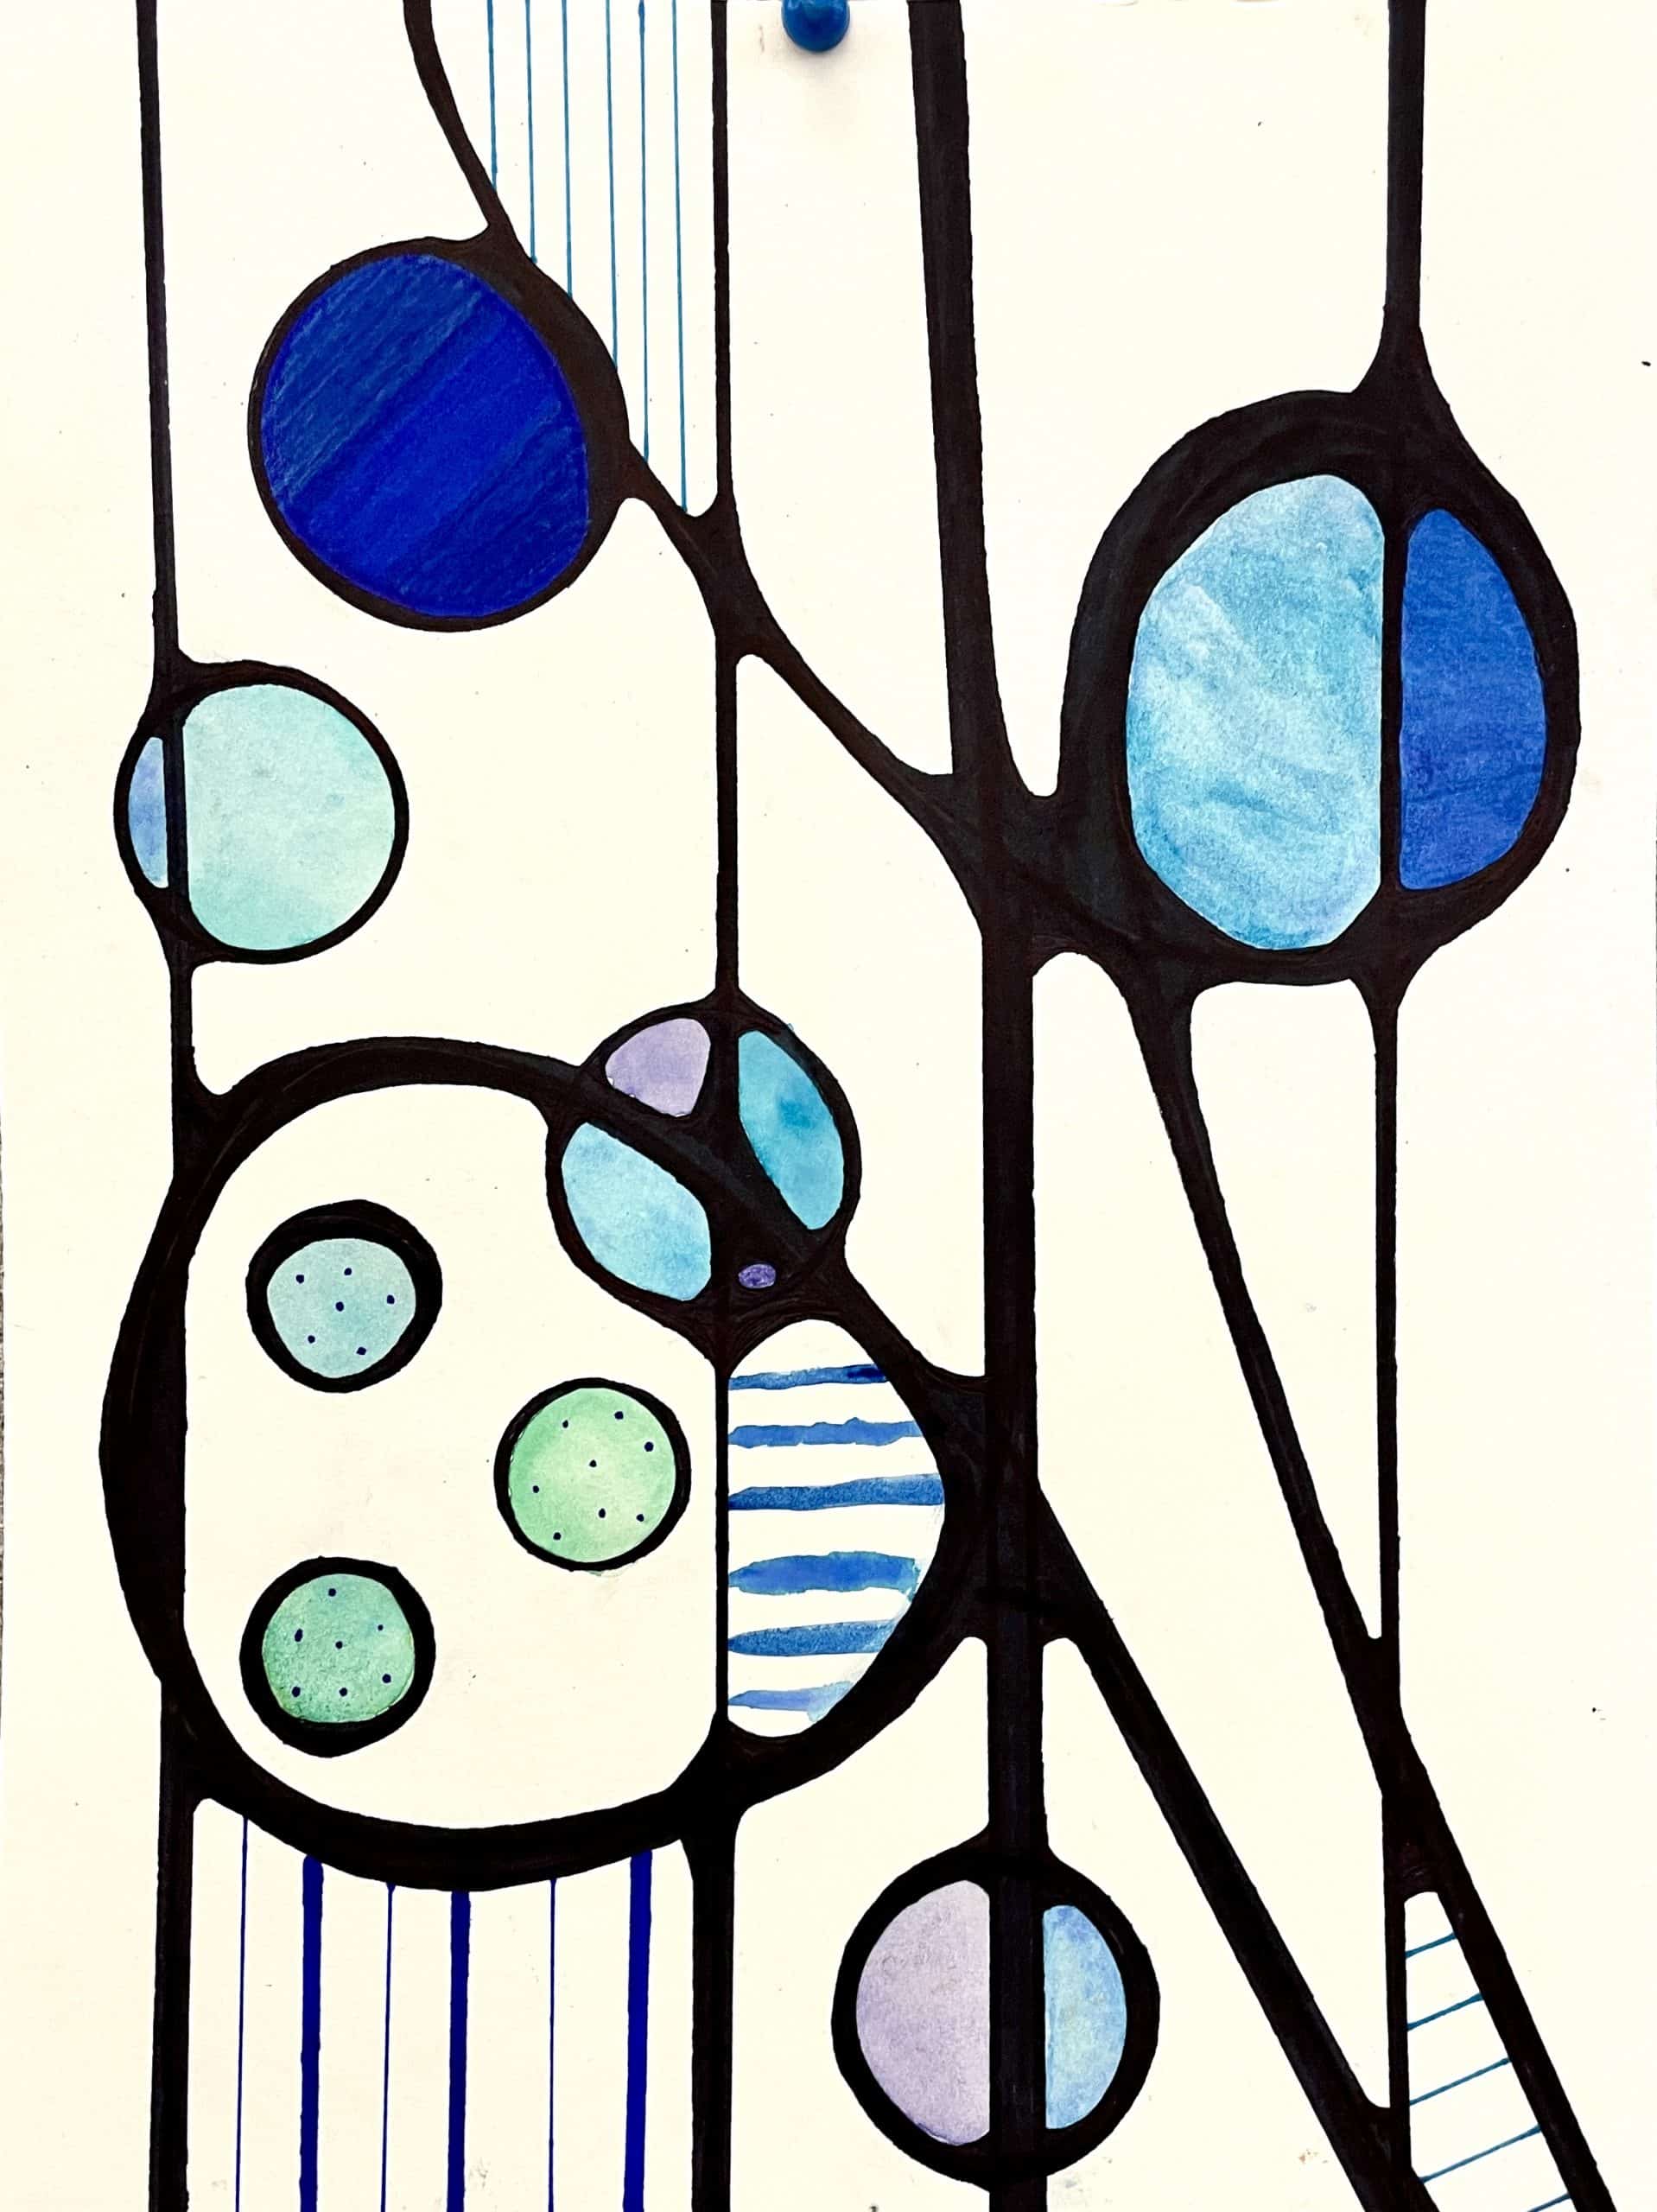
Have students smooth out their lines using thick and thin markers. Stress the importance of making the lines flow from thick to thin and having a variety of different line weights. Some kids may stress over making them all even and perfect. Reminding them that variation is more interesting can help them loosen up. It also adds interest to their designs
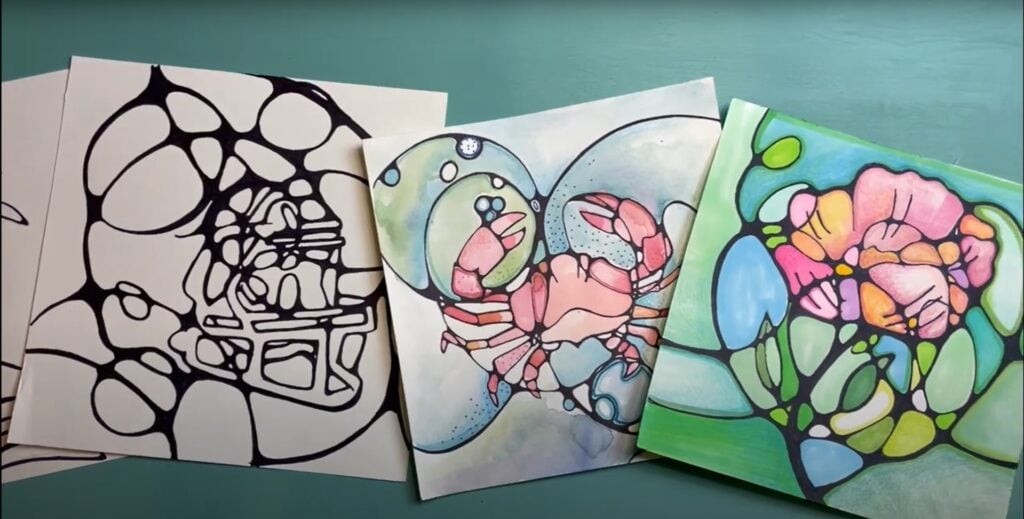
Step 4
Next, have them trace some overlapping shapes on top of their designs. Start with only one or two at a time so they do not feel overwhelmed by too much to do. They can always add more as they go.
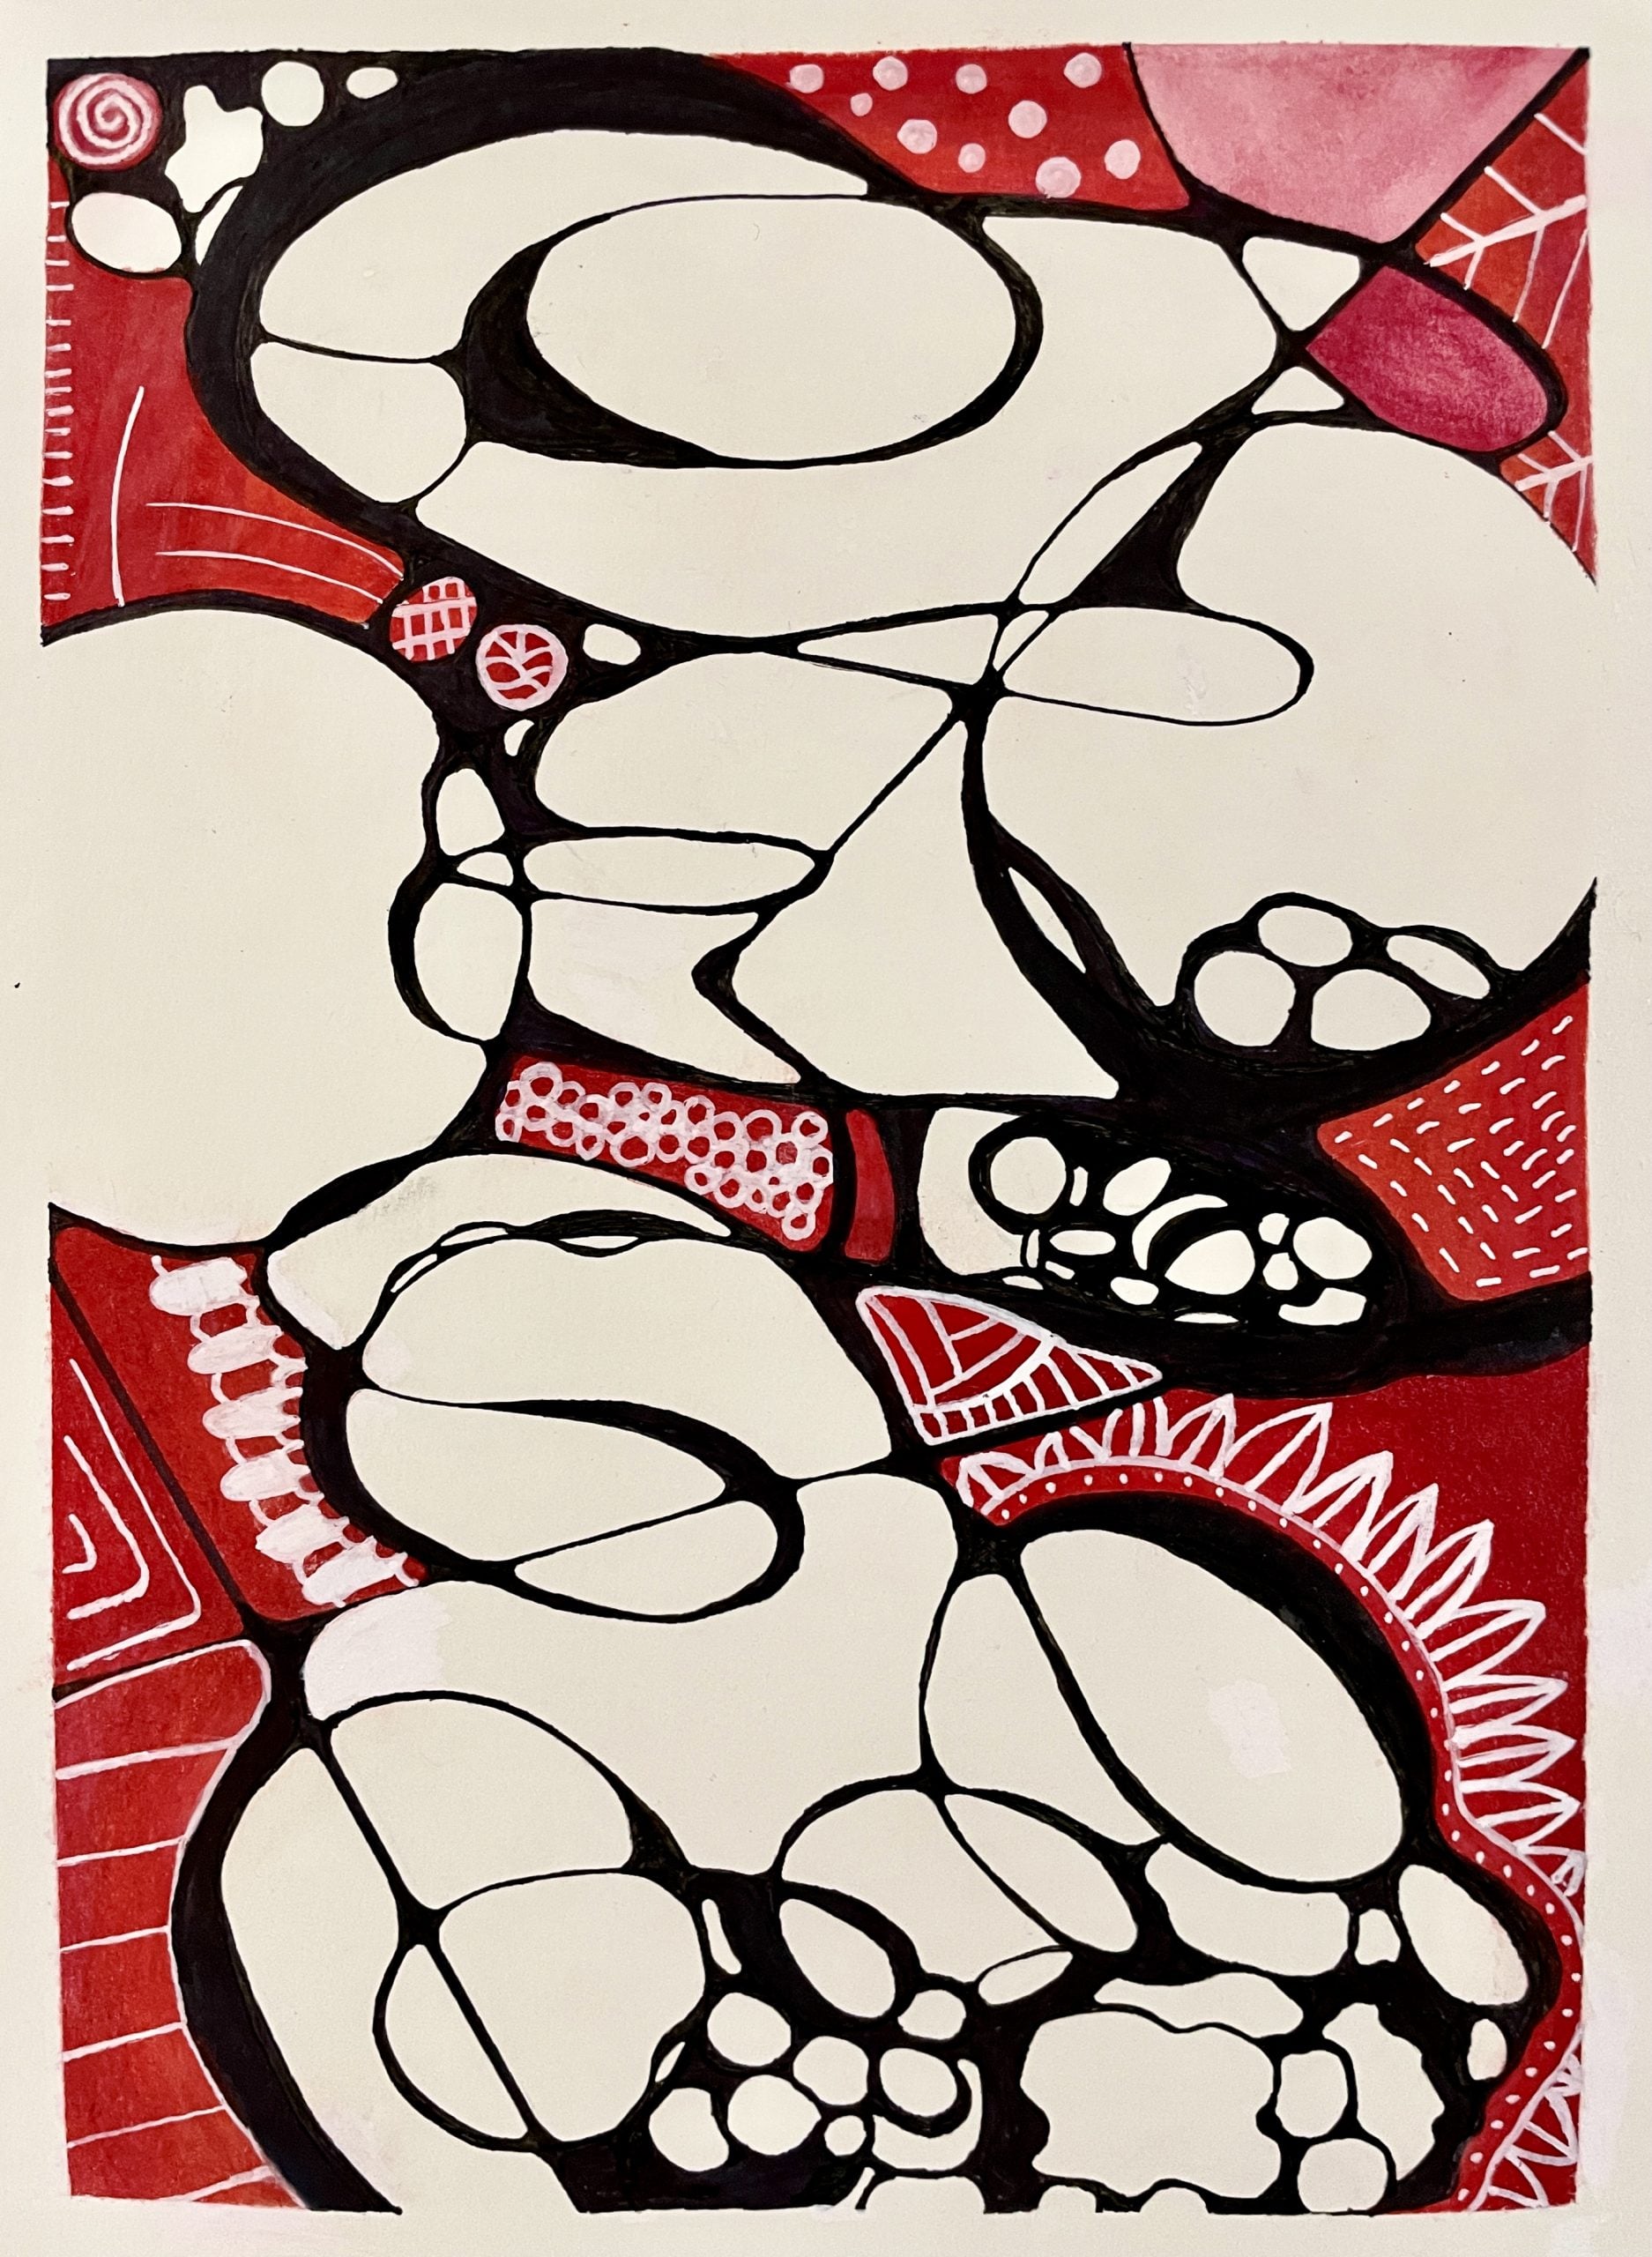
Step 5
Have them repeat the process and smooth out the intersections where the new shapes overlap.
Step 6
COLOR!!! This part is optional. It is a good idea to do one small practice without color first.
In a second design have them experiment with layering watercolor, marker, and colored pencil to create vibrant color and interest.
I absolutely love this part of the lesson. Students are really able to express their unique personalities and will really surprise you with some very interesting effects.
In the above video, I explain and demonstrate the steps that I follow and how to layer color.
I also created two slideshows and videos that explain the process. These are great for posting to Google Classroom so students can refer back to them as needed if they are absent, distance learning, or need a review. I also created a handout that students can scan to access the slideshows without even logging into Google Classroom.
This is great to laminate and keep handy to quickly direct students to instructions if needed. This is SOOOO helpful when the class gets busy and students need to see more finished examples.
How This Art Project Inspired by Neurographic Art Can Set a Positive Tone for the Year in Art
Nobody enjoys doing something they believe they’ll fail at. Most people—especially teenagers—naturally avoid activities that make them feel frustrated or overwhelmed. If something looks too difficult right away, they tend to move toward things that offer easier rewards… like cell phones, social media, or YouTube.
That’s what makes neurographic art such a powerful starting point in the art classroom. From the very beginning, students believe they can succeed. After all, anyone can draw a line, right?
As students move through the neurographic drawing process, they quickly become absorbed in the designs that start to emerge. The flowing lines and organic shapes create complex patterns almost effortlessly. The process is surprisingly calming. Students slow down, focus, and step away from the constant stimulation of their devices.
Before long, they begin to see that they can create something truly interesting and personal.
That feeling of success matters. When students experience small wins through projects like neurographic art, they start to associate the art room with confidence, creativity, and a sense of accomplishment. Over time, that positive experience builds trust and helps establish the classroom as a space where students feel comfortable exploring and taking creative risks.
Here are some more design ideas.
Incorporating Images into a Neurographic Art Lesson
You can give advanced art classes the option to expand on this design project however they wish. They can incorporate images or present a proposal for their own unique ideas. Here are some ideas for inspiration.
They can begin with an image and draw freeform lines over the top and then transform the areas that overlapped by turning the V shapes into U shapes. For more examples and instructions on how to incorporate images with your neurographic art check out this post on incorporating easy drawing and neurographic art.
Abstract Art Project Neurographic Reflective Symmetry
This neurographic abstract art lesson is one of my favorite ways to start the semester. Students explore reflective symmetry while creating bold abstract designs using flowing lines and expressive color choices.
How These Neurographic Art Inspired Designs Help Improve Drawing Skills
In addition to the mindfulness and confidence-building aspect of this project, students also get really good at creating lines. They become familiar with how fine line markers work and what kinds of lines they can create with different-size tips.
I love super simple line drawing lesson as a great follow-up project. It expands on what students just learned about line, but teaches them how to use a small X grid to enlarge an image.
Related Neurographic Art Lessons
Neurographic Art Abstract Design Technique
Learn how flowing neurographic lines create bold abstract compositions students love.
Composition Techniques for Neurographic Art
Teach balance, movement, and visual flow using neurographic principles.
Crystals Neurographic Designs
A themed variation that blends crystal-inspired shapes with mindful line work.
Neurodoodle Typography Summer Art Project
Combine lettering and neurographic patterns for a creative classroom twist.
Easy Summer Line Drawing in 5 Steps
A simple warm-up lesson that pairs beautifully with mindful neurographic art.
Neurographic Art & Beginner Drawing Scaffolded Unit
Many teachers introduce neurographic drawing alongside beginner drawing lessons because the flowing lines help students build confidence with mark-making before moving into more structured drawing techniques.
More High School Art Projects to Try
If you’re looking for more high school art projects that are engaging and easy to implement, there are plenty of options to build on this lesson. From drawing-based activities to mixed media and creative exploration, having a variety of projects helps keep students motivated and challenged.
Browse this full collection of high school art projects for more ideas


